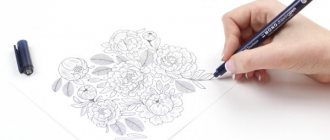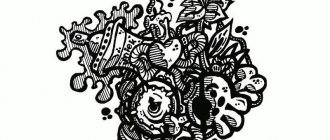
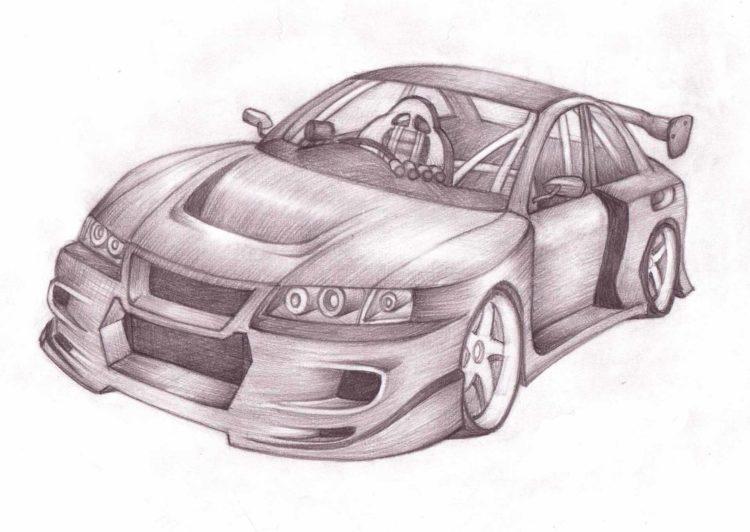
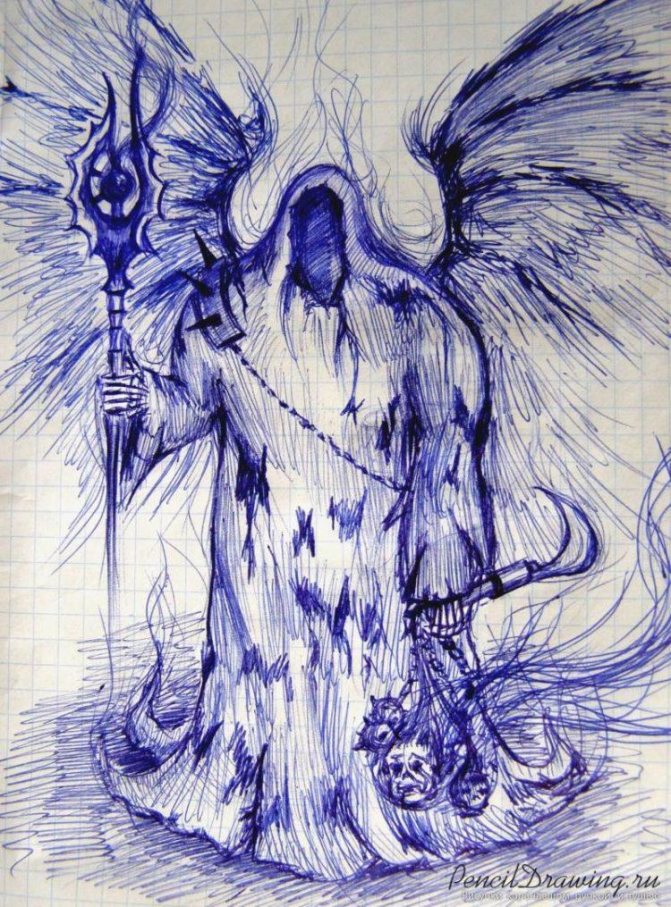
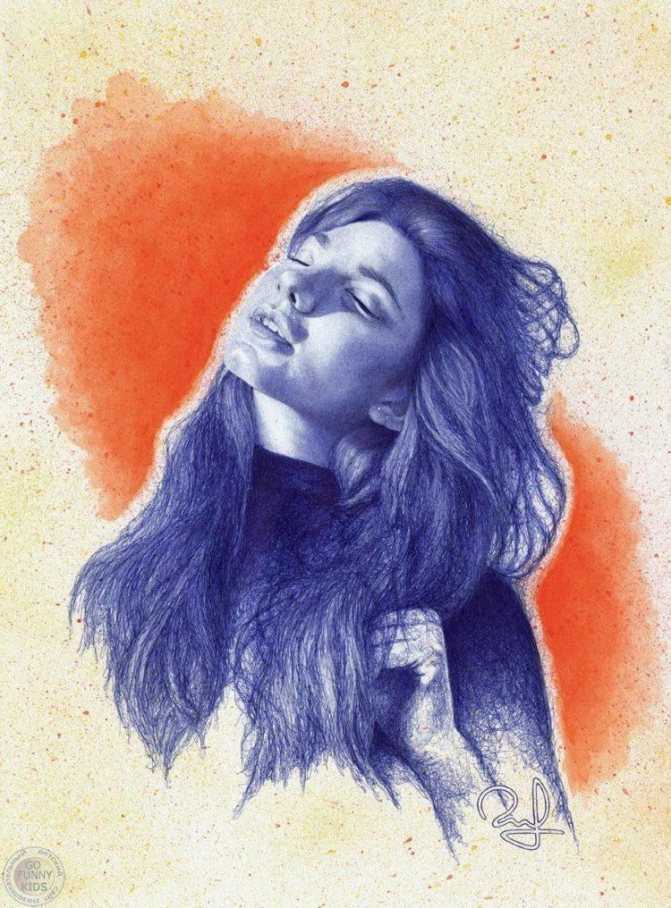
An excellent opportunity to learn the art of the artist will be drawings with a pen for sketching. Today, very popular are pictures made not only with paints or pencils, but also with an ordinary black gel pen.
How nice to draw beautiful flowers, animals and people in a notebook or in your personal diary! But many feel that they can't draw even simple drawings with a black gel pen. Today you all have the opportunity to become real artists. Just doodle whatever you like.
Easy black pen drawings for beginners will help you catch the most important details of the figures and be able to display them on your sheets of paper. And drawing will be a real pleasure for you. So, what black pen drawings for sketching are suitable for beginners?
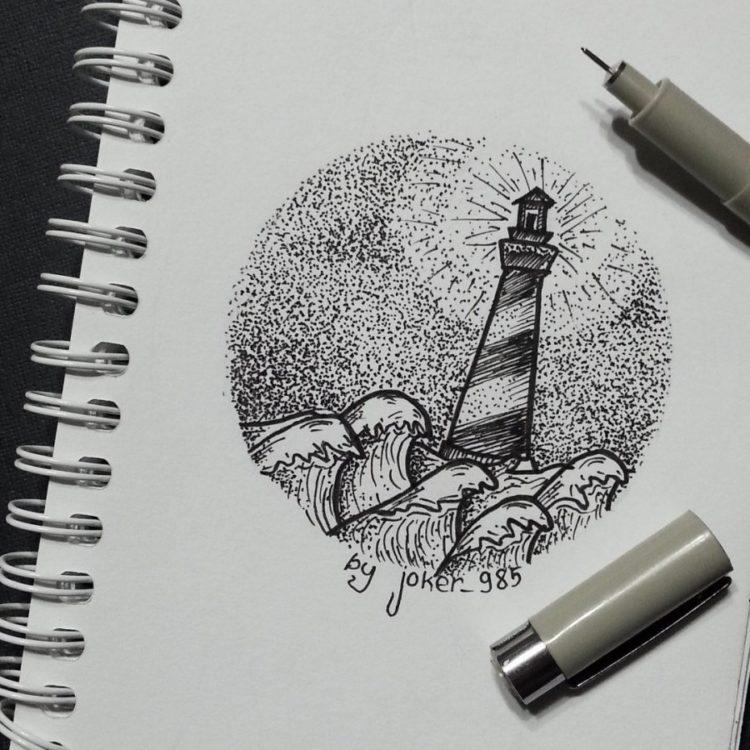
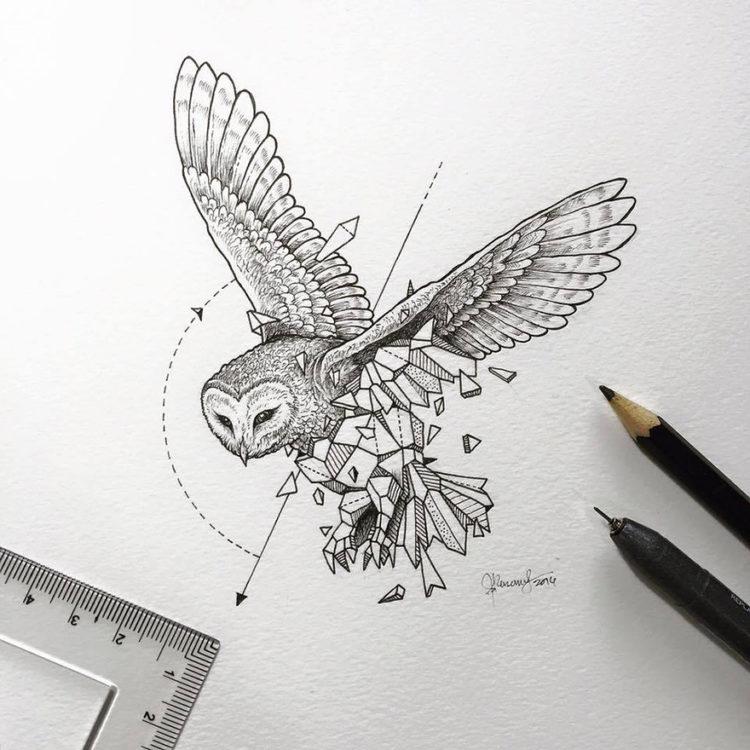
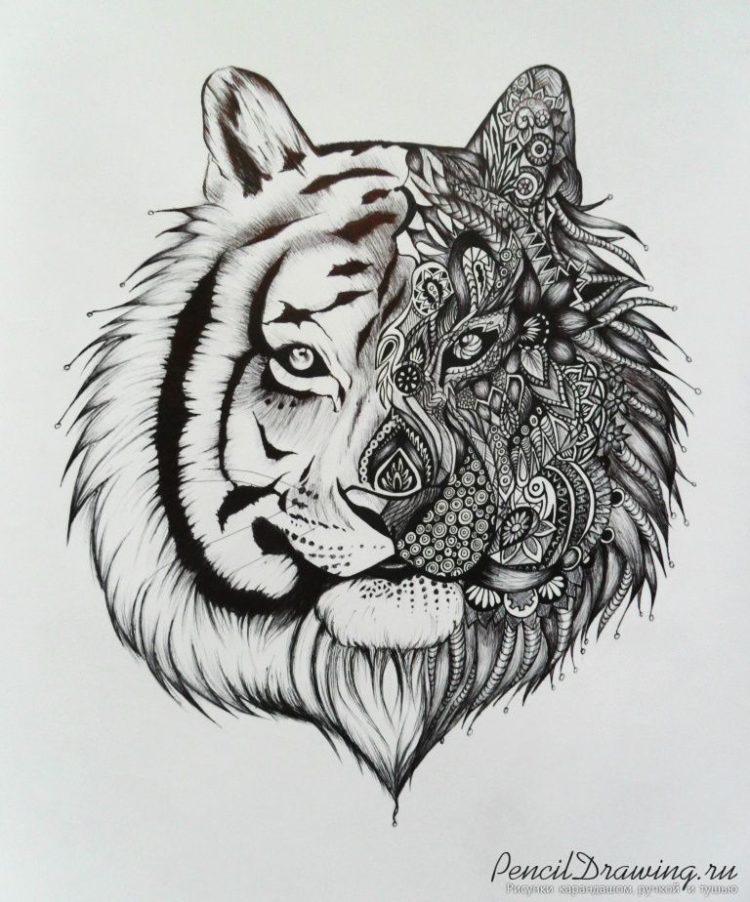
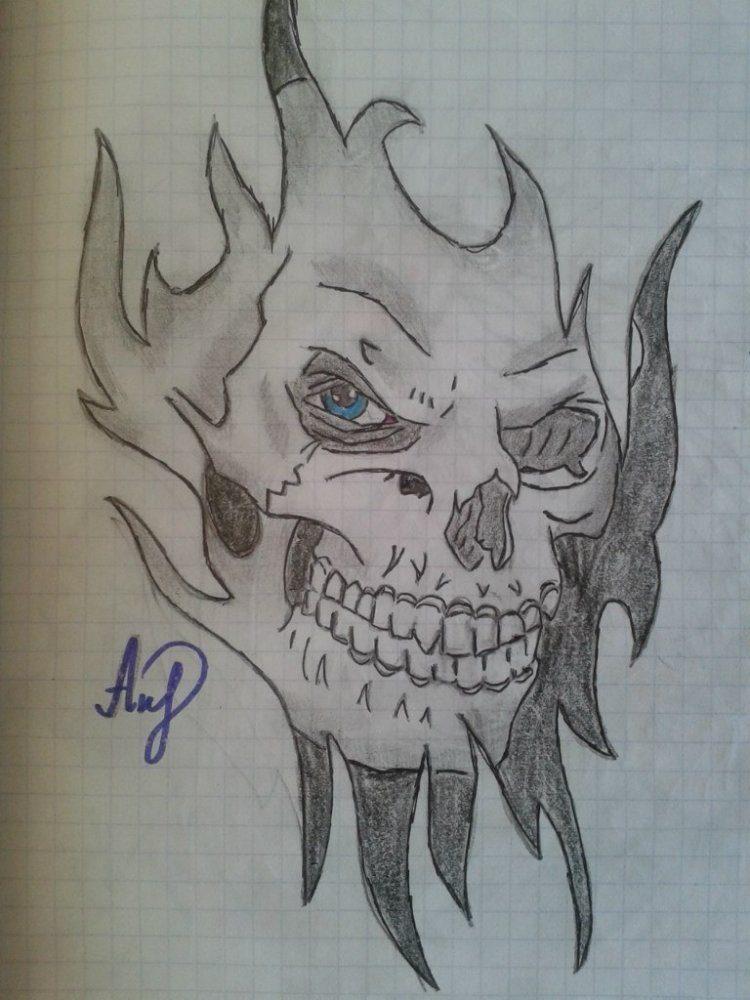
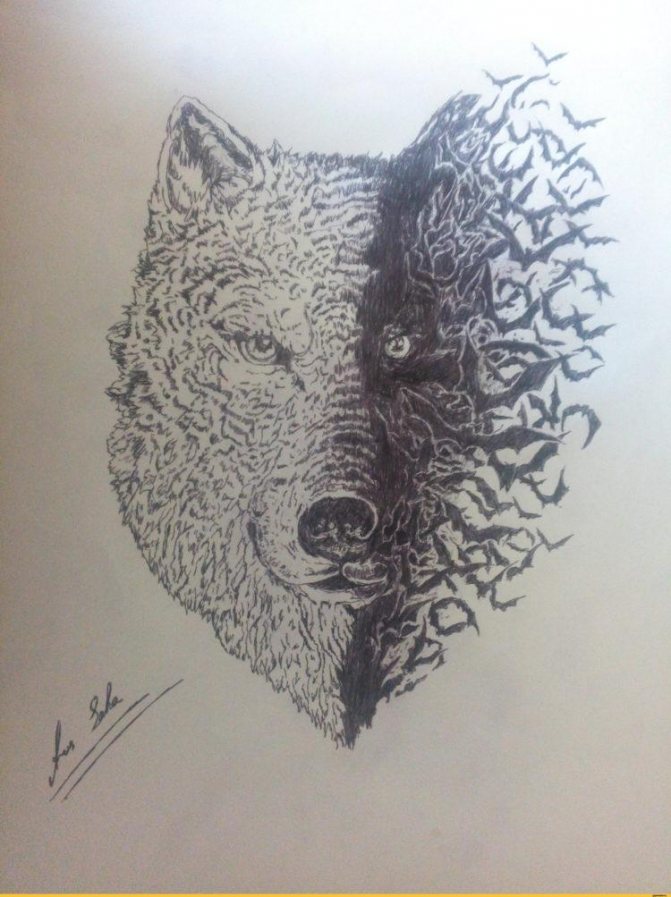
Easy animal tattoos with a pen on the hand
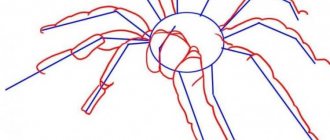
The most unusual animal tattoo is drawn in one solid line. This is a variation of the real style of tattoos - linework
To draw such a tattoo with a pen it is possible only having trained beforehand, because it is important that the line turns out a straight line
Usually one line draws contours or silhouettes:
- Cats;
- Birds;
- Snakes;
- Spiders;
- Foxes;
- Wolves;
- Lions.
It is best to draw animals on the arm or ankle. For girls, such a drawing on the shoulder, collarbones or wrist will also look beautiful. To draw on the clavicles, it is better to use the previously described method. Or simply draw the animal on paper, trace the outline several times, and touch it to the skin to make it imprinted.
Pressing
There are different ways to press pens on a sheet of paper. To get a continuous thin line, it is necessary to use direct pressure. The pen is placed perpendicular to the paper and a straight line is drawn. This method is great for drawing outlines. It is possible to draw, pressing on the tool at an angle. As a result you get dim strokes. If you draw lines in this way in one direction, you can create halftone transitions. Crossed lines will help deepen and intensify shadow areas.
Particulars of drawing with a pen
When creating images with a gel pen, it is recommended to pay special attention to:
- Lack of an overly oily core filler structure. If the paste is greasy, previously drawn lines and details will smudge when working with images, which will provoke the need to start over.
- It is possible to create variations in line thickness with a particular rod. If a worksheet of paper is placed on the page of an open, thick book, the lines created by a quality gel pen will be thicker than the actual diameter of the rod.
- To create thinner lines, place the paper on a hard, perfectly flat surface, such as a polished wooden table or glass.
Drawings with a pen for beginners will be beautiful if you choose the right tool, namely a pen
The most significant features of using ballpoint pens by beginner artists are:
- The need to avoid touching the working surface with your hands while creating an image, as ballpoint pen prints cannot be removed from the paper without a trace. Especially relevant if a beginner is working with shading and shadowing with a pen.
- It is possible to get different halftones using only one pen. Variations in shades arise due to the different force of the pressure on the rod, the inclination of the pen itself and the density of the strokes applied.
- To apply the hatchings correctly, it is necessary to mark the interface line between the 2 planes. Under this line, the strokes of the ballpoint pen must be horizontal, and above it, vertical.

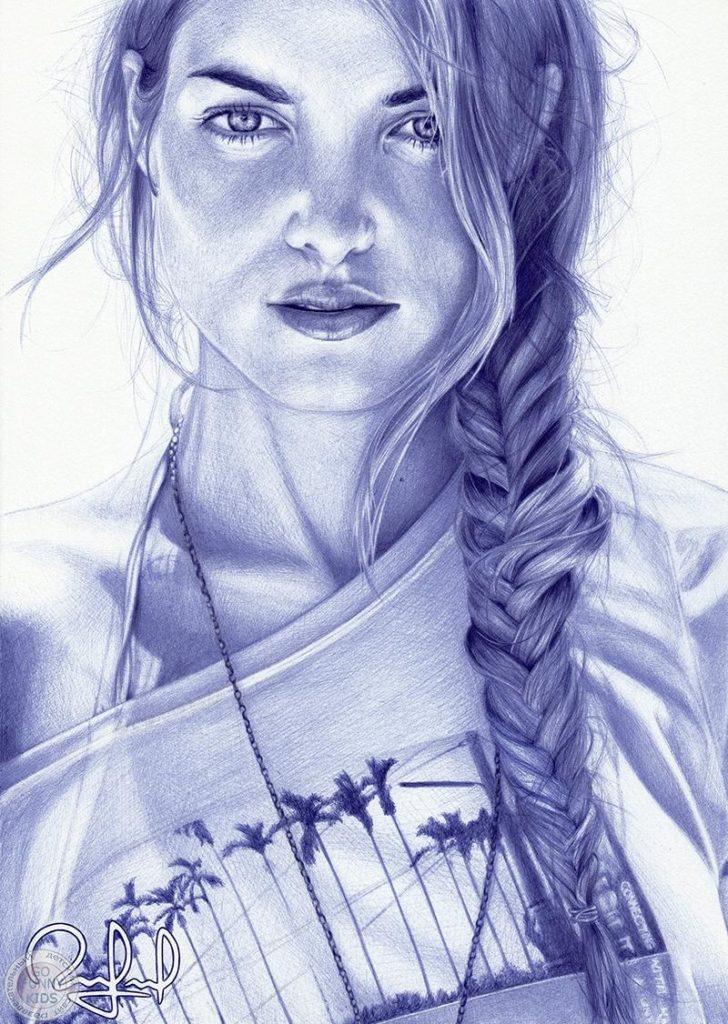
How to do drawings with a ballpoint pen
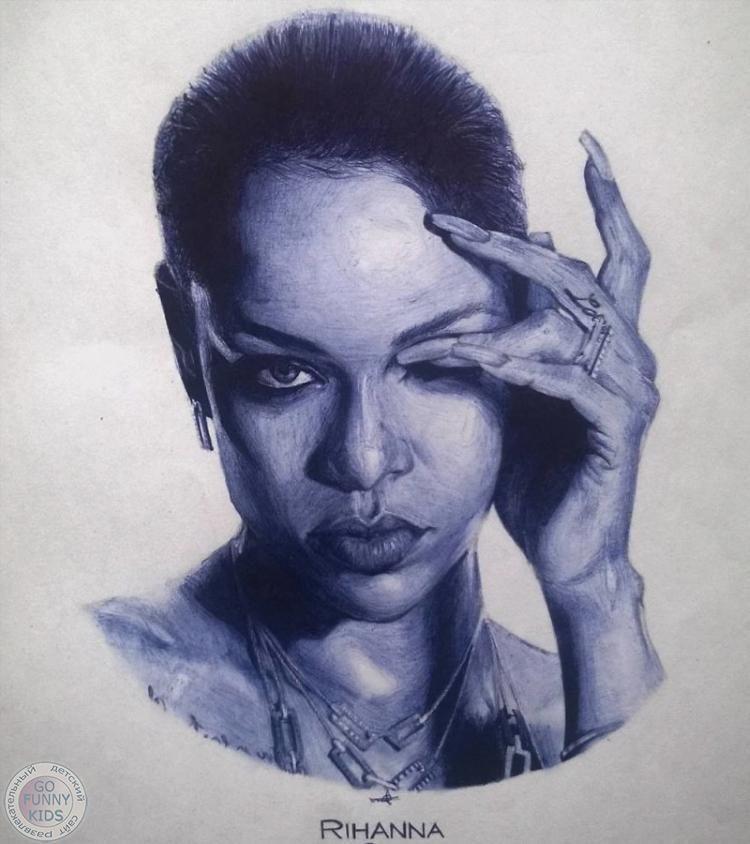
Among the variety of visual techniques takes a special place graphics. Its minimalism and complexity of execution arouse respect and provoke sincere amazement. French illustrator Anthony Kaseiro reveals the secrets of his skill.
In this series of ballpoint pen drawings the author demonstrates some stages of the creative process. However, just looking at the sketches, it is difficult to imagine how much effort, patience, diligence and perseverance the artist needs to create something like this.
Author's approach to drawing with a ballpoint pen
Anthony Casero does many fine arts, including illustration and drawing. Ballpoint pen drawing - A special page in the artist's work.
It takes 100 hours and countless rods to create this series.
City views, amazing portraits, the image of a pregnant woman who gently supports her belly with her hands, anatomical details - these are the subjects of the works.
The artist prudently presents the viewer two views of the same painting:
- The view from afar gives a holistic perception with clear contours, halftones and shadows;
- A close-up view helps you see every stroke and understand the meticulous and meticulous work done by the master's hand.
If you take away the characteristic bluish hue of the blue dye, you get the impression of black and white photographs in front of you.
If you don't approach them closely, it is possible to maintain a sense of the indivisibility of the paintings into parts, strokes, anchor points and incomplete elements.
The magic of the combination of pressure force and stroke width is realized in a clear sequence of color distribution on the surface of the paper. Why ruin this magic by staring?
Surprising facts about ballpoint pen drawings
These paintings are unconventional works of art. The drawing technique Anyone with the patience and perseverance you need to learn the basics and understand the rules of transferring silhouette, shadow, and light to paper can do it. To understand something new and to create something similar is real. A beginner will need the following to get started:
- Basic knowledge of drawing in general and composition in particular.
- Art tool: with the right level of softness, no flow, not scratchy.
- Sufficient amount of white, non-faceted paper without cells and lines: spring-loaded notebooks, school sketchbooks.
- Less self-criticism - more enthusiasm.
- Practice, practice, practice!
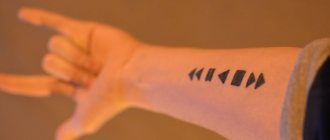
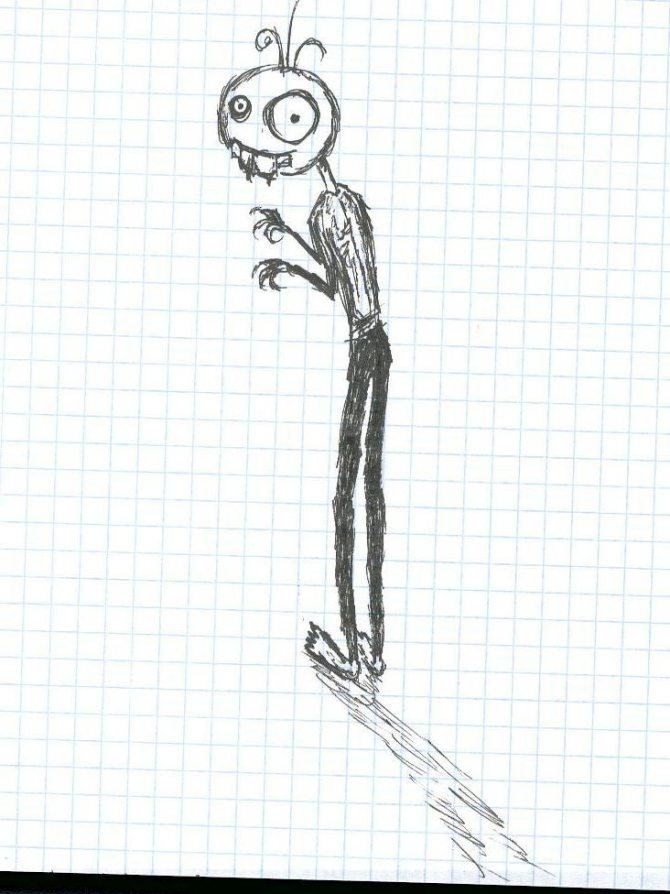
What can you draw on the pen?
If you're wondering what you can draw on your hand with a black (or any other) pen, I'm sure this article will be helpful to you. Whatever drawing you desire, there are quite a few sketches that will suit both girls and guys.
You don't need any special skills to create such a tattoo - you'll cope with this task without difficulty. Even if there is a problem with the design, it won't be difficult to fix it. If you do decide to do a simple drawing on the hand, it is best to use a gel pen. Stick to the simple recommendations, and then such tattoos will be able to last about three days.
Temporary tattoo is quite a budget and safe option for those who would like to look spectacular and stylish, but do not dare to visit a tattoo-master.
What can be drawn on the hand? In general, you can choose any pattern, and below we will tell you more about it. Small quotes, flowers, animals, abstract symbols are all relevant.
What else is important to remember?
Graphics with a gel pen should be applied in accordance with the position of the leaf tufts, that is, from top to bottom. The painted part cannot be touched with a finger, otherwise you can change the saturation of the lines. It is best to choose high-density paper for the drawing, and work with light pressure, as the gel paste tends to "shrink" the sheet. In case of gross mistakes during drawing, which simply need to be removed, whitewash or other covering materials are used. You must remember that gel pen graphics need precision and accuracy from the artist. Of course, you may not get a very good drawing the first time around. But everything comes with experience. Over time, the drawings will become clear, and they will feel the confident hand of the master of his craft.
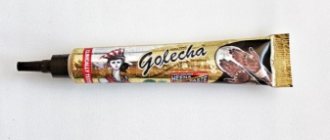
What pens for tattoos can be used?
Immediately it is worth saying: a cheap ballpoint model for this purpose will not work. The picture, applied with its help will be smeared and will not retain its shape even for several hours. To save time and effort, use quality tools right away, then no problems will arise.
It is recommended to use a gel pen for beginners. If you are more accustomed to the ball version, choose a model with a thin rod that leaves a clear and even mark on the skin. As for colors, it all depends on the chosen sketch. To begin with, it's worth practicing on black and white pictures, because even a teenager can cope with them.
In addition to a black pen, you'll need other things while you're working:
- A simple pencil;
- A thin paper/trayon;
- cotton swabs;
- talcum powder.
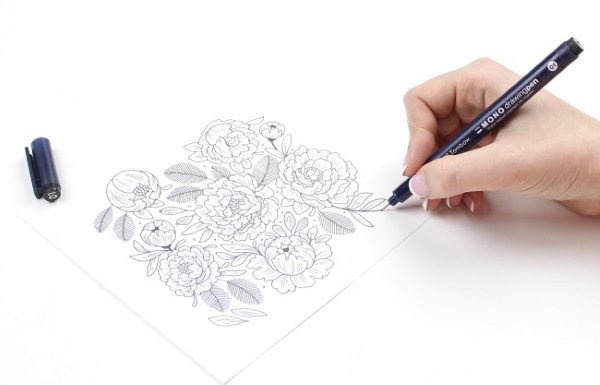
Contour
In order not to make irreparable mistakes in the work, it is necessary to begin by drawing an outline with an ordinary graphite pencil. Then small blunders can be removed with an eraser. This procedure should be done after drawing all the details with a pen. In doing so, it is necessary to wait until the drawing has dried completely. Lines that are drawn with a gel pen, in general, have the same thickness. It depends on the diameter of the rod. To draw lines of different thickness, you need to choose pens with different ball diameters. When drawing, it is better to use several gel pens because different dyes have different densities. As a result, you can get lines of varying saturation, which will create a unique effect.
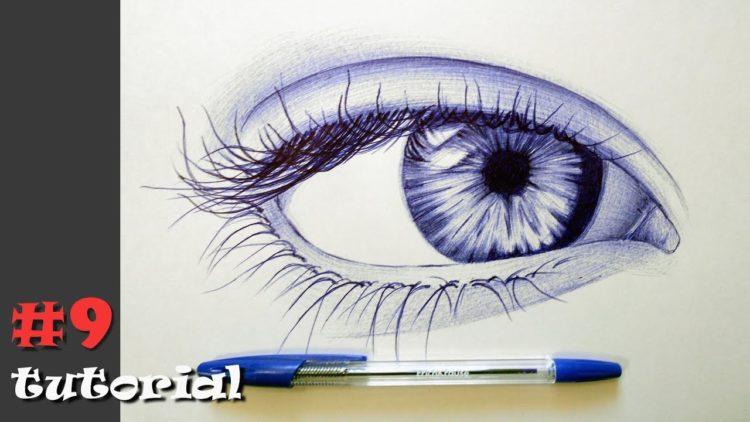
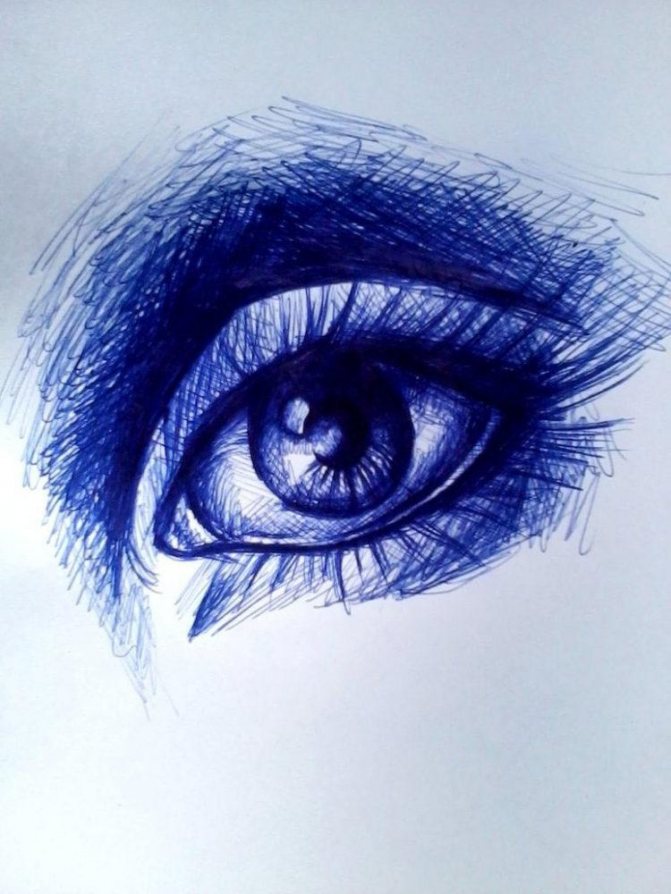
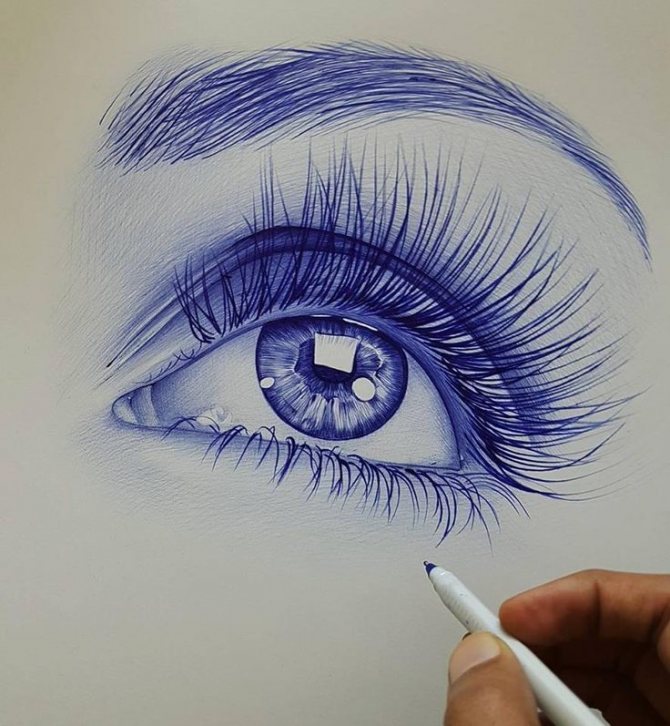
Eye
Eye using a pen can be drawn as follows:
- Outline the approximate shape of the future eye using 3 half-circles curved upward, placed at different distances from each other, and 2 half-circles curved downward, drawn as close to each other as possible.
- Adjust the borders of the figure,
- In the inner area of the resulting figure draw a circle.
- Inside the main figure, draw a smaller circle (pupil).
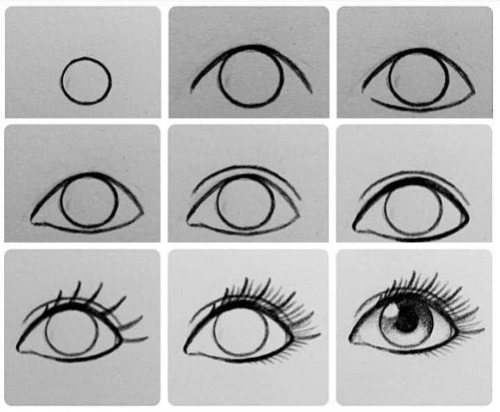
- At the pupil draw highlights: 1 small, located just above the central area of the pupil, and 1 larger, located on the left side of the viewer.
- Use shading to recreate the shadows.
- Darken the pupil.
- Dot the eyelashes with smoothly curved lines coming out of the upper and lower eyelids.
Being a handy tool for every artist, a pen, whether a beginner or an experienced one, allows you to spontaneously create drawings, succumbing to the creative impulse in any place.
Such images not only can decorate notebooks, notebooks or notebooks but also allow a person to pour out accumulated emotions, relax and stabilize his psycho-emotional state.
The process of drawing
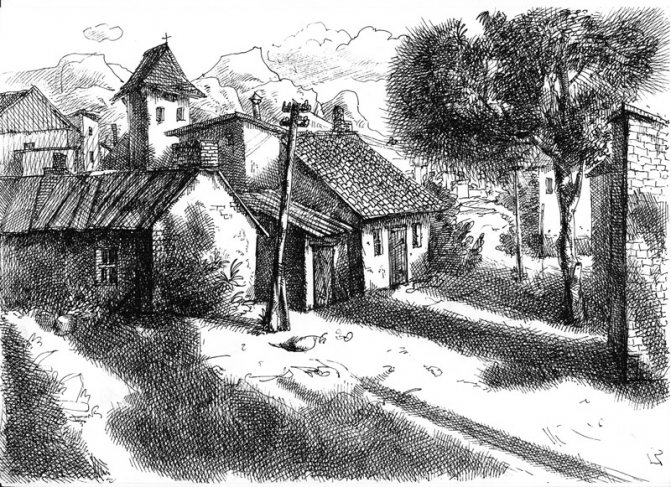
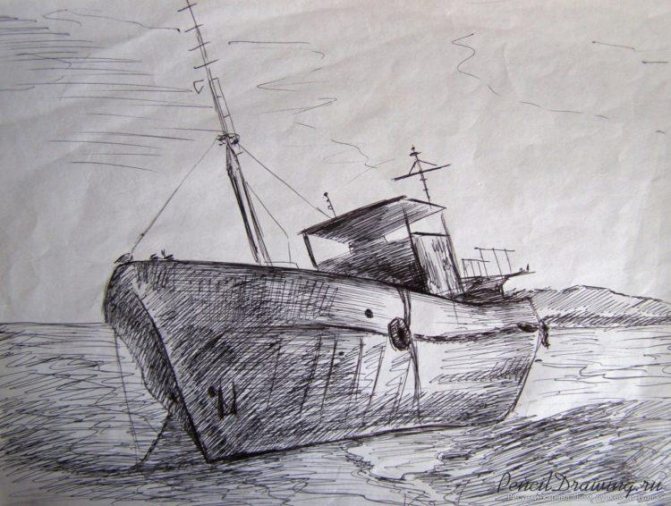
1. usually when drawing with a pen, I do not do a pencil sketch. Exceptions are when you need to draw complex architectural structures such as cities, streets, interiors and other complex objects. All that should correspond to reality.

To make an outline of the future drawing and to avoid that the picture in the end will not fit on the sheet, you can use the point. While the pencil is used to make a fine line, the pen can be used to make dots. And if you will tint the drawing, the points will merge with the main landscape and will not be conspicuous. But, of course, you can make a pencil sketch, no one forbids.
2. The process of drawing itself must be fast. Lines draw quickly and confidently, even if the drawing is crooked. Crooked drawings can be very lively and interesting. In any case it is necessary to get your hand used to the tool. Do not stay long in one place.
Prepare a lot of paper and make one sketch after another. Always finish a drawing, even if you do not like it. At the end may be very interesting.
3. What do I draw? Draw everything you see. Start with ordinary objects, lamps, teapots, mugs, computers, cats, dogs, chimpanzees. You can also draw zentagals while sitting at home. Go out into the fresh air and draw there will also be a good idea. Increase the complexity of your drawings over time. Draw still lifes, interiors, streets, and people. Let your notebook always be with you. The main thing is practice and practice again.
4. Don't evaluate yourself after every drawing. Turn off your inner critic. One drawing doesn't mean anything. Build up more baggage. At first, everything will be sloppy and ugly. As our drawing teacher used to say, "quantity will gradually become quality. Patience and persistence will help.
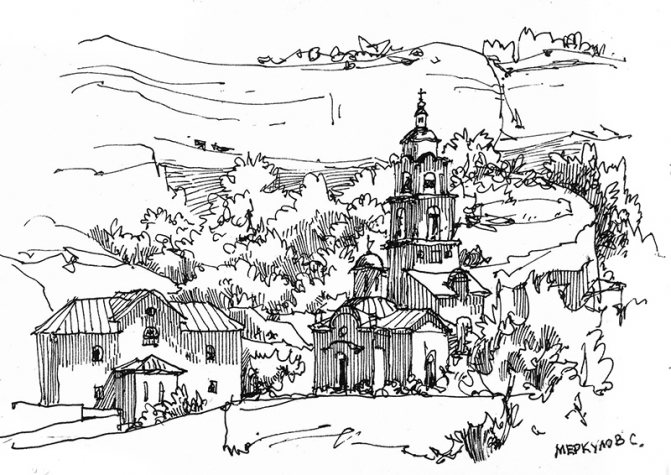
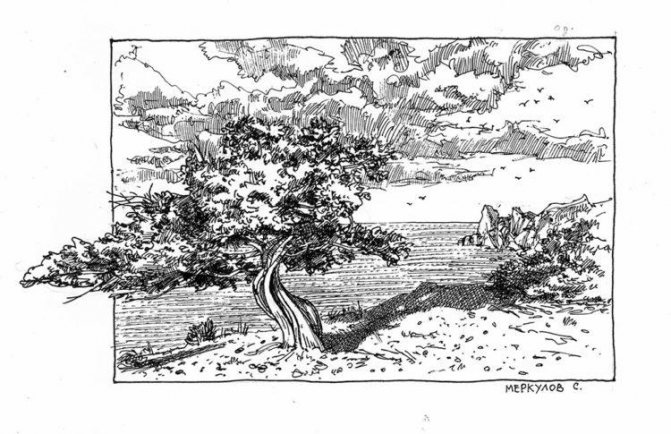
South Bay of Sevastopol. A series of sketches
5. Start leafing through drawing books and doing exercises. This will help you understand the structure of objects and realize that everything, including receding objects, have edges and planes. If you don't have books, you can look at works in pen by famous artists of the past.
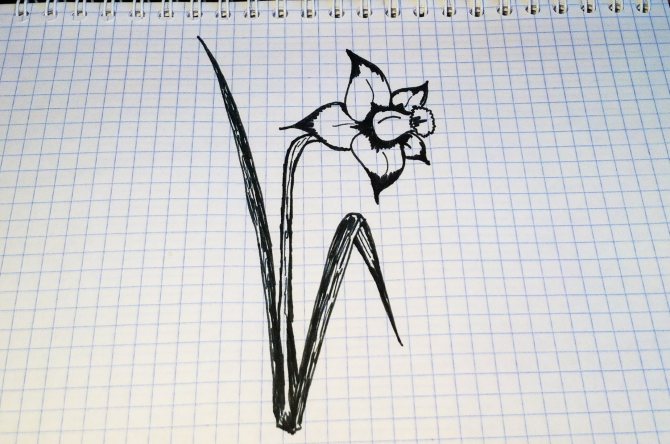
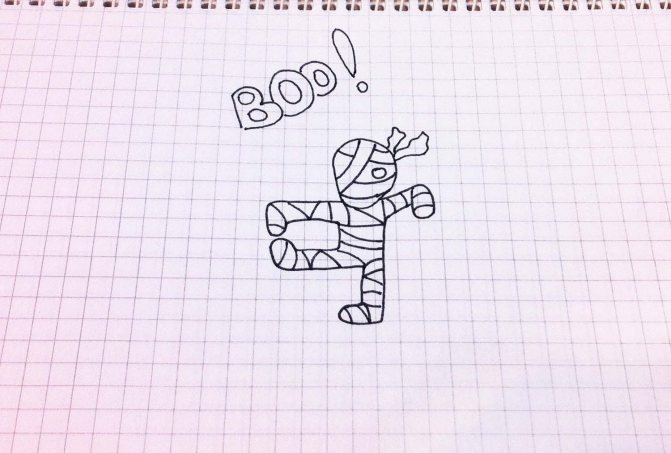
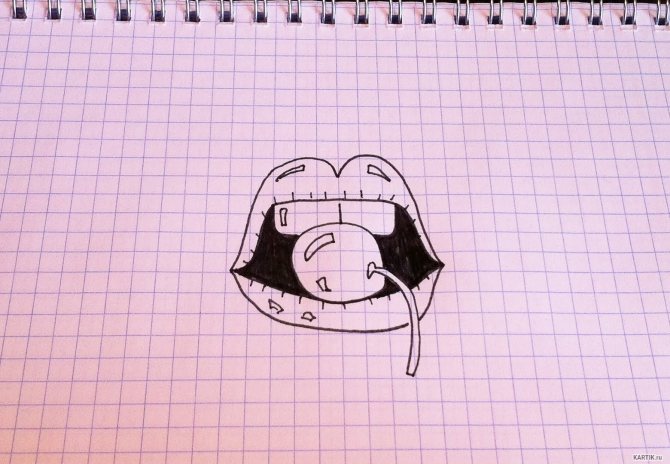
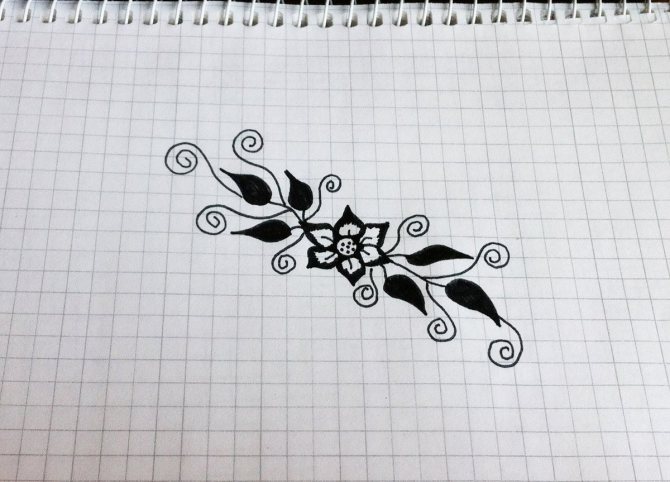
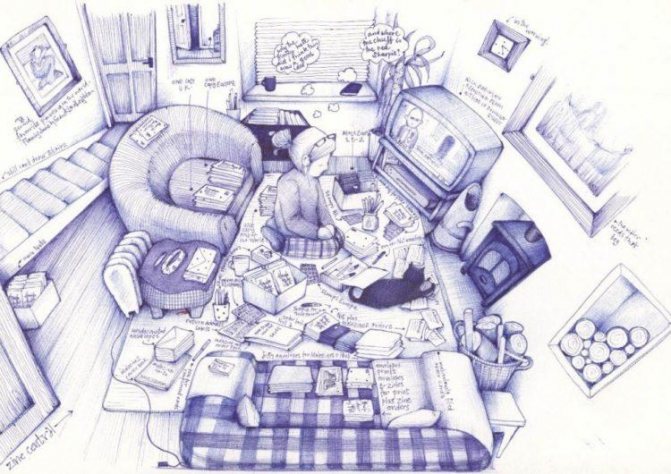
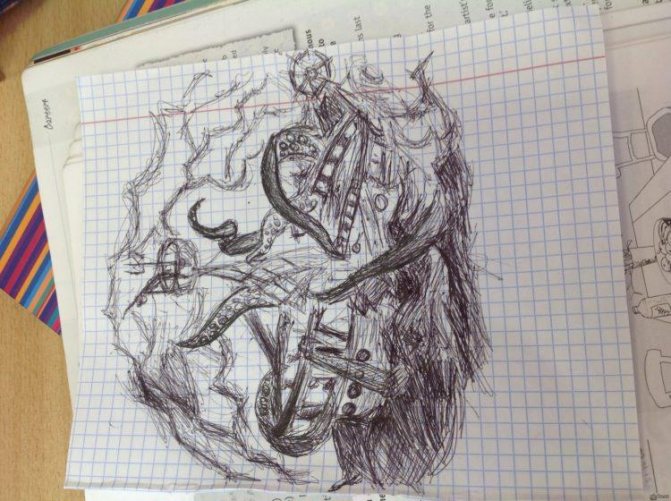
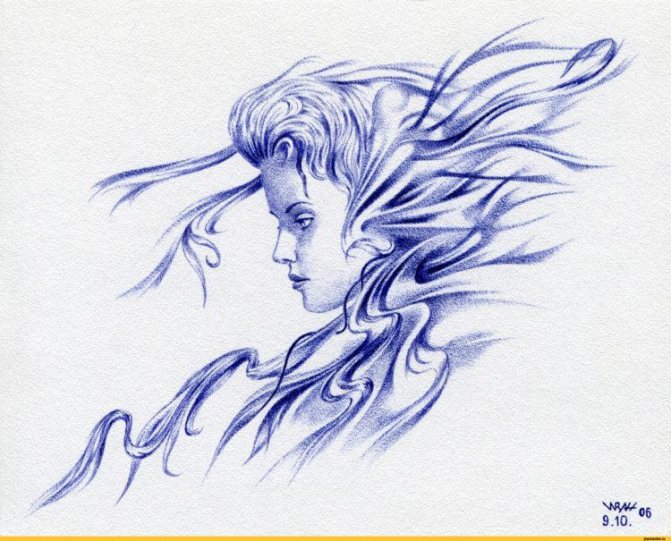
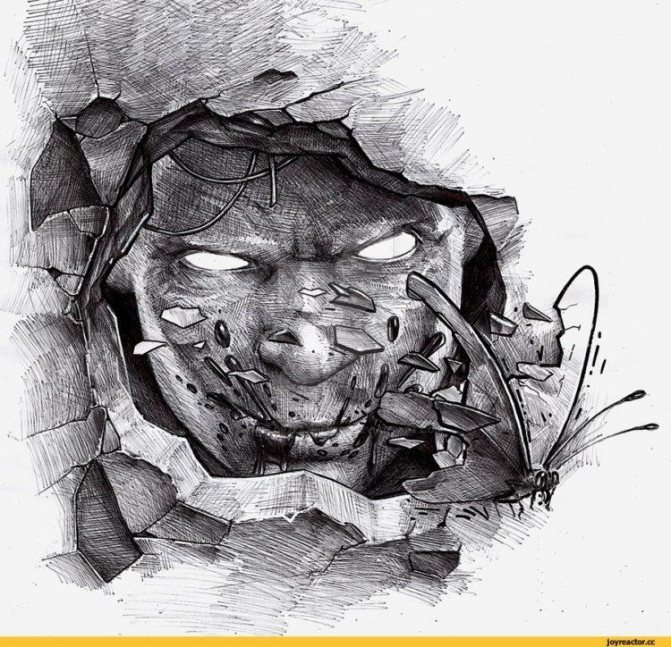
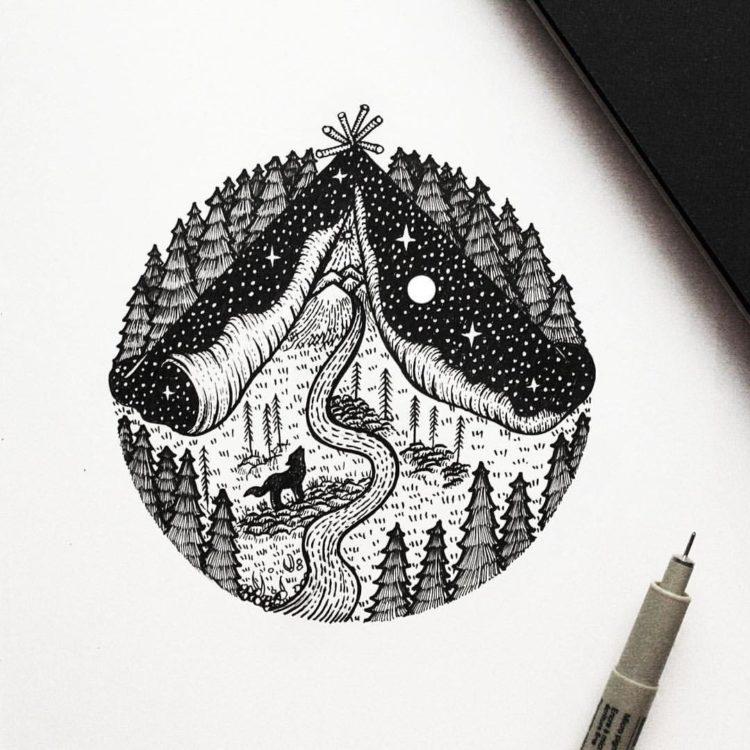
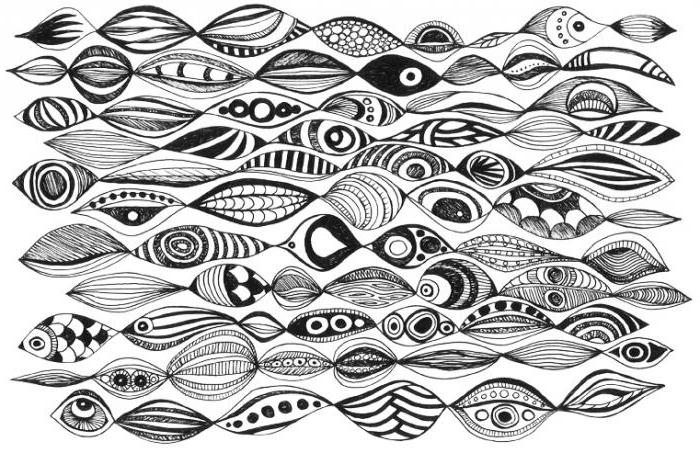
Drawings in gel pen. Compilation № 3.
All the same, I am involved in design and quite often have to do sketches on paper, although of course these sketches can not stand on a par with well-drawn illustrations.
I've been drawing with gelka since high school. Even back then, these illustrations impressed me with their expressiveness, contrast, and graphic quality.
Why draw with a gel pen and not a regular pen? Gel pen drawings are sharp and contrasty. I really enjoy gel pen drawing and I would recommend it to anyone for the soul.
If you are drawing with a gel pen, it is a good idea to use a regular pencil first, regardless of experience. It would be a shame to spoil it in case you want to change something. Gelka is rather badly erased, you will not be able to do it imperceptibly. To correct the design will only be possible if you use some external dye such as whitewash.
From the peculiarities it is worth noting that the gelcoat slightly shrinks the drawing after drying. This is worth taking into account when working.
After I myself started to periodically sketch on paper with a gel pen, it became very interesting how others do it. The most interesting illustrations are collected in this small collection of drawings in gel pen.
These are not my works of course, but I will try to finish my collection of gel pen drawings and put them on the blog as time goes by.
Thank you for your attention. I hope you enjoyed the article.
Interesting things about posters. Architecture. Minimalism
Source : https://alexsv.ru/risunki-gelievoj-ruchkoj-podborka-3/
You do not need to be an artist.
You do not need to be a manicure specialist or have experience as an artist. Drawings and patterns with gel rods on the nails can be done even by an inexperienced person. This requires patience, assiduity, inspiration and, of course, pens. Often the work of novice masters of nail art cannot be distinguished from the work done by professionals. But first it is better to practice doing the simplest drawings, trying to look the same on the nails of the left and right hands. If you are right-handed, drawing with gel rods with your left hand will require some skill.
This tool is recommended for beginners, because unsuccessful drawings are very easy to wash away with water. And to fix the successful result, you need to wait for the pattern to dry, and then cover the nail with colorless varnish. Such a manicure is also loved by experienced masters, because the texture of the gel pen has a noble shine, and the rod has the optimum thickness. Such a pen can depict even very complex drawings with many small details.
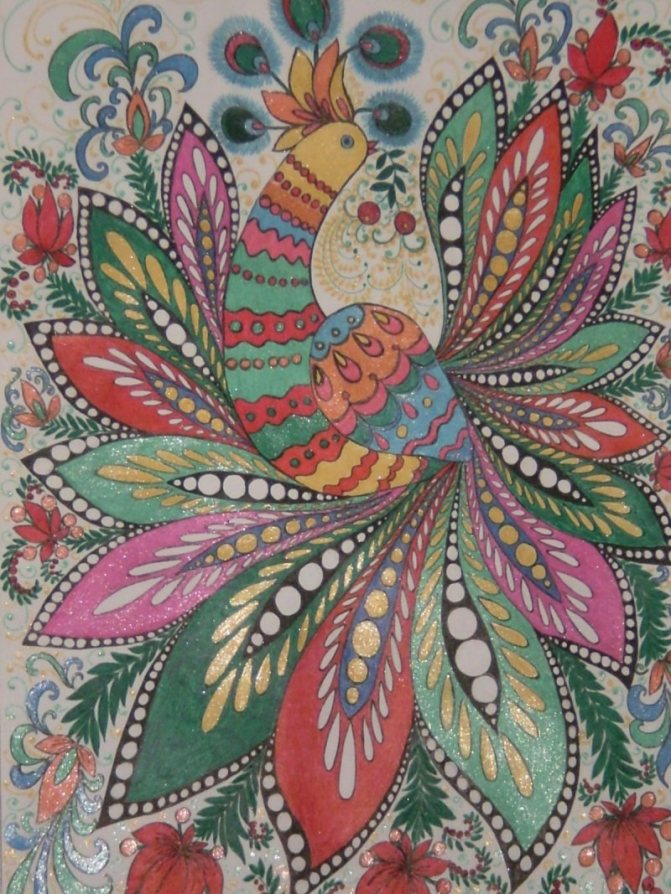
Beautiful drawings in different colors
With multicolored pens, you can create colorful drawings that can later be used to decorate diaries or the design of living spaces.
| Example of drawing with a pen | Sequence of steps for its creation |
|
|
|
|

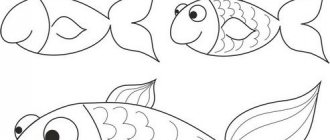
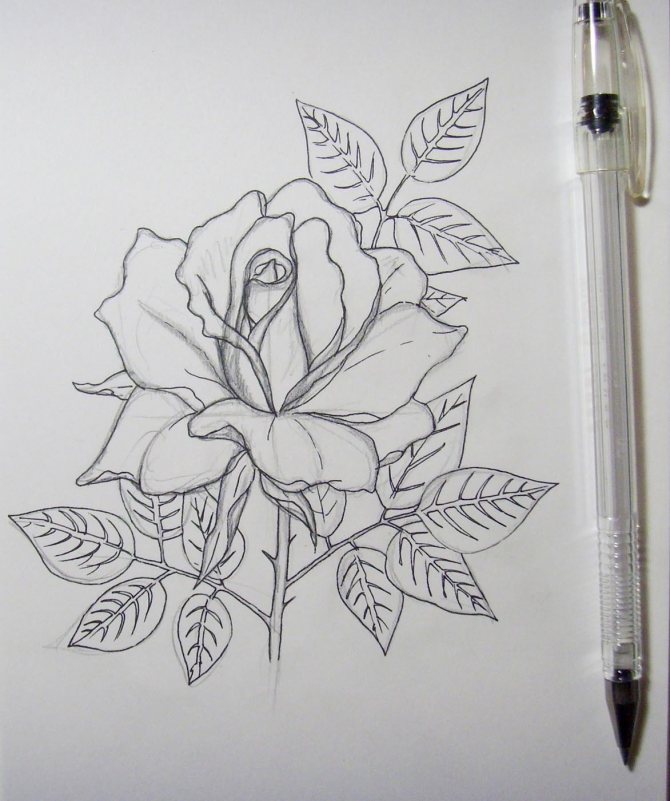
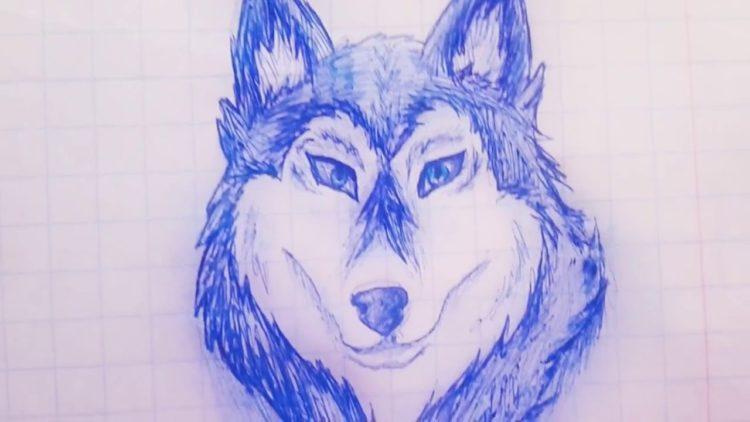
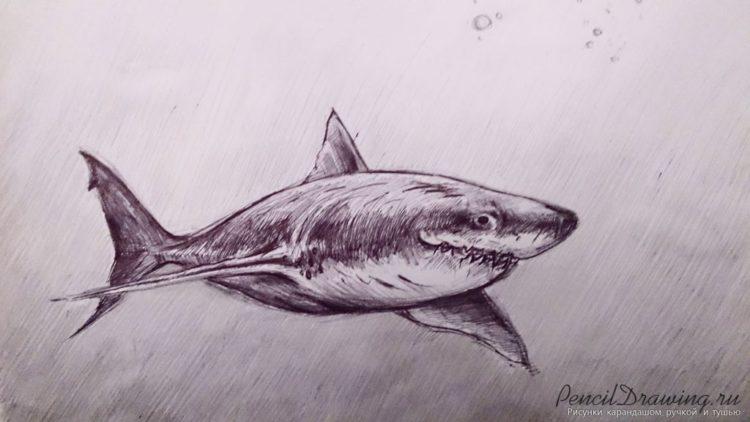
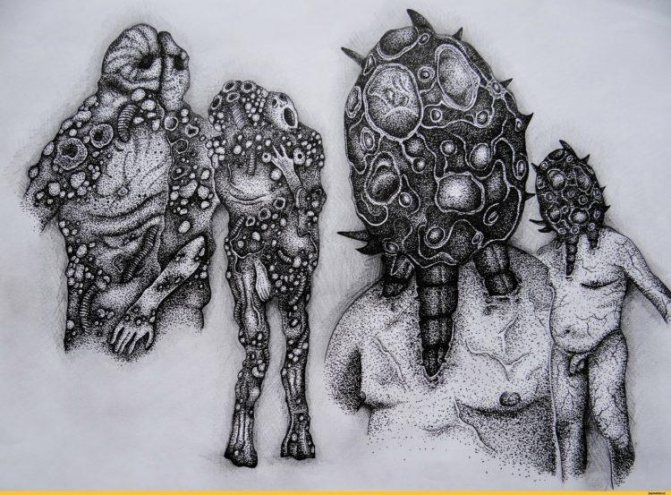
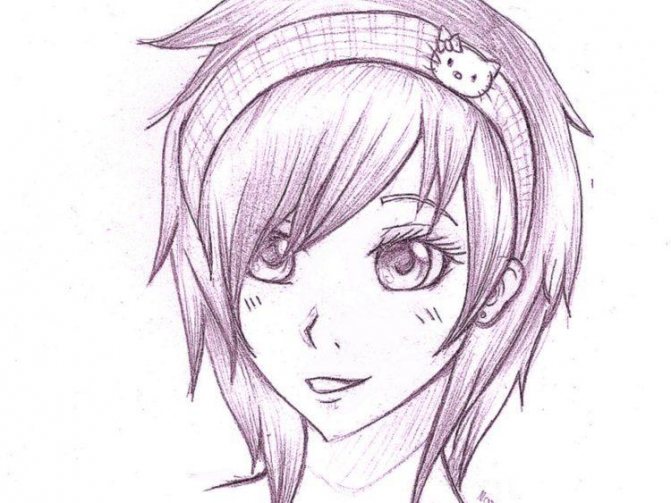
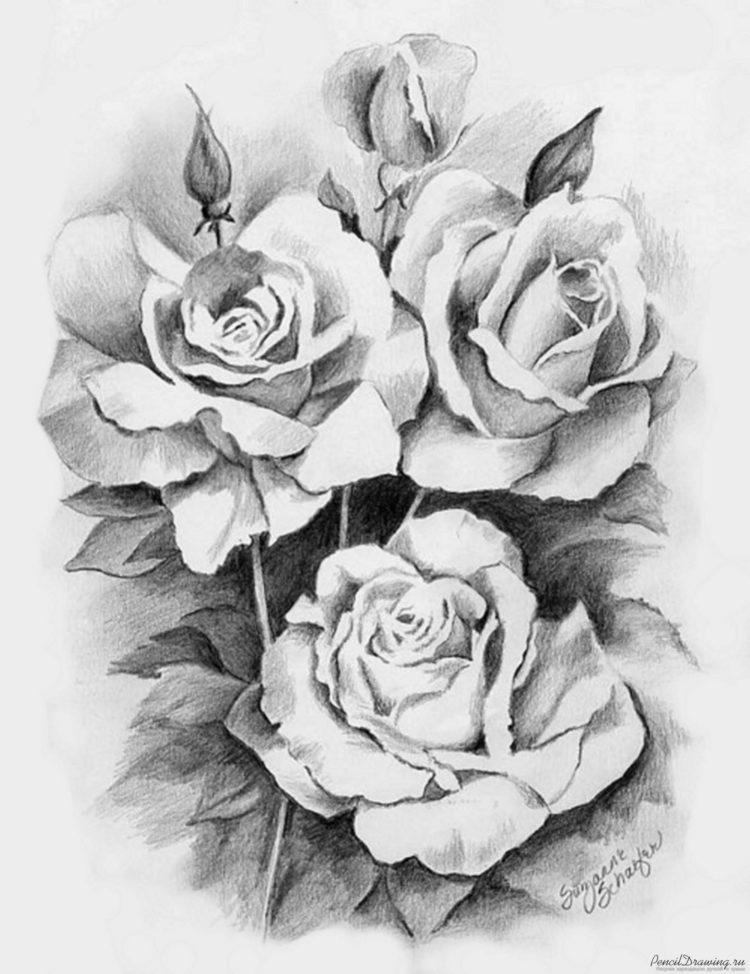
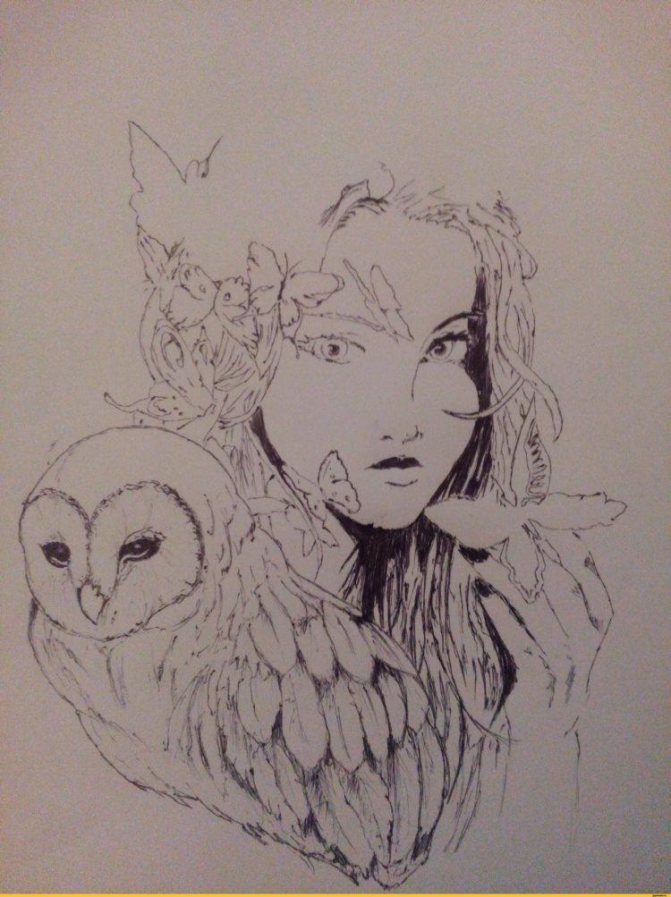
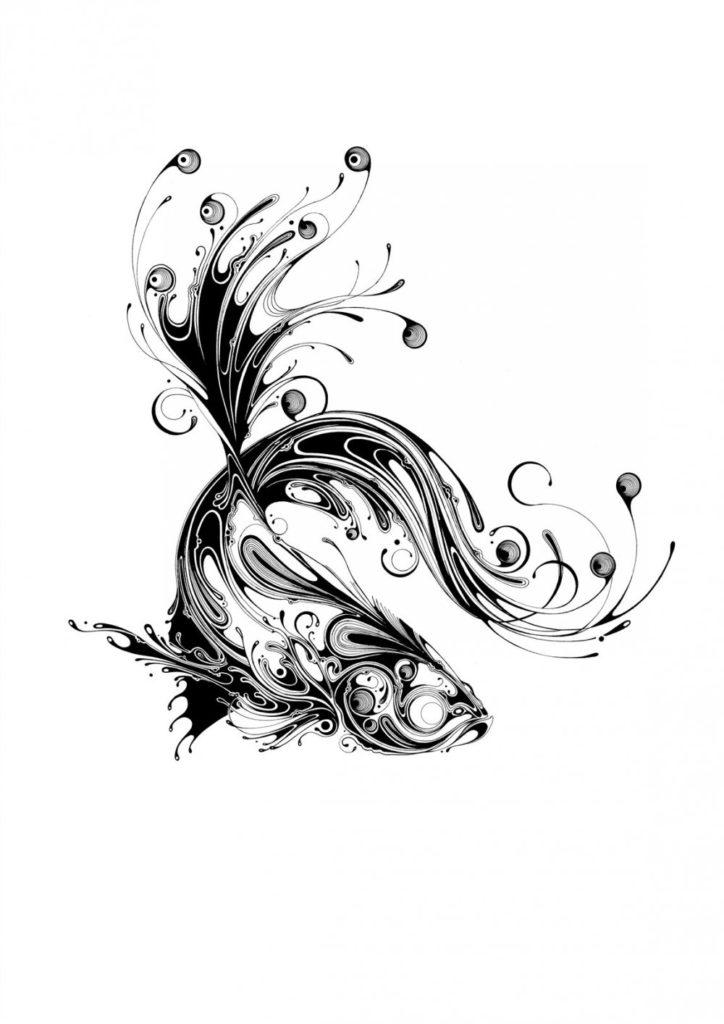
What can be depicted in black and white
Creating simple drawings in black and white is suitable not only for experienced artists, but also for beginners. This work does not require a large amount of time and special skills.
It is possible to depict with a black pen and a white sheet of paper:
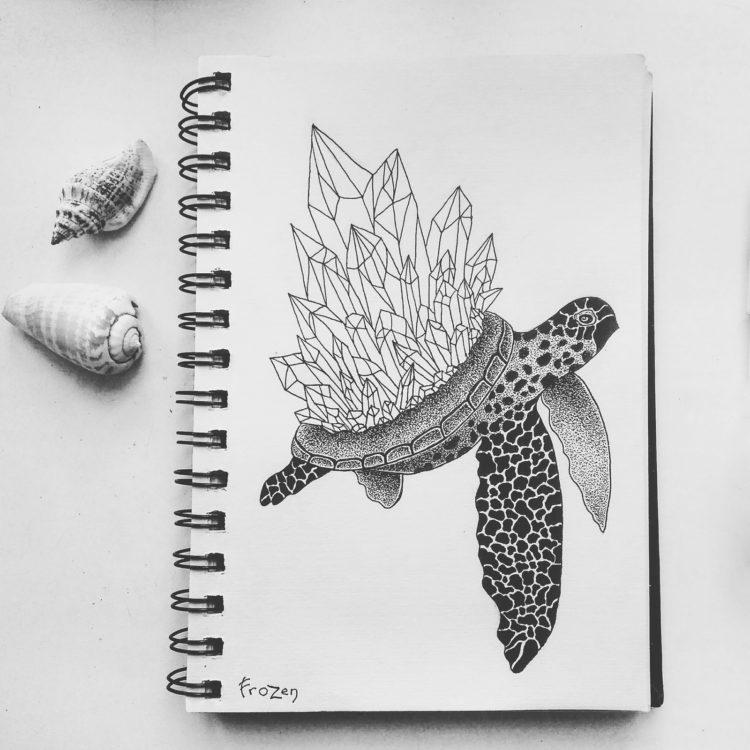
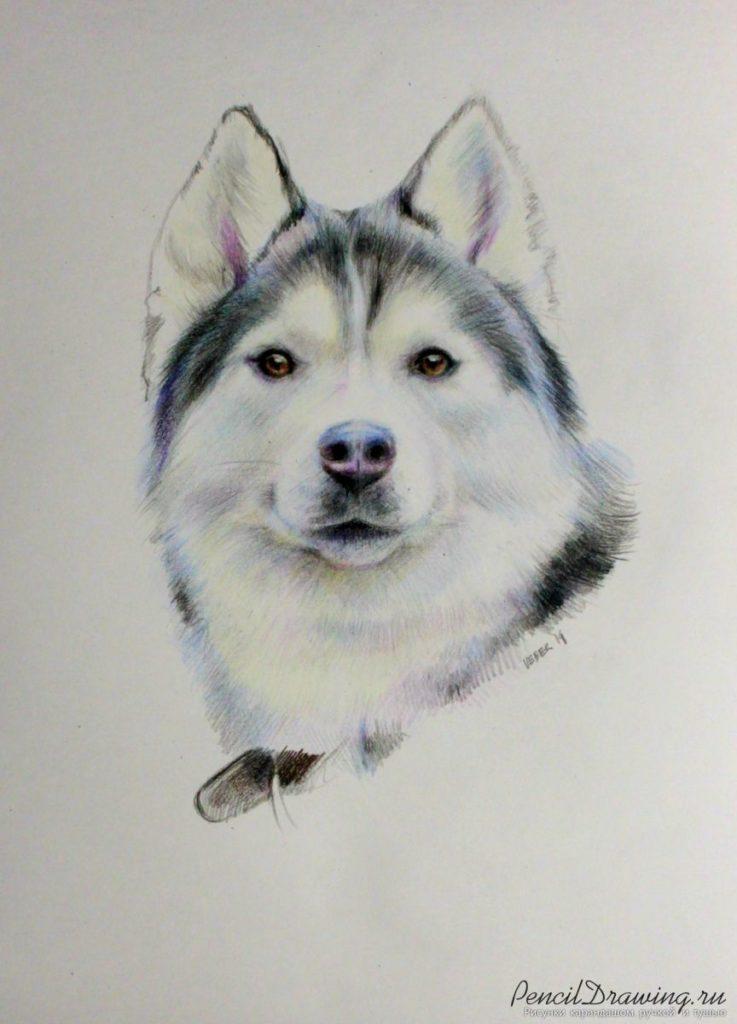
- Pets (they can look both realistic and cartoon style);
- wild animals;
- children;
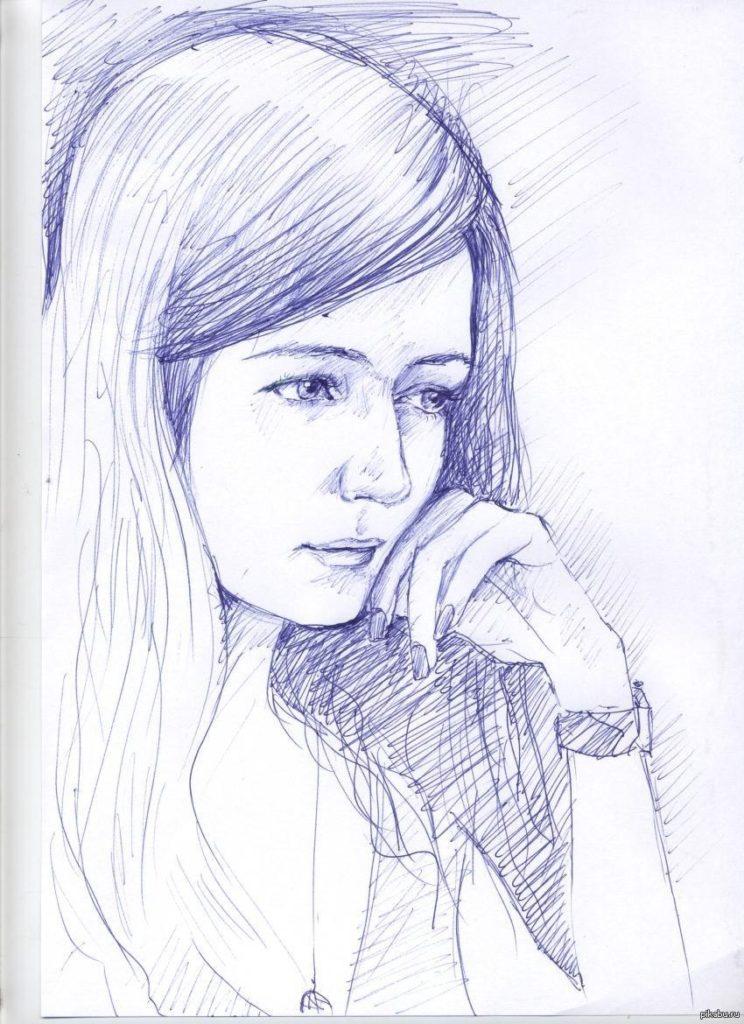
- adults (including full portraits and self-portraits);
- characters in comics, movies, books that are in motion and are part of a complete composition;
- anime characters;
- foodstuffs (both individually and as cooked meals);
- inanimate objects that are part of everyday life (e.g., furniture, toothbrushes, dishes).

Draw in a concise black and white style by following the basic steps formulated by professional artists to help fellow beginners:
- Select a source image for sketching. Looking for pictures is recommended on the Internet, as a large number of options presented there will help each person to find a picture that suits his inner state, as well as existing skills.
- Print the picture on a black and white printer.
- Put the source under the work surface. The sheet of paper on which the beginner plans to draw should have medium density, so that it is possible to see the outlines of the source image.
- Using a black gel pen, lightly pressing down on the rod, trace the outlines of the source image onto the work surface.
- Doris the details of the composition, trace the outline and apply shading, shadows and pen shadows in the right places with a ballpoint pen.
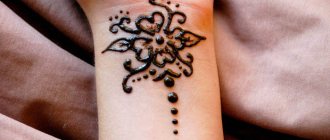
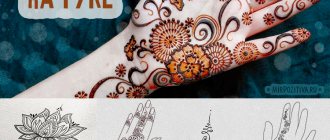
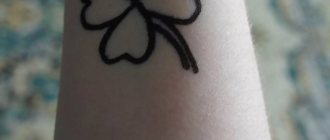
Tattoo patterns with a pen on the hand for beginners
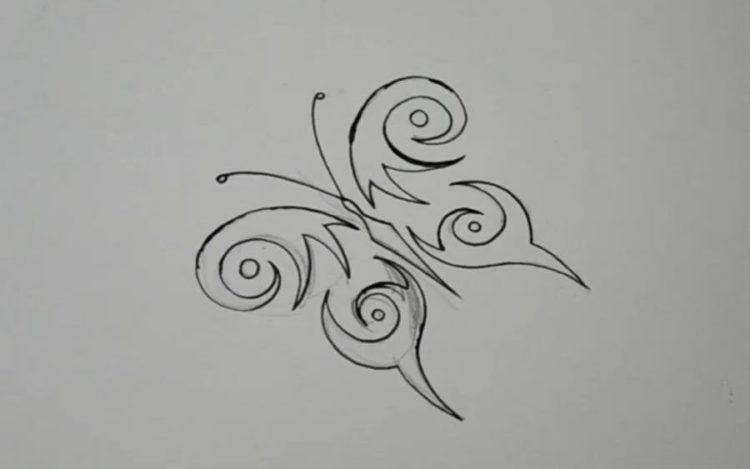
The most popular tattoos can be called patterns - this is a fairly simple option, which will cope and beginners. Such tattoos will look good on both guys and girls.
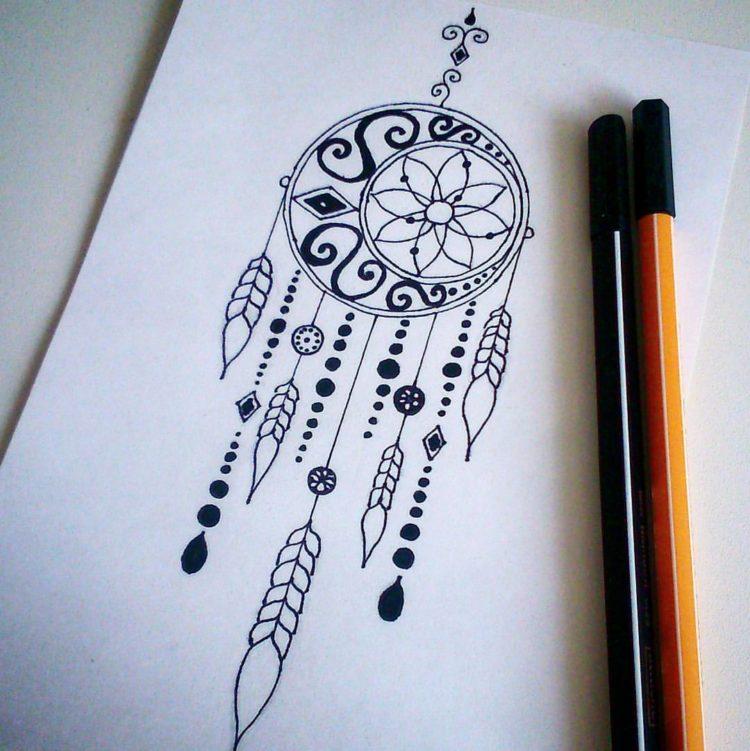
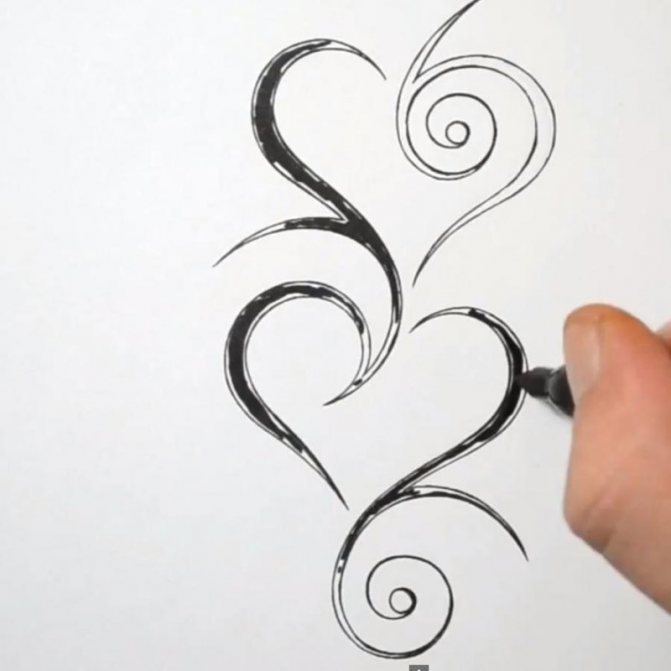
As a rule, the patterns consist of various curls, geometric figures and lines. It is possible to combine several kinds of patterns at once and try different techniques.
Like any other tattoo, the pattern can be performed on any part of the body. You can also experiment with the size of the pattern - from quite miniature to large. You can make an interesting composition of several patterns at once.
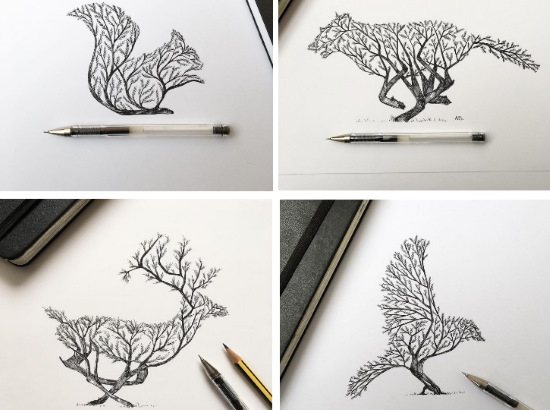
Study the options in the photo - some of them may well suit you.
Background and fixer for the patterns
The perfect and unique manicure can be made at home with ordinary gel pens. This process has several steps. To make the drawings on your nails look neat, you need to do a classic trimmed manicure or push back the cuticle, first softening it. Next, you need to paint the nail plate with nail polish. It is better if the nail polish will be one or two colors. Also, a manicure in the style of ombré will look great - one color flowing smoothly into the other. French manicure as a basis for a drawing with a gel colored pen is also great.
Beginner artists may not have enough experience to do these types of manicures, so you can just paint your nails with one color. It should be a shade that contrasts and harmonizes with the gel pen. For example, silver patterns look good on a black or dark purple background, and red on a yellow or white background. The base can also be transparent. Transparent nail polish can also play the role of a fixer. Before drawing on the nails, you need to wait for the base varnish to dry.
Popular drawings
Holding any pen in your hand, you need to have courage, determination and copy simple pen drawings. Black gel pen drawings come out crisp and contrasting. Drawing with a gel pen, you will get real pleasure from your work - it is an activity for the soul. The most interesting illustrations are collected in this small selection of popular gel pen drawings.


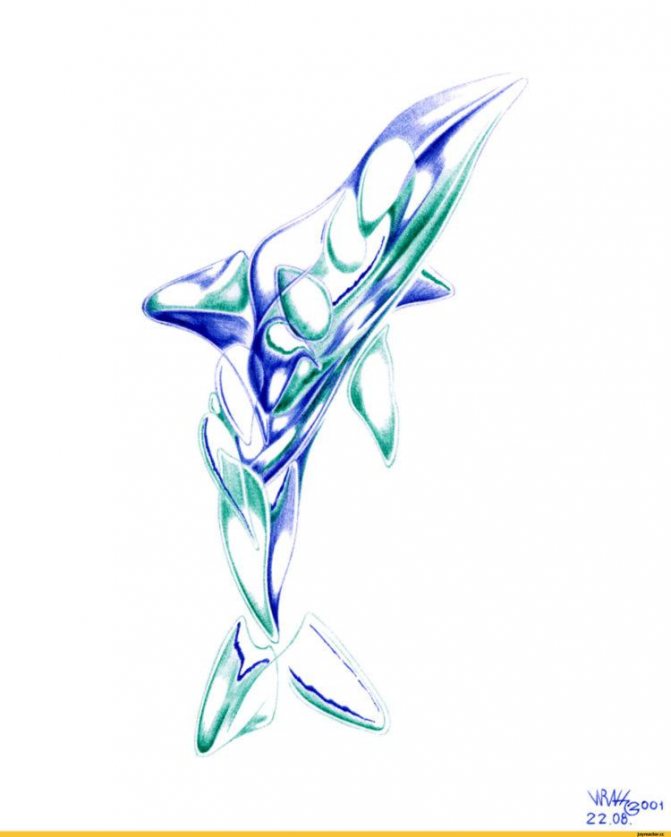

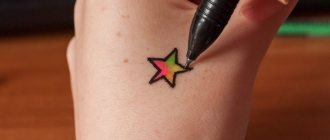
Ideas for tattoos with a pen on the hand: easy pictures
You can choose anything as a picture for a pen tattoo. Especially popular are the new fashionable options:
- Animals in a single line;
- Unusual patterns;
- Flowers;
- Inscriptions;
- Mini drawings.
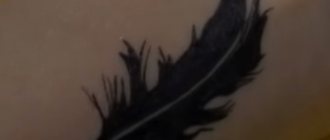
While the inscription may directly express personal wishes, other tattoo options will require sketches or blanks that can be redrawn
Particular attention should be paid to mini-drawings, performed in a minimalist style.
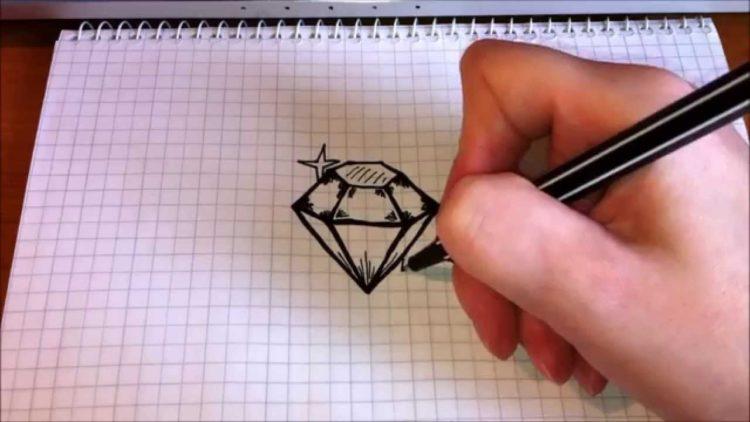
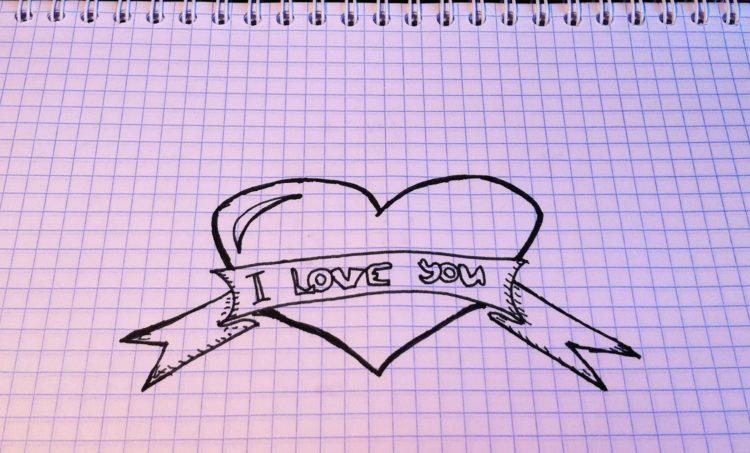
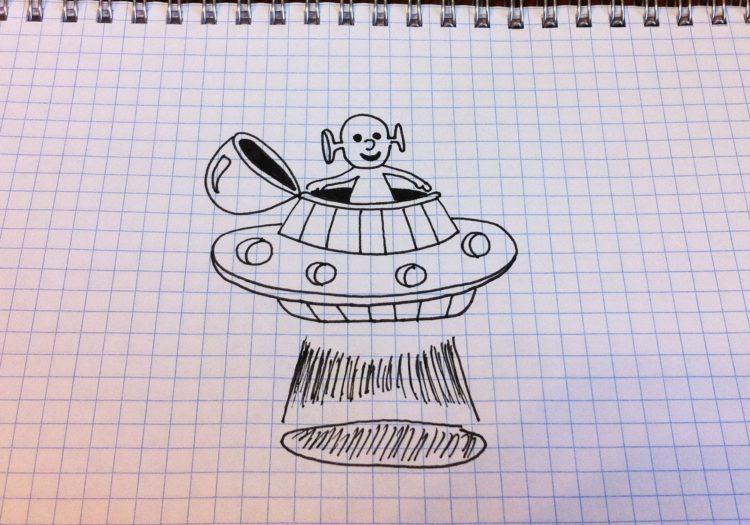
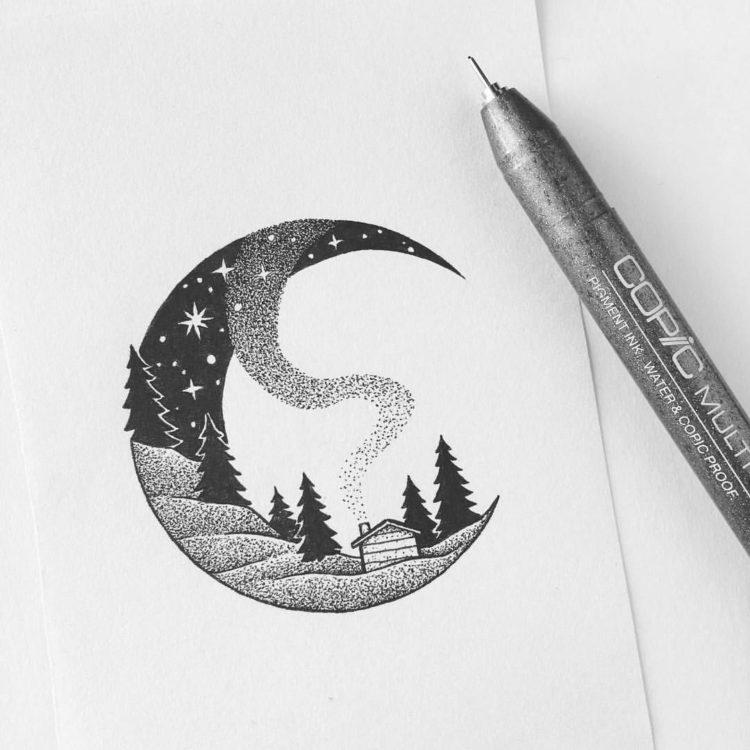
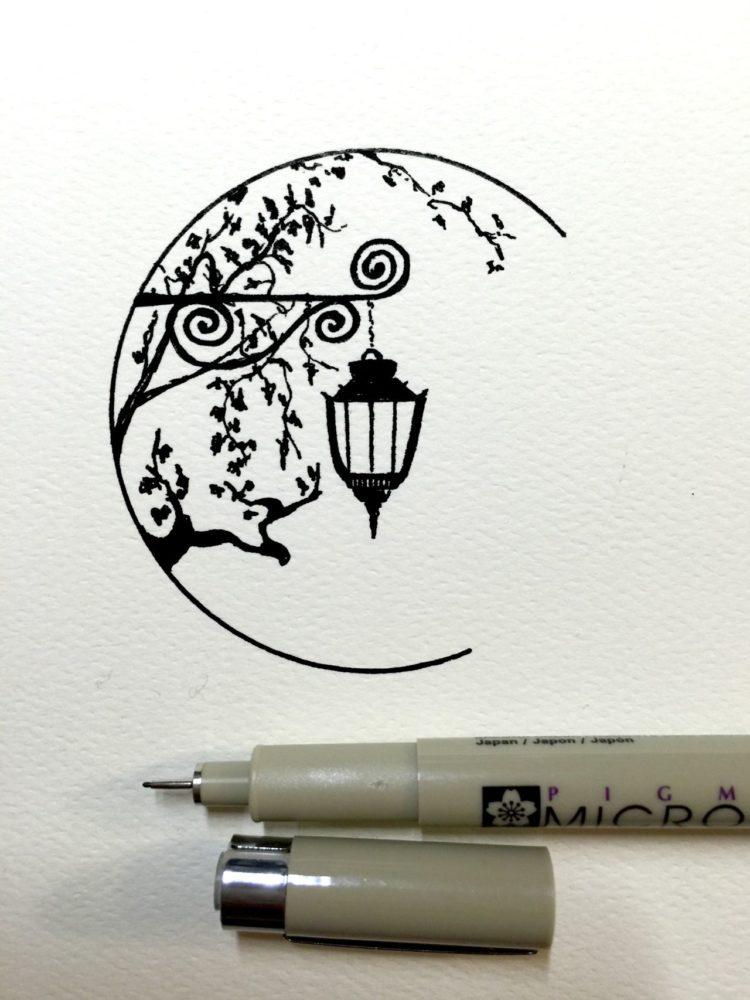
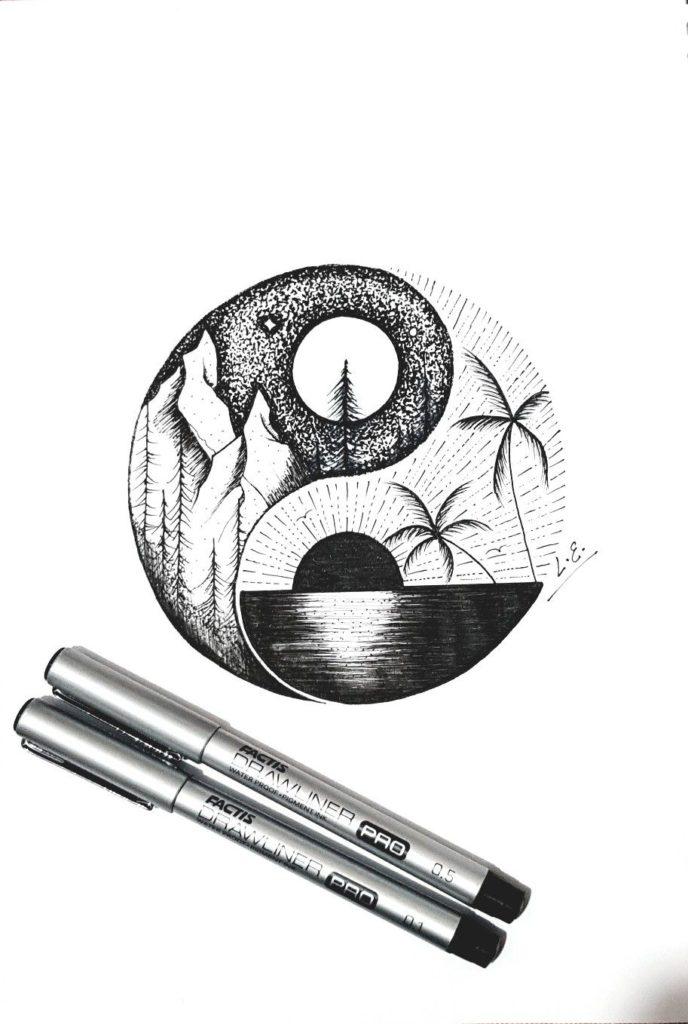
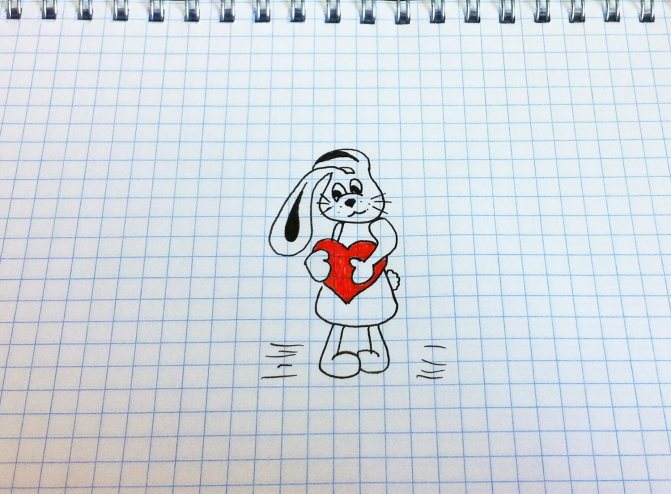
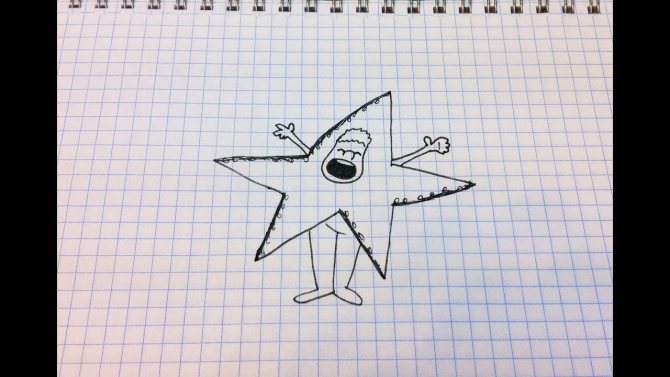
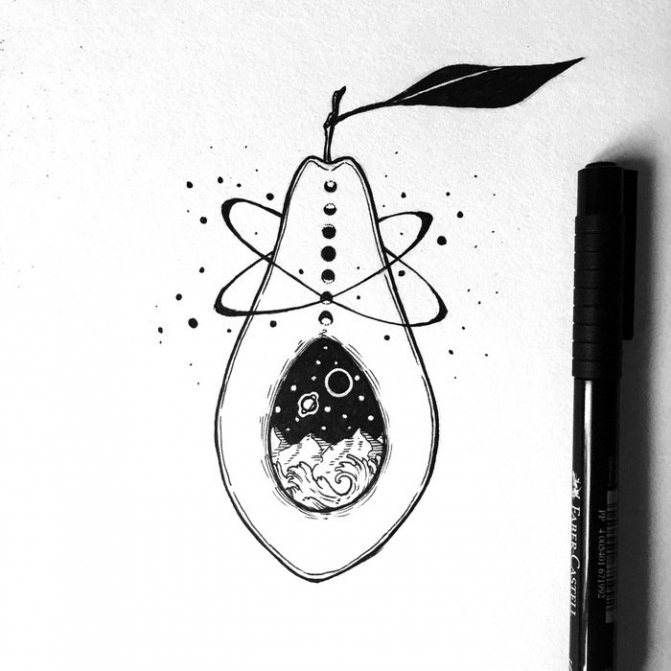
To such drawings can be attributed domestic objects, imaginary creatures, pictures from movies, outlines of different things, Internet memes, heavenly bodies (stars, moon, planets), hearts.
For example, some might draw a UFO saucer, and some might choose the famous trollface meme. The imagination here is not limited by anything.
The main rules of style for mini pen tattoos are:
- Small size;
- Simplicity of the drawing;
- Wide, bold lines;
- Exclusively outline.
If you follow these rules, you can draw a very beautiful and unusual tattoo and then change it as you see fit.
Some subtleties
The stems of gel pens tend to be thick, allowing the artist to draw in an uncommon dotting method called doodling. Since colored tools always do not draw too well, black gel pen graphics will be much richer and of higher quality
It is important to remember that gel paste tends to dry out quickly, so the rod must be used within a few weeks, otherwise it will stop drawing. Graphics drawn with a black gel pen will lose a little shine and hue after 2-3 days from the day of drawing
You need to draw the lines on the paper very carefully, because it will be impossible to wipe them off. It is also important not to forget that you should not touch the finished drawing, because the gel can smudge on the surface of the paper.
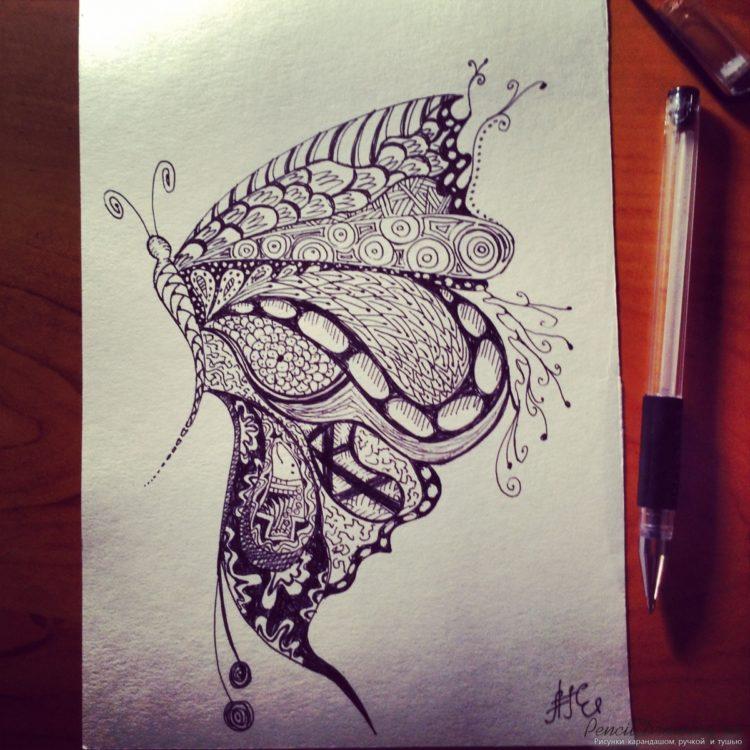
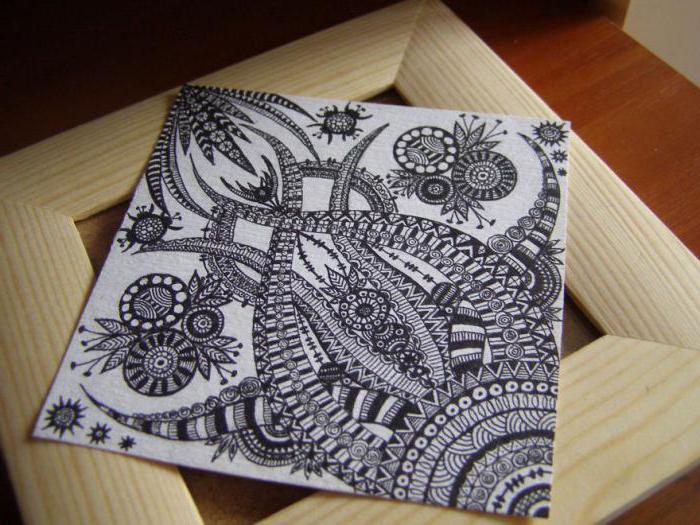
Patterns .
Anything can be drawn using such a technique as gel pen graphics. Patterns, for example, turn out just fantastic. When drawing patterns, you can afford to put almost any fantasy on paper. In order for the drawing to be original and unusual, it is necessary to use more than one gel pen. If you wish, you can add color to the pattern and take multi-colored gel pens. If your imagination does not allow the artist to disperse on paper and draw an exclusive pattern, the network expanses will provide a huge selection of different patterns and ornaments. Such pictures can be viewed, combined, and in the end draw something of your own, just based on the selected drawings. Or just stop at one pattern and draw only it. Either way the picture will turn out beautiful and interesting.
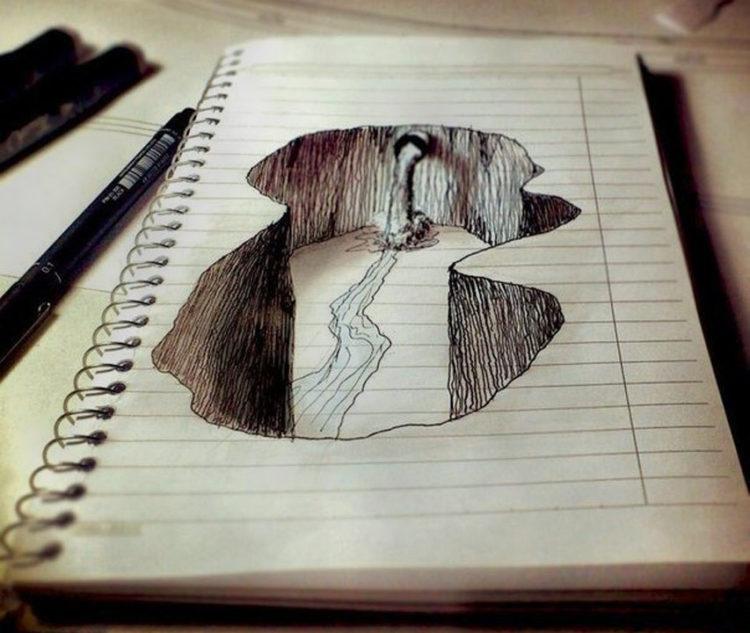
How to draw with a 3D pen | DIY
Do you want to bring your author drawings to life? Then you need a 3D pen.
With a miniature printer, you can draw toys that will be almost indistinguishable from the factory products, but absolutely free.
Don't believe it? Rather, try the possibilities of three-dimensional design at home, and all doubts will be put aside. With a simple movement of your hand you can bring to life the brightest and most original ideas.
What is a 3D pen?
A compact 3D pen is a unique tool for creative activities that literally draws in the air. According to the method of three-dimensional "printing" there are cold and hot 3D printers. In the first case photopolymers are used as an initial "raw material", and in the second - a special plastic thread of different colors.
"Magic" pens are especially useful for children of any age to develop spatial thinking, but adults (especially designers and artists) would also do well to master the innovative drawing technology in practice. The standard kit of the device includes a 3D printer and a power supply for connecting to the mains. The branded plastic thread for the pen must be purchased separately.
How to use?
Don't know how to draw with a 3D printer? That's okay - it's not difficult to learn how to use a miracle pen for its intended purpose. However, this "tool" can also be used for domestic purposes. For example, if you need to quickly restore the rickety plastic parts. At the initial stages, it is better to use the 3D pen for beginners.
No complicated manipulations are needed: connect the unpacked 3D printer to the mains, wait about 1-2 minutes until the device warms up, and then you can proceed directly to the creation. Load the plastic rod of the desired color, press one of the two buttons to start the painting process, and create any colorful composition that comes to mind.
Useful tips for beginners
If you want your 3D pen to draw directly in the air, you should buy ABS plastic. If you are using different surfaces for drawing, including paper, then PLA plastic is the best option, but it is advisable to use additionally laminated coating so that the melted plastic does not stick to the surface. And most importantly, try not to touch the ceramic nozzle of the device in the process, so as not to burn yourself.
When frequently changing plastic rods, you should pay attention to the light indicator. Red color indicates that the 3D pen is preparing to work, green indicates that you can start the drawing process
Using special templates, which are available on the Internet, you can depict Dilka or another character. There are no limits to your imagination.

In the process of 3D drawing you can adjust the feed rate of plastic and its density (these functions are not supported by all models).
Advantages of the gadget
The 3D pen draws in real time - everything you depict on paper, almost instantly becomes real. You can take a picture in your hand, taste it and draw further. This process is exciting from the first minute. Even if at first you get something incomprehensible, interest in creation is not lost. Gradually the figures will begin to take clearer outlines and pronounced shapes, and the smell of burnt plastic will cease to be disturbing.
Mini printers draw absolutely everything on paper or in the air. It can be as simple pictures as complex three-dimensional models. Either way it is always very exciting and cute.
The pen is comfortable in the hand and has a light weight, which allows you to draw individual lines carefully.
For a detailed overview of the device's capabilities, you can view a drawing master class in the video on the website, and learn more details in the new article about 3D pens.
Check it out