Uncomplicated drawings, which require the use of an ordinary pen, by their technique are best suited for novice artists. The only difficulty in creating such images is the need to take into account the features of a particular type of working tool (gel or ball type).
Having mastered the basic skills of drawing with paste, a beginner will be able to decorate his notebook with colorful pictures or create a portrait of a real person, with the characteristic features of his appearance.
Features of drawing with a pen
Drawings with a pen for beginners will turn out better if, when choosing a working tool, the artist will take into account the peculiarities of using each type of pen.
When creating images with a gel pen, it is recommended to pay special attention to:
- The absence of an overly oily structure of the rod filler. If the paste is greasy, when working with images, previously drawn lines and details will be blurred, which will provoke the need to start over.
- Ability to create variations in line thickness with a particular rod. If a worksheet of paper is placed on the page of an open, thick book, the lines created by a quality gel pen will be thicker than the actual diameter of the rod.
- To create thinner lines, you need to place the paper on a hard, perfectly flat surface, such as a polished wooden table or glass.
Drawings with a pen for beginners will be beautiful if you choose the right tool, namely a pen
The most significant features of using ballpoint pens by beginner artists are:
- The need to avoid touching the working surface with your hands while creating an image, because it is impossible to remove ballpoint pens prints from the paper without leaving them behind. This is especially true if a beginner works with shading and shadowing with a pen.
- It is possible to get different halftones using only one pen. Variations in shades arise due to the different force of the pressure on the rod, the inclination of the pen itself and the density of the strokes being applied.
- In order to apply the hatchings correctly, it is necessary to mark the interface line between the 2 planes. Under this line, the strokes of the ballpoint pen must be horizontal, and above it, vertical.

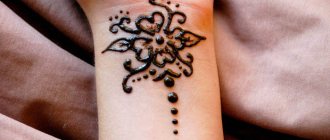
You don't need to be an artist
You do not need to be a manicure specialist or have experience as an artist. Drawings and patterns with gel rods on the nails can be done even by an inexperienced person. This requires patience, assiduity, inspiration and, of course, pens. Often the work of novice masters of nail art cannot be distinguished from the work done by professionals. But first it's better to train to do the simplest drawings, trying to make them look the same on the nails of the left and right hands. If you are right-handed, painting with gel rods with your left hand will require some dexterity.
This tool is recommended for beginners, because unsuccessful drawings are very easy to wash away with water. And to fix a successful result, you need to wait for the pattern to dry, and then cover the nail with colorless varnish. This kind of manicure is also loved by experienced craftsmen, because the texture of the gel pen has a noble sheen, and the rod has the optimum thickness. Even very complicated drawings with many small details can be depicted with this pen.
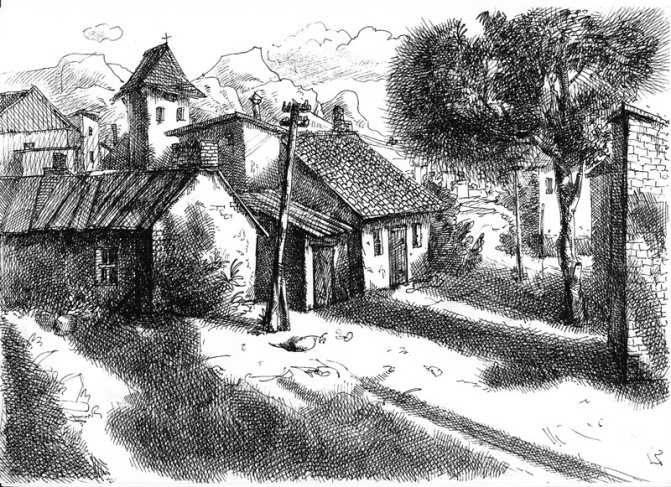
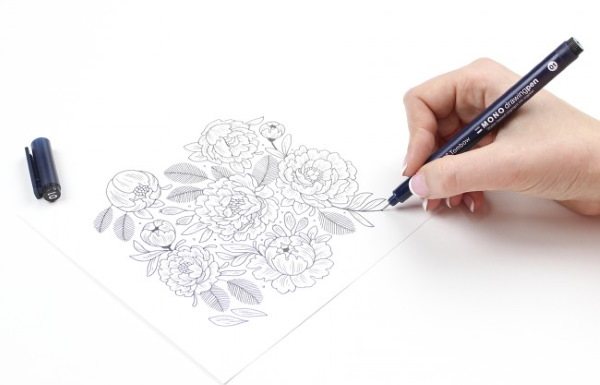
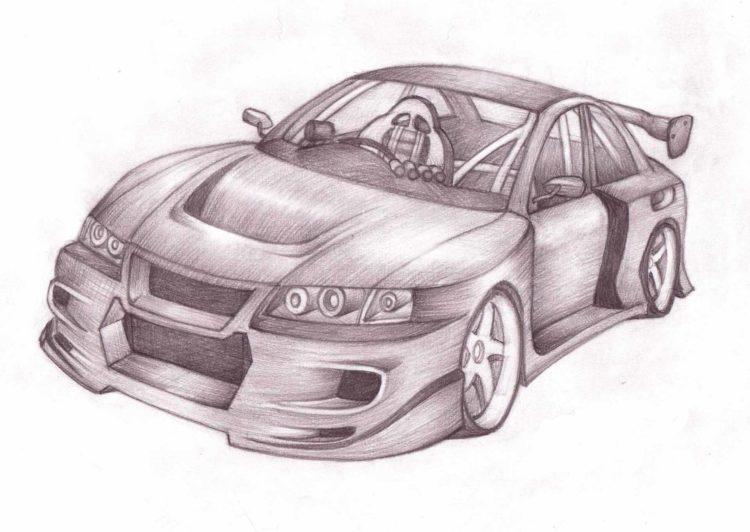
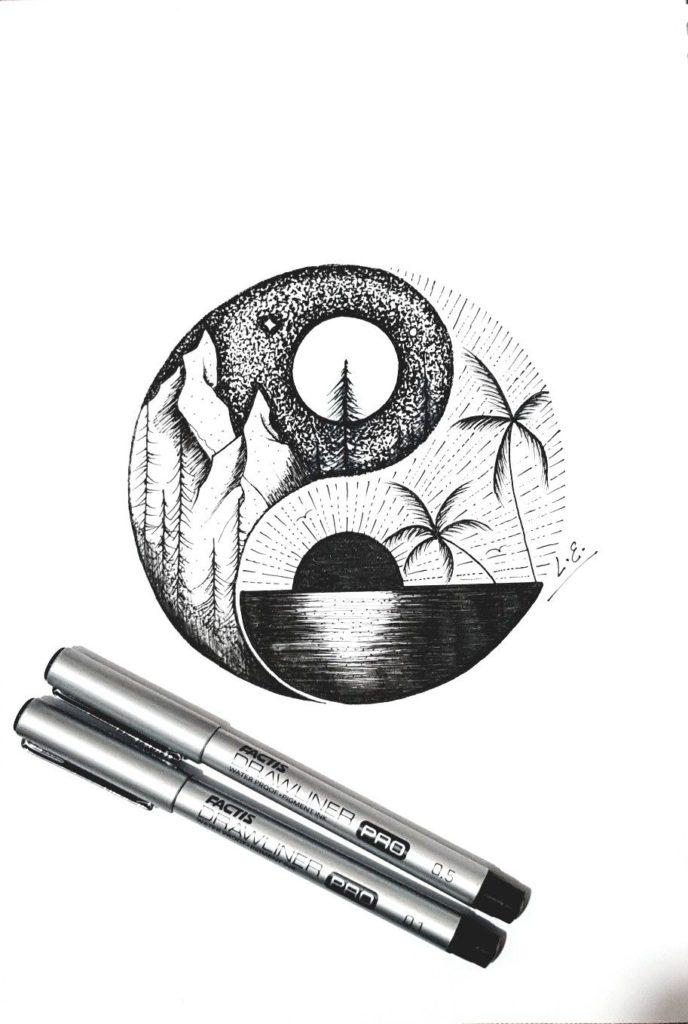
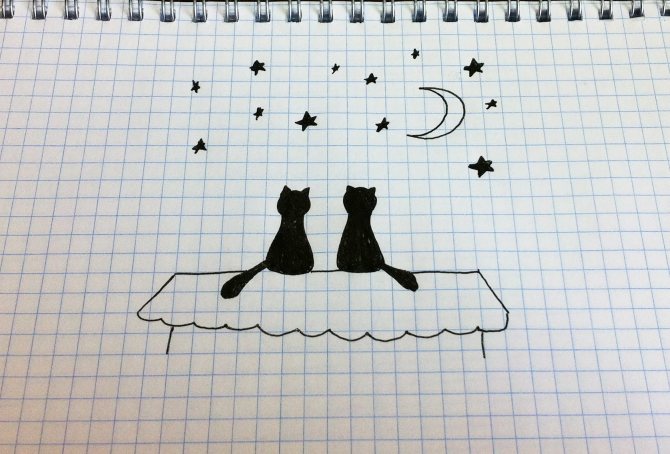
What you can do in black and white
Creating simple drawings in black and white is suitable not only for experienced artists, but also for beginners. This work does not require a large amount of time and special skills.
You can depict with a black pen and a white sheet of paper:
- domestic animals (they can look both realistic and cartoon style);
- wild animals;
- children;
- adults (including full portraits and self-portraits);
- characters in comics, movies, books, which are in motion and are part of a complete composition;
- anime characters;
- foodstuffs (both individually and as ready meals);
- Inanimate objects that are part of everyday life (e.g., furniture, toothbrushes, dishes).
Draw in laconic black-and-white style, following the basic steps formulated by professional artists To help fellow beginners:
- Select a source image for sketching. Looking for pictures is recommended on the Internet, as a large number of options presented there will help each person to find a picture that suits his inner state, as well as existing skills.
- Print the picture on a black and white printer.
- Put the source under the work surface. The sheet of paper on which the beginner plans to draw should have medium density so that it is possible to see the outlines of the original image.
- Using a black gel pen, lightly pressing down on the penstick, trace the outlines of the source on the work surface.
- Doodle the details of the composition, trace the outline and apply shading, shadows and pen shadows in the right places with a ballpoint pen.
Paper
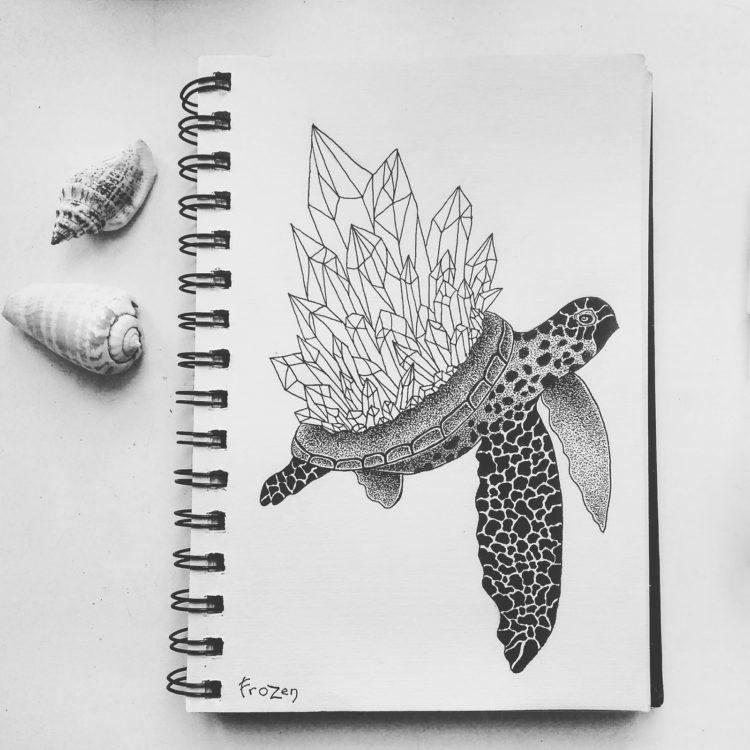
Any paper is fine. You can have a notebook like Moleskine with thick sheets, so you can draw on both sides. I have several kinds of notebooks. I have a watercolor notebook on a spring, a moleskine, regular printer's sheets, fastened with a metal spring and a homemade sketchbook, which I sewed by my own hand. What's handy about a sketchbook is that it's always on hand. Just don't get notebooks with textured paper. Texture is more for watercolors. And for a full-fledged drawing a usual sheet of A4 or A3 will do, as well as any smooth thick paper.
In 2021 I drew with a fountain pen on textured paper. I was very happy with the result, but it's better on smooth paper.

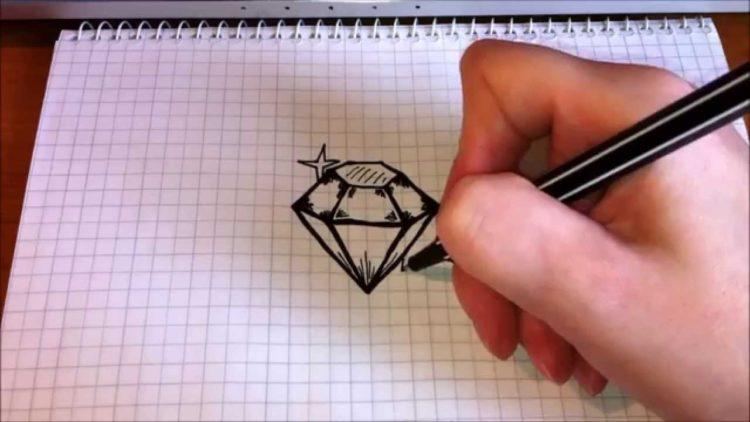
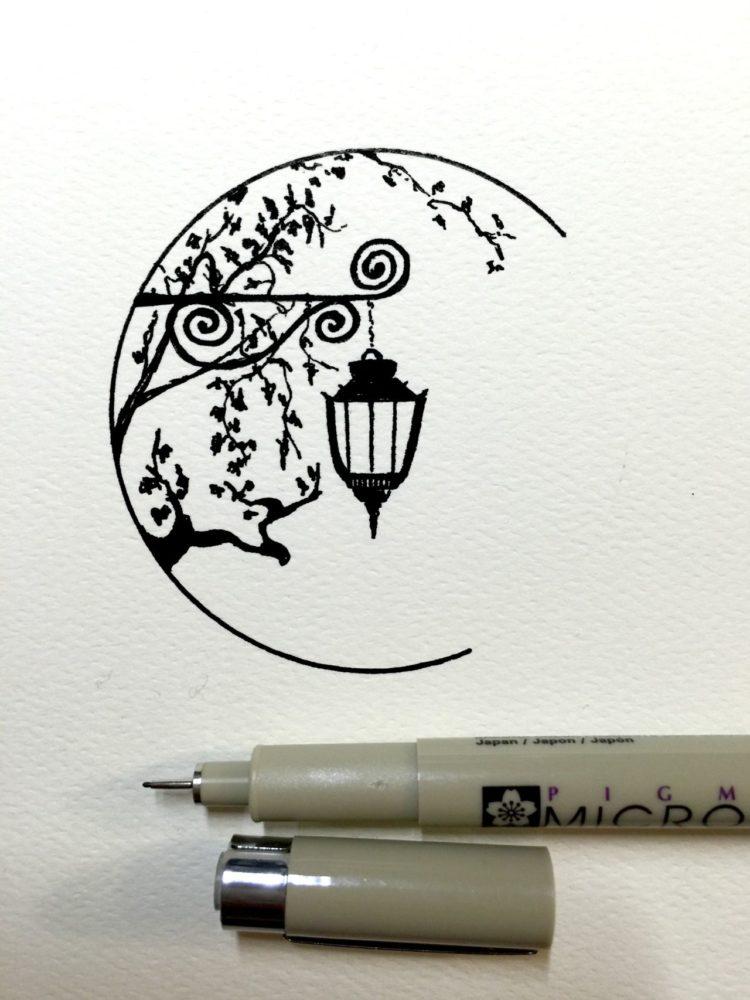
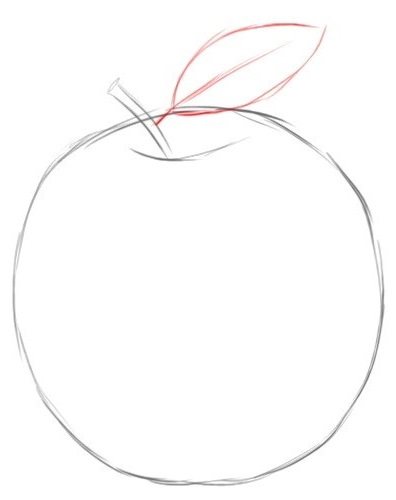
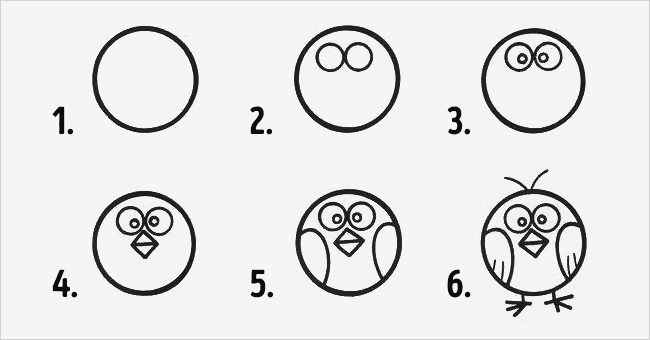
Easy drawings with a pen
Beginner pen drawings should have a minimum number of elements so that the artist can concentrate on refining a specific detail, avoiding scattered attention.
| Example of a pen drawing | The sequence of steps for its creation |
|
|
|
|
Background and pattern fixer
Perfect and unique manicure can be made at home with ordinary gel pens. This process has several steps. To make the drawings on your nails look neat, you need to do a classic trimmed manicure or push back the cuticle, first softening it. Next, you need to paint the nail plate with nail polish. It is better if the nail polish will be one or two colors. A manicure in the style of ombré will look great, too: one color fades into another. French manicure as a base for a gel colored pen drawing is also great.
Beginner artists may not have enough experience to do these types of manicures, so you can just paint your nails with one color. It should be a shade that contrasts and harmonizes with the gel pen. For example, silver patterns look winningly on a black or dark purple background, and red - on a yellow or white background. The base can also be transparent. Transparent varnish can also play the role of a fixer. Before drawing on the nails, you need to wait for the base varnish to dry.
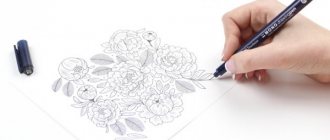
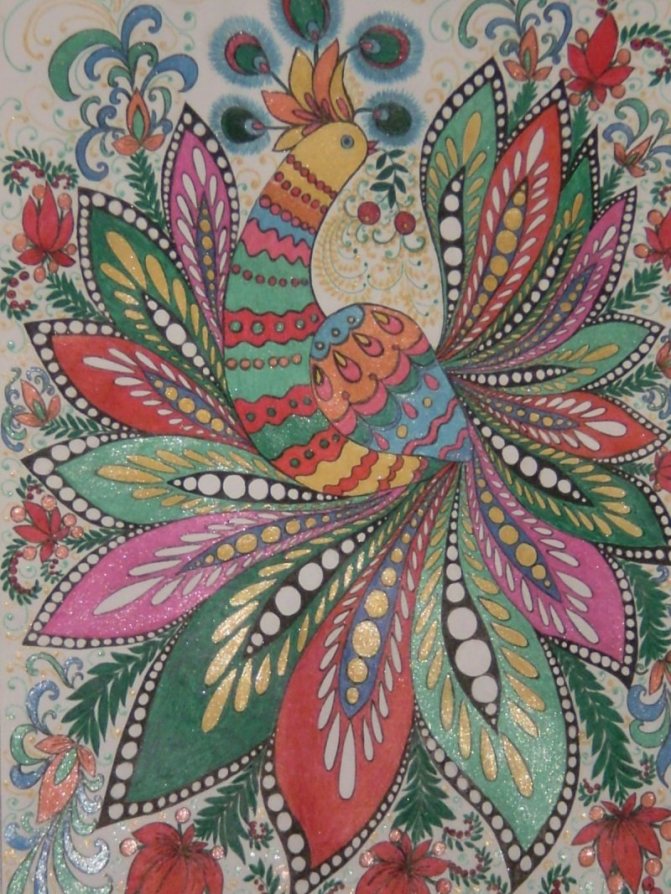
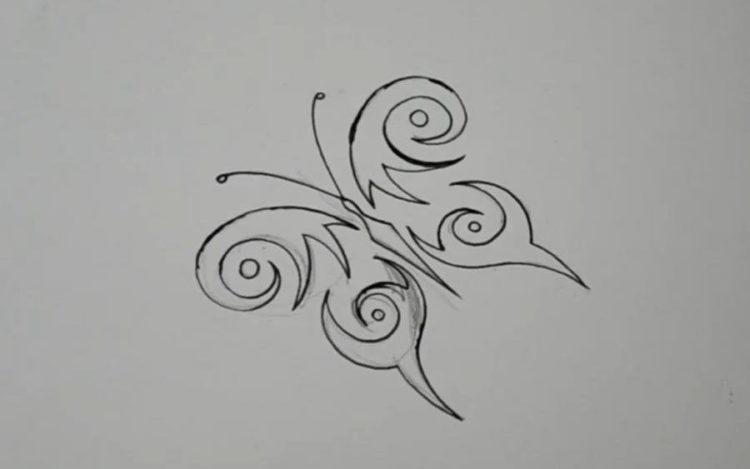
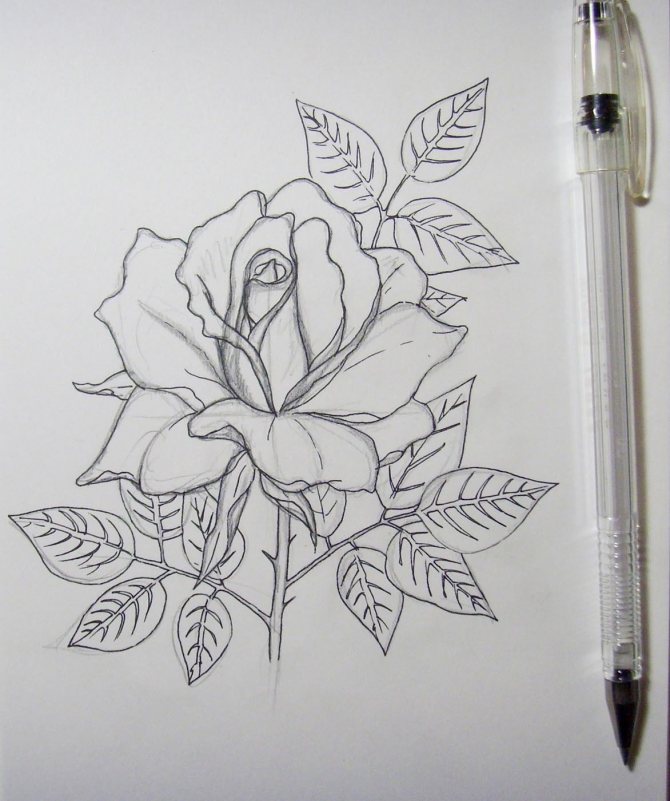
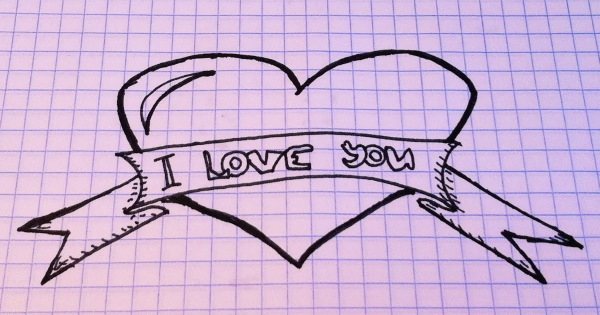
Beautiful drawings in different colors
In the presence of multi-colored pens, it will be possible to create bright drawings that can later be used to decorate diaries or design living spaces.
| Example of drawing with a pen | Sequence of steps for its creation |
|
|
|
|


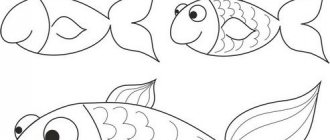
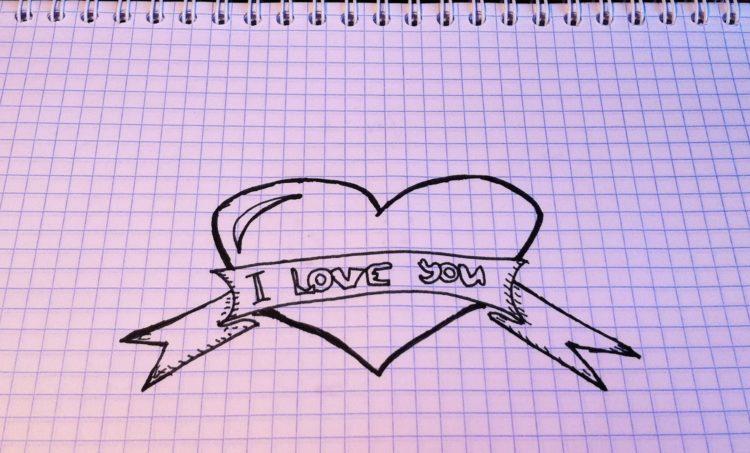
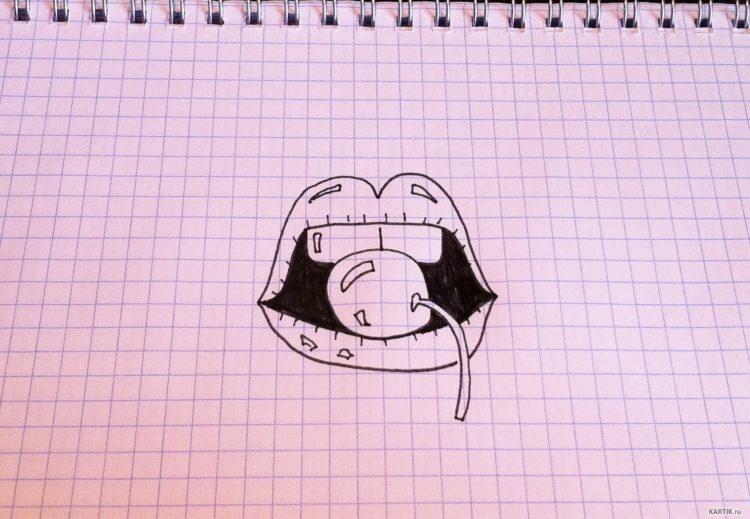
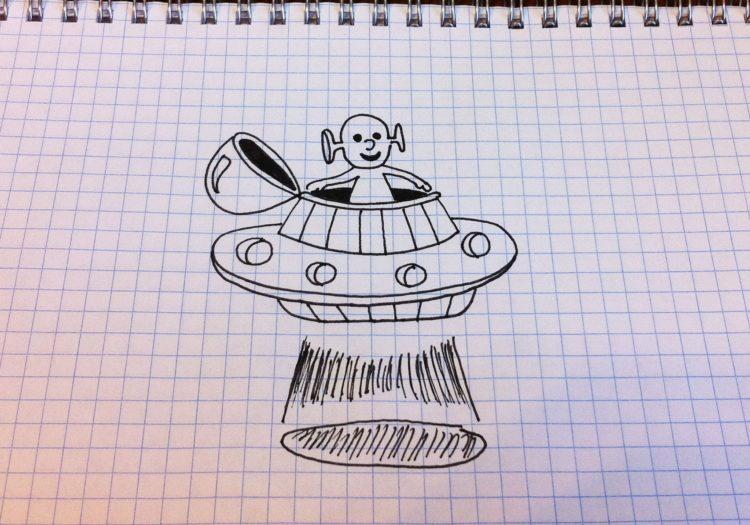
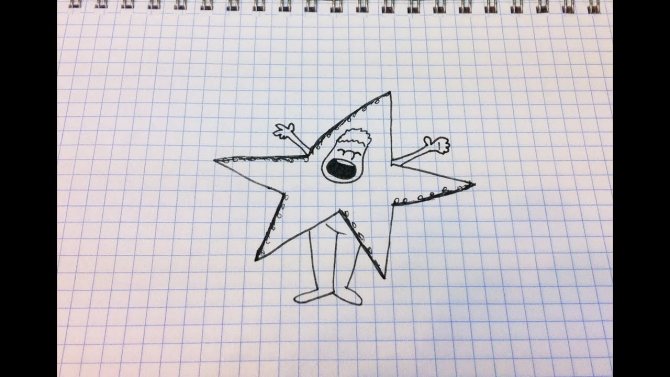
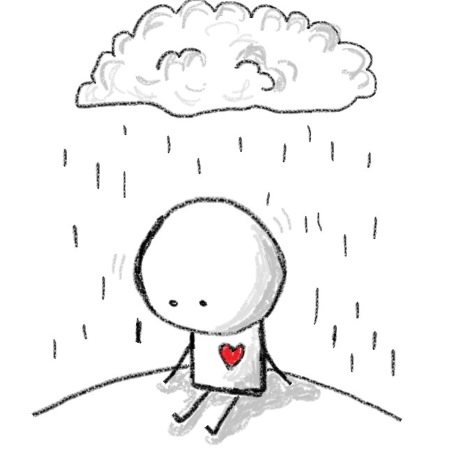
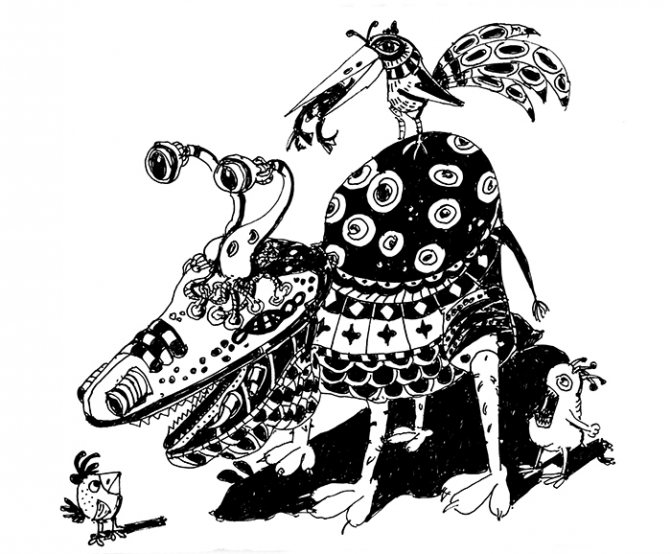
Funny drawings
Pen drawings for beginners usually reflect the emotional state of artists.
For those who are in good spirits, such sources will do:
| Example of a pen drawing | The sequence of steps for its creation |
|
|
|
|

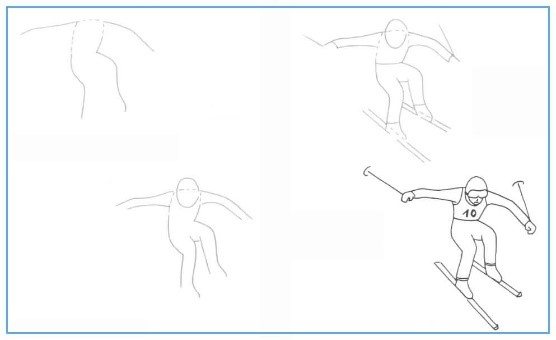
People
One of the most challenging tasks for beginning artists is to create a drawing of a person with a pen.
| Example of a drawing with a pen | The sequence of operations for its creation |
|
|
|
|
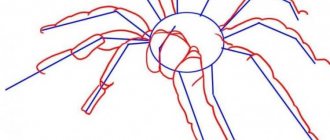
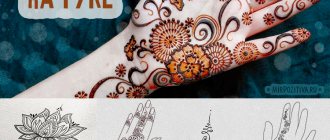
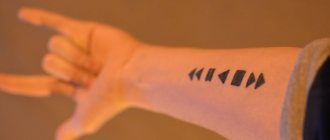
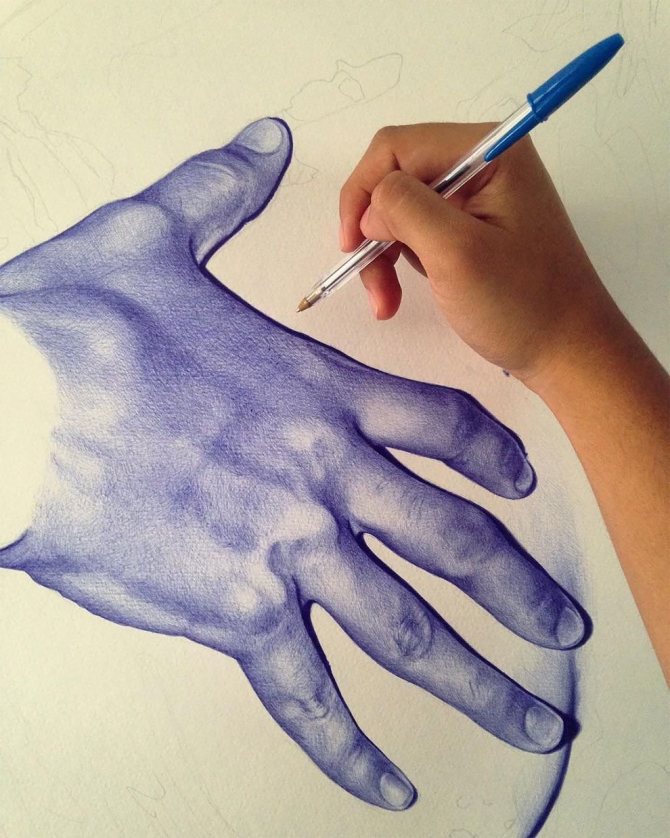
Arm
It is recommended to draw the upper extremities with the pen according to the generally accepted algorithm:
- Mark out the general outline of the hand, using landmark points located in the areas of the supposed wrist (2 points) and fingers (5 points).
- Draw the contour of the fingers using vertical lines of different lengths.
- Round the contours of the fingers, giving them a realistic shape.
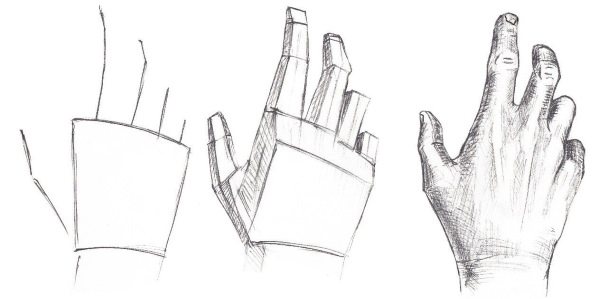
- To correct the contour of the hand. Make it clearer by redrawing the outline.
- Mapping out the fingertips.
- Finish with hatching.
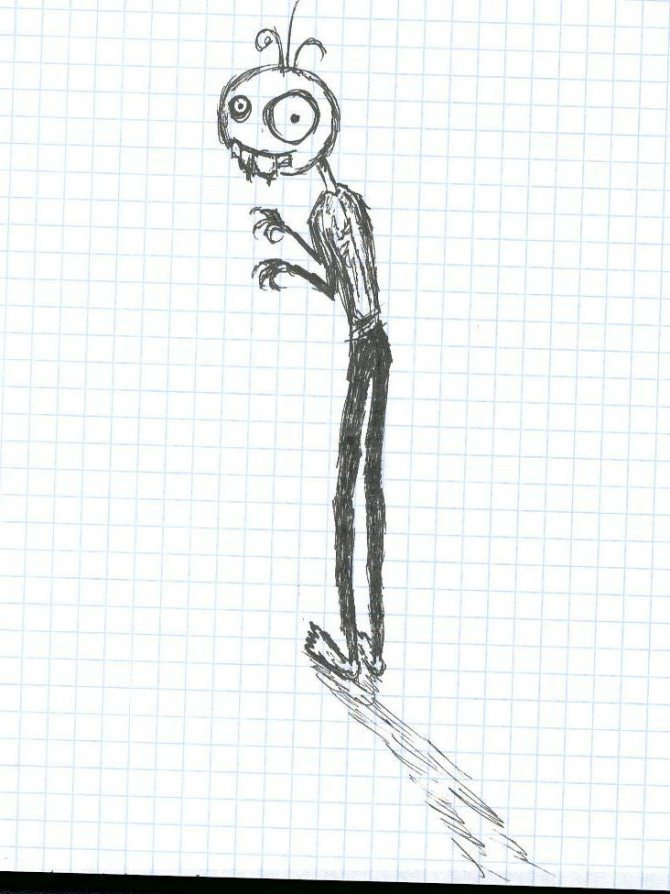
Tinting
1. There is a different type of shading. You can make a drawing in black and white (without gray tones).
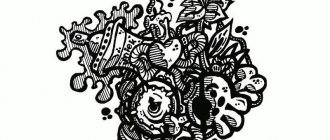
Miracle-devil
2. You can hatch with intersecting lines. Lines are superimposed one on top of the other, changing direction. This tinting option will give you many shades of gray.
Eye
An eye can be drawn with a pen like this:
- Outline the approximate shape of the future eye using 3 upward curved semi-circles, spaced at different distances from each other, and 2 downward curved semi-circles, drawn as close together as possible.
- Adjust the borders of the figure,
- In the inner area of the resulting figure draw a circle.
- Inside the main figure, draw a smaller circle (pupil).
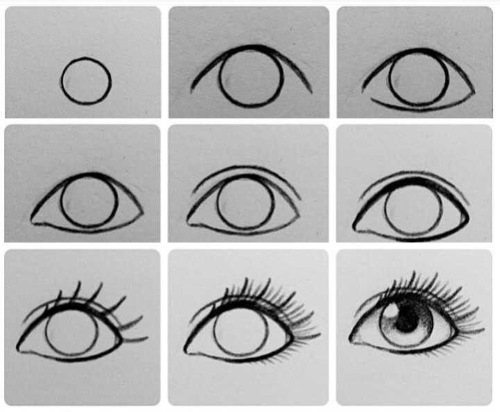
- At the pupil draw highlights: 1 small, located just above the central area of the pupil, and 1 larger, located on the left side of the viewer.
- Use shading to recreate the shadows.
- Darken the pupil.
- Dot the eyelashes with smoothly curved lines coming out of the upper and lower eyelids.
Being a handy tool for every artist, a pen, whether a beginner or an experienced one, allows you to spontaneously create drawings, succumbing to the creative impulse in any place.
Not only can such pictures become a decoration for notebooks, diaries or notepads but they allow a person to discharge his accumulated emotions, relax and stabilize his psycho-emotional state.
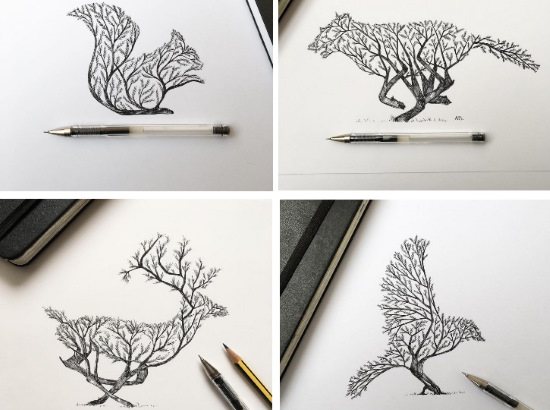
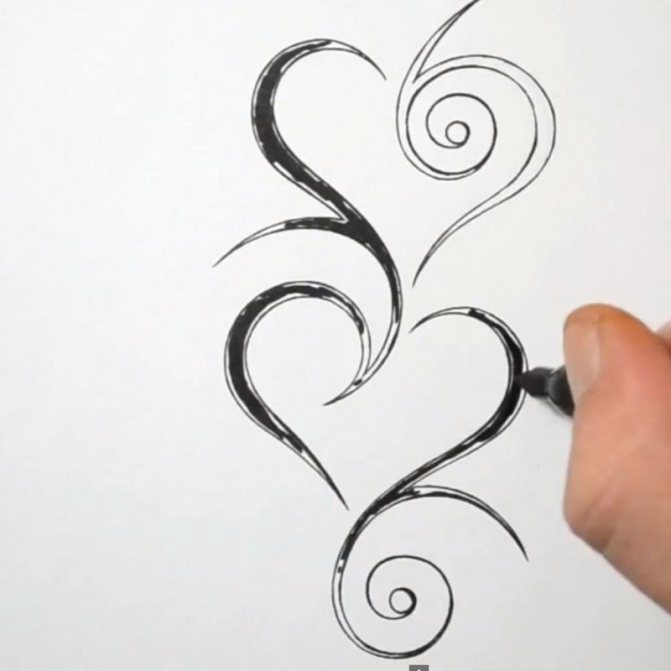
Some subtleties
The stems of gel pens are usually thick, which allows the artist to draw with an uncommon dotting method called dotwork. Since colored tools always draw not too well, the graphics with a black gel pen will be much richer and of higher quality
It is important to remember that gel paste tends to dry out quickly, so the rod must be used within a few weeks, otherwise it will stop drawing. Graphics drawn with a black gel pen will lose a little shine and hue after 2-3 days from the day of drawing
It is necessary to draw lines on paper very carefully, as it will be impossible to wipe them off. It is also important not to forget that you can not touch the finished drawing, because the gel can smudge on the surface of the paper.