Butterflies are beautiful creatures, whose life is so short. However, it is possible to perpetuate the symbol of fragility and tenderness on the skin. Tattoo in the form of a butterfly has multiple meanings, as different peoples of the world interpret the ancient image in different ways.
Undoubtedly, the tattoo adorns the body. However, each picture has both an explicit and hidden meaning, which may affect the destiny of the person. Therefore, the choice of tattoo, first of all, should be based on the symbol that bears the picture. The tattoo of a butterfly is one of the oldest drawings, the meaning of which has many interpretations.
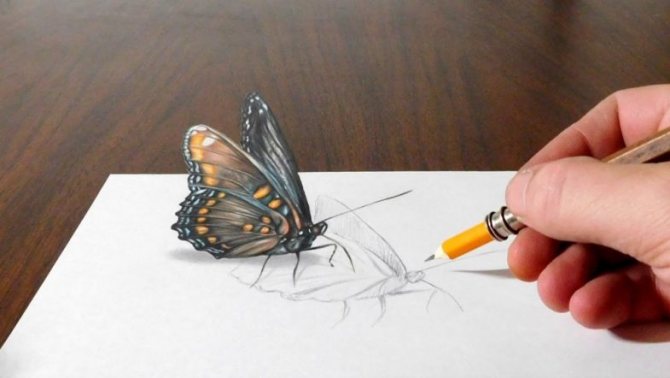
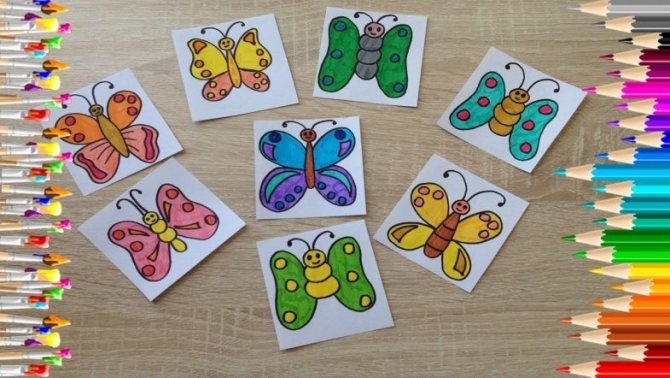
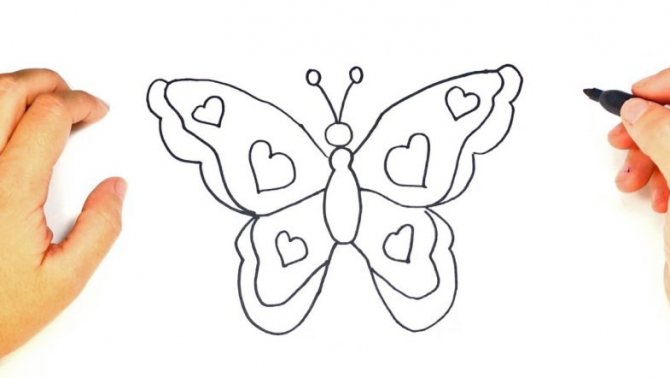
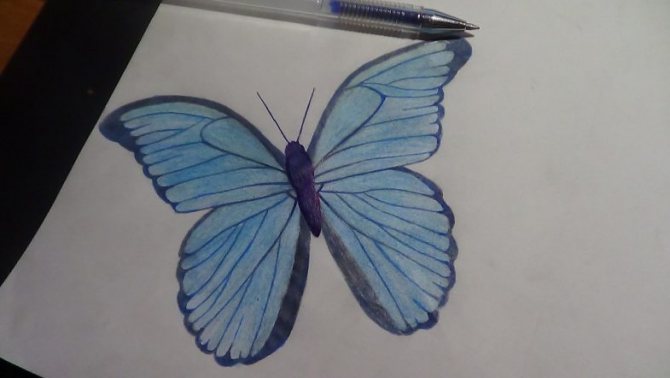
The butterfly is easy
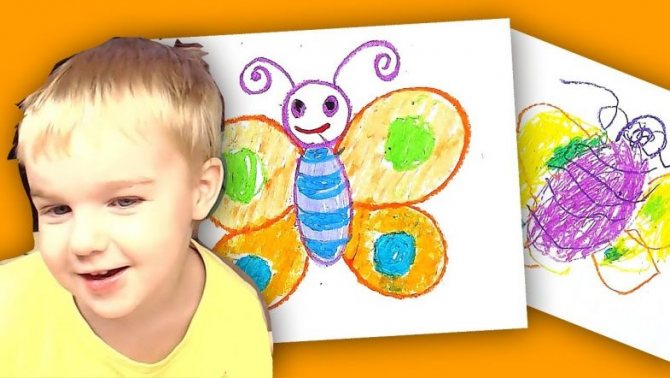
The butterfly is a universal option for work, suitable for professionals, as well as for beginners and children. This lesson does not require high skill and will be understandable for children.
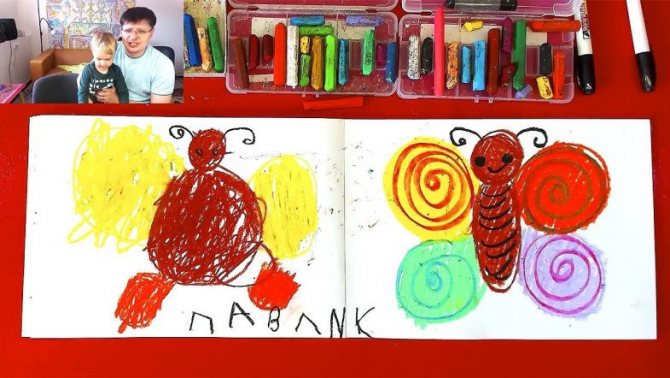
Children love to draw bright pictures, so they will definitely be attracted to this colorful insect, which has an unusual coloring.
With such step-by-step instructions suitable for both children and adults, you can easily and beautifully draw a butterfly step by step.
From folded paper
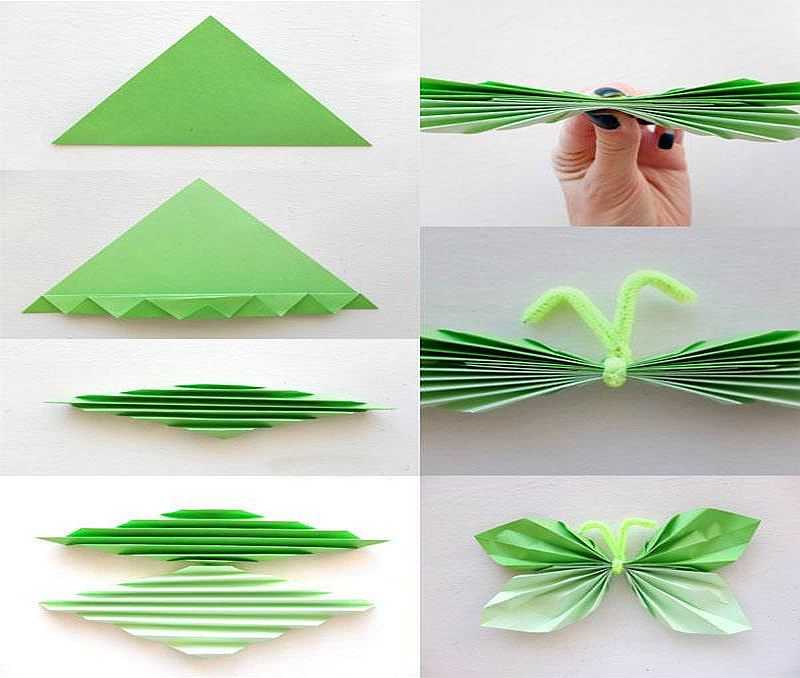
From double-sided colored paper or old magazines, you can make paper butterflies for decoration by folding them into a fine accordion. Cut two squares or rhombuses of paper (one slightly larger, the second - slightly smaller), fold them into a fine "accordion", starting from one of the corners. The shallower the fold will be, the more interesting it will be the product.
How to make butterflies out of paper for wall decor
Two folded rhombuses add up one to the other, tie it in the middle with thread or flexible wire in a shell of a suitable color. From the remnants of the wire make tendrils, wings straighten, correct the shape if desired.
Accessories for the drawing
When performing such an easy drawing do not need professional materials, everything can be found at home. For the drawing you need:
- A sheet of paper
- A basic pencil
- Ruler
- Eraser
- Colored pencils, paints, felt-tip pens depending on what will be colored drawing.
If you will use paint, you will also need a cup of water, a brush, and preferably a special paper for paint.
From corrugated paper
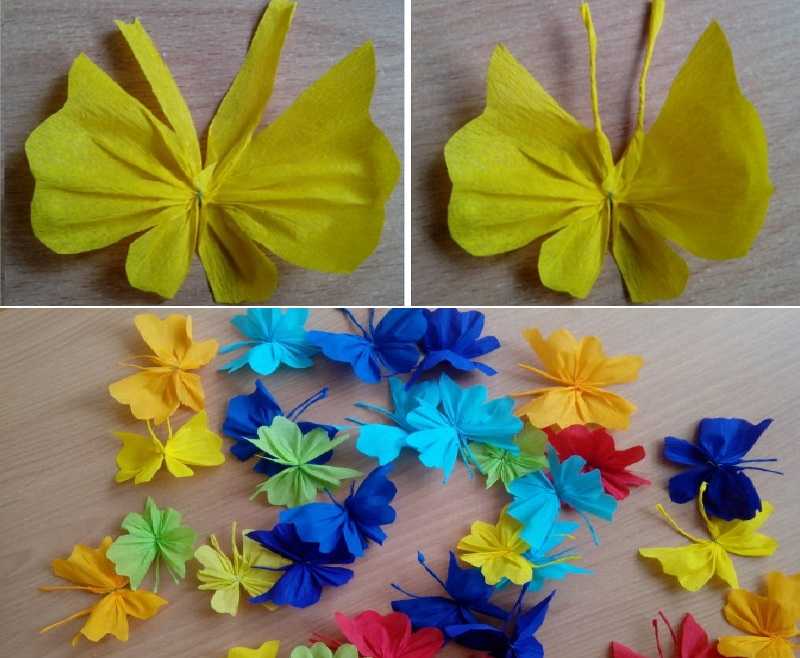
The corrugated paper is easier to work with and the butterflies for the decor are more airy and light, since the paper is translucent. We choose the right colors, take threads, scissors, glue. Nothing else is required. Cut rectangles of paper about 7*10 cm.
All you need to make decorative butterflies out of corrugated paper
The resulting rectangles in the middle of the stitch with a needle with a thread, pull together, making a couple of turns of thread. It turns out something resembling a bow. It is rolled in half, fingers straighten the paper, trying to leave as little creases - to form the wings.
Fabrication process
When you are satisfied with the result, take scissors, cut off the edge of the band in a few millimeters - the tendrils. On the remaining part we form a patterned edge, resembling a butterfly wing.
Easy and simple
Strips of tendrils with fingers twist into thin tubes. Now they look exactly like antennae. Wings unfold and finally straighten. We got the light butterflies.
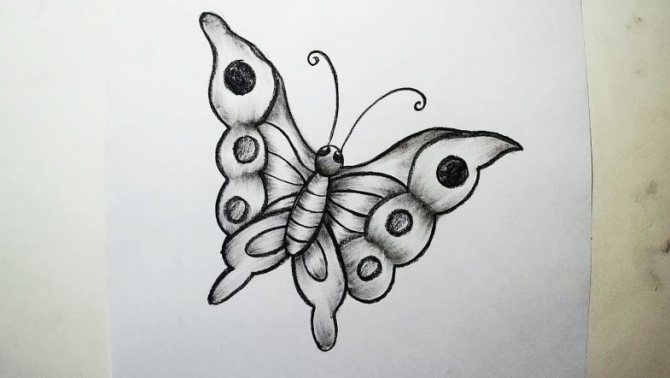
Butterfly head
Just above the middle is drawn regular circle. This will be the head of a butterfly. The size is chosen at will.
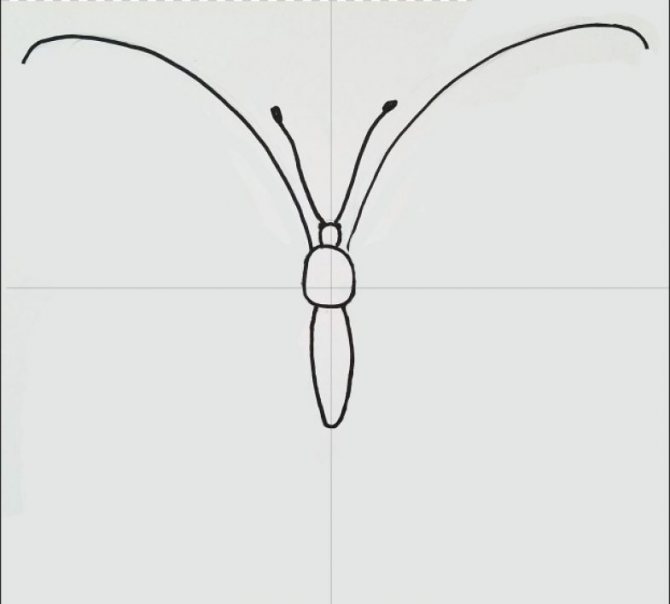


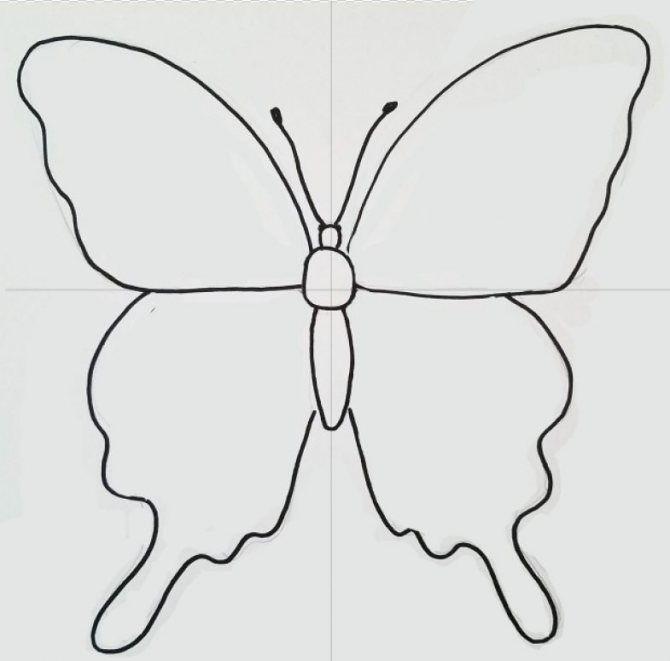
Torso
From the circle down, using a ruler, an auxiliary line is drawn.
- Around this line is drawn two curved vertical lines.
- Should get an oval, which has a line in the middle.
- This oval will serve as the butterfly's torso.
- The body should be longer than the head.
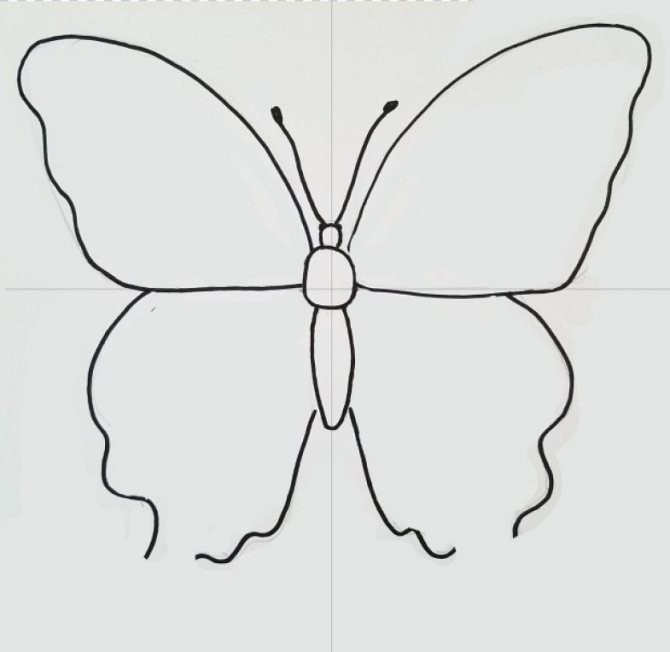
The lower wings
As mentioned earlier, the lower wings are smaller than the upper wings. They occupy 1/3 of the body of the butterfly. Also marked by auxiliary points and lines - drawn two lower wings.
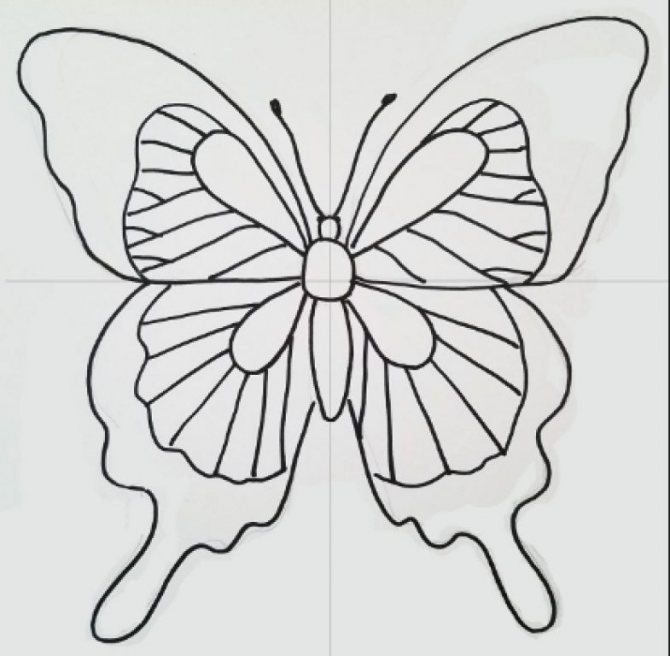
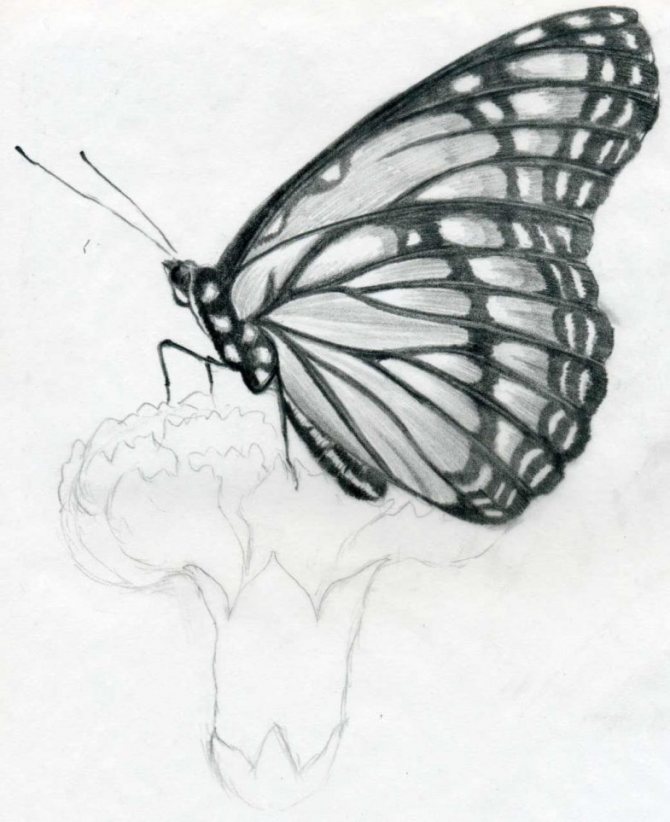
Now you can erase all auxiliary lines and points, they have already fulfilled their function. In 5 simple steps - the sketch of a butterfly is ready. Here was the information how to draw a butterfly with a simple pencil, and now you can proceed to the details, patterns and painting.
Making an exquisite manicure
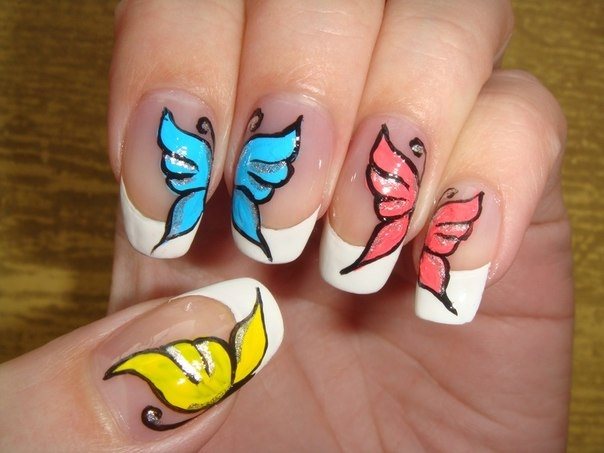
Having trained in drawing on paper, many girls want to transfer their skills to a more practical plane. For example, to try to depict the same butterfly on the nails, as an accent for the usual manicure. Here there are a few nuances: it is best to work with the thumb or ring finger, as having the largest surface area. It is much easier to draw with a pen or acrylic paint: nail polish is not suitable because of its ability to blur, so that the lines, which a second ago were thin, are blurred, and the drawing will be spoiled. For work a synthetic long and thin brush is recommended: its number in the stores is 00 or 01.
In the case of nail design, it is easier to perform the butterfly sideways than in full-face. And the auxiliary lines will be the boundaries of the nail itself: the horizontal axis of the free edge and vertical - the side roller. For example, you can use the above scheme, or you can try to reproduce any other. sketches. To begin the creation of a butterfly is better with the wings, mentally releasing from the center 2 rays with an angle of 60 degrees between them. The upper one turns into an oval, which has a pulled away and narrowed tip. The lower - in a parallelogram with the same elongated and narrowed end. Then outlined the head, looking forward rounded lines, whiskers, and painted with patterns of wings.
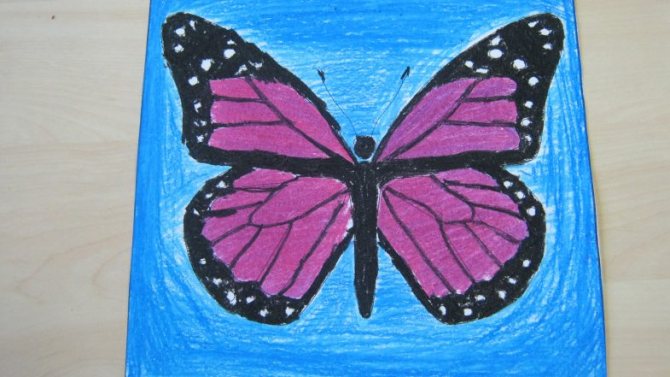
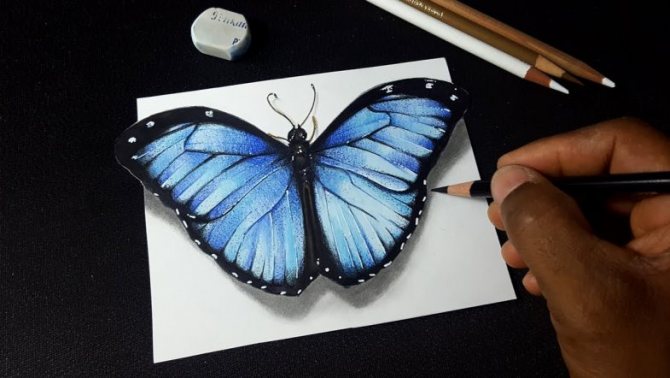
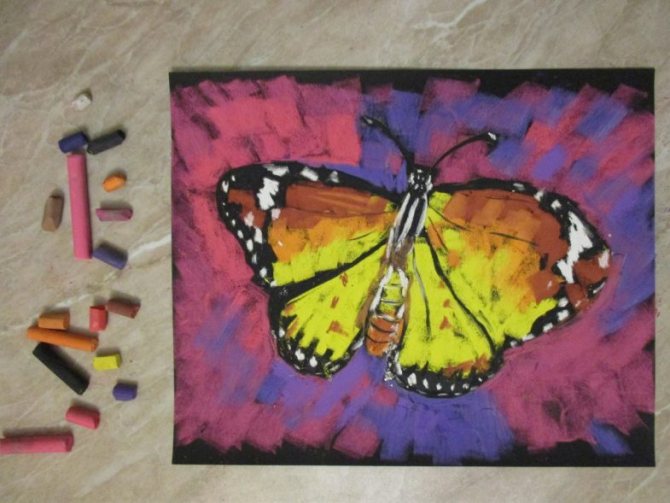
Materials for coloring
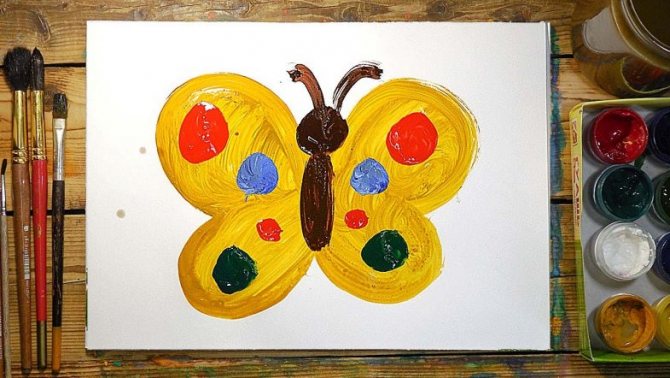
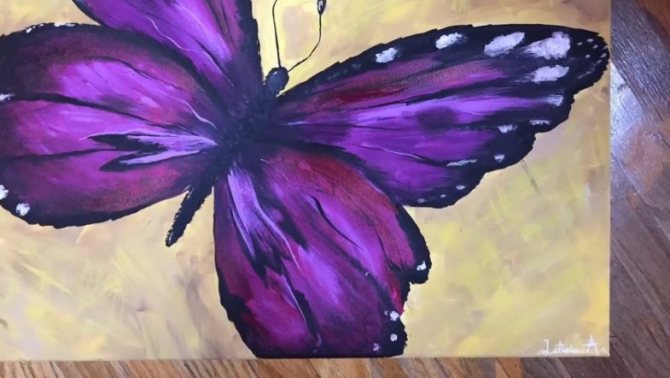
Painting can be done with any materials.
A variety of paints are suitable for imparting color:
- Watercolor,
- Acrylic,
- Gouache, etc.
Colored pencils, wax crayons and felt-tip pens can also be used, it is just as colorful.
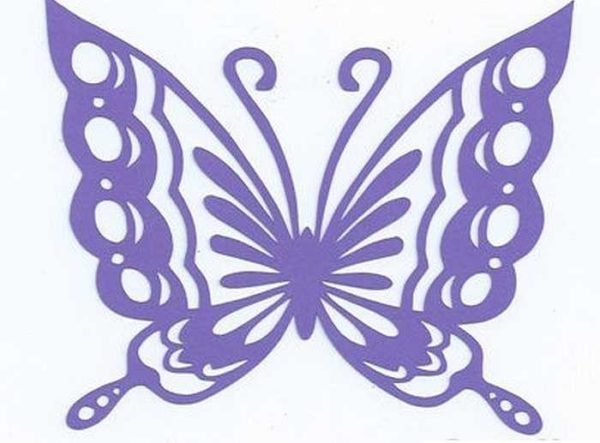
Openwork
It is a little more complicated with openwork butterflies. They are made from paper or cardboard. It is important to have a good sharp knife and a template with lines drawn on it, on which it will be necessary to cut out the excess paper. It is worth saying right away that this is painstaking work.
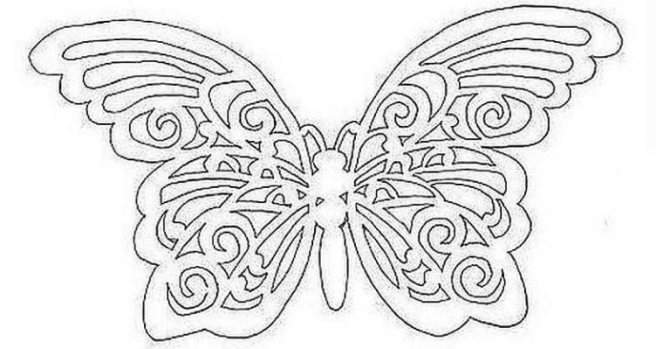
For those who are good with a knife and have a steady hand Stencil for cutting openwork butterflies from paper

Patterns of butterflies with openwork wings - an option of medium complexity Use can be thick paper or thin cardboard
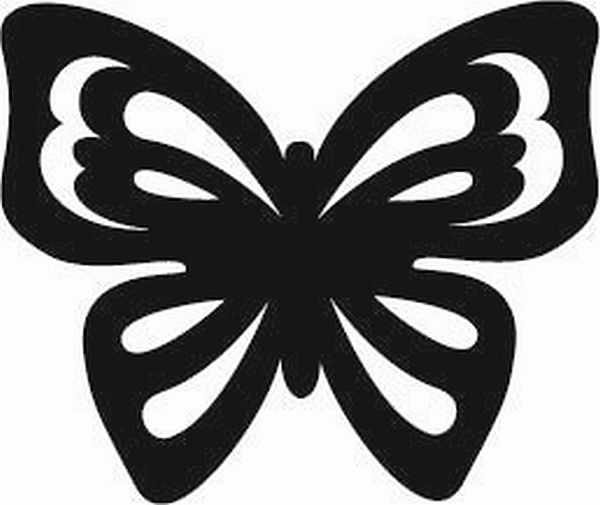
Not the most complex option, but it will look great The second half is symmetrical
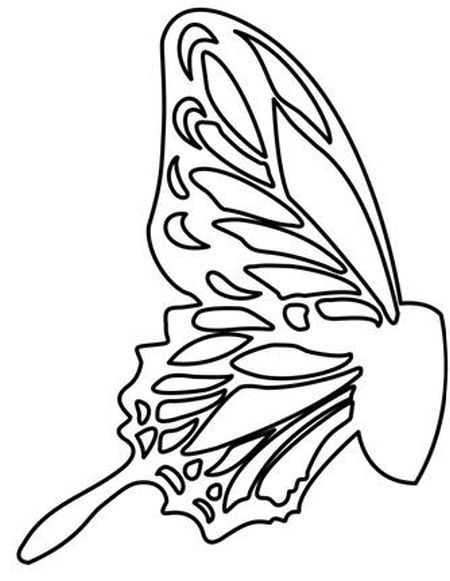
Fine work

This cutout template looks more like a moth
Templates for cutting out paper butterflies
The process is the same as described above: prepare a template, then on it cut out the required number of elements. The peculiarity is that first they cut out and remove small fragments, and then already cut out the outline from a piece of paper. With such a sequence of actions there is less chance of tearing the thin jumpers, and it is easier to work this way.
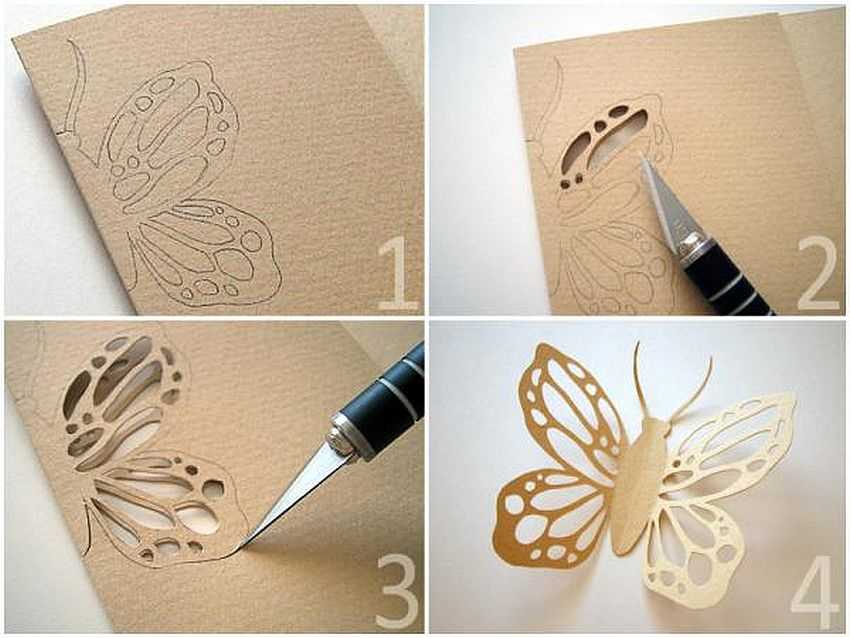
How to make an openwork butterfly of paper - the process in pictures
It is necessary to work with a knife with a thin and sharp blade. It is better not on the table, but with something hard enough - you can put a piece of plywood, chipboard, plastic, etc. But it should be understood that the surface will leave grooves and cuts, so it will be problematic to use this piece for any other purpose.
Finishing the work
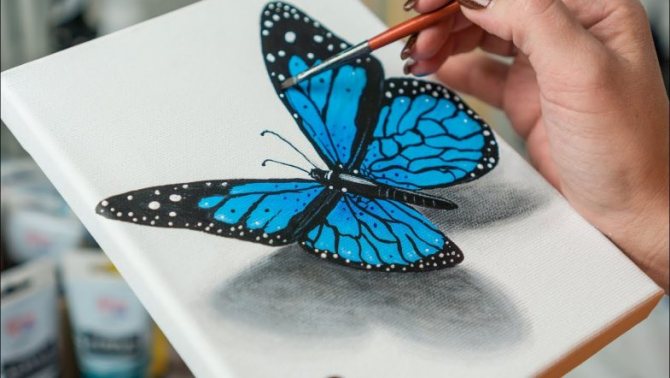
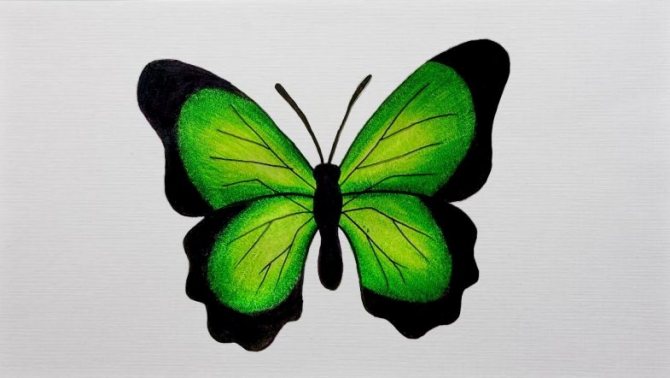
The butterfly can be left monochrome, without adding anything. Or you can make it special and spectacular, thanks to additional accents.
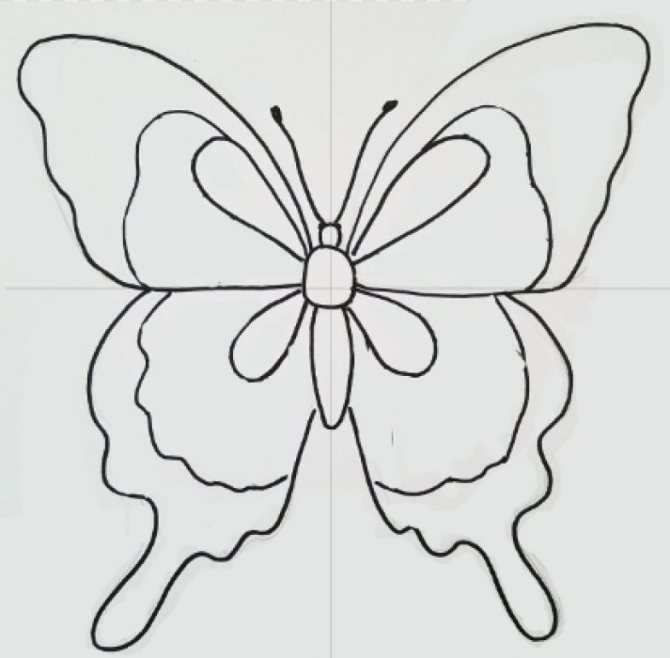
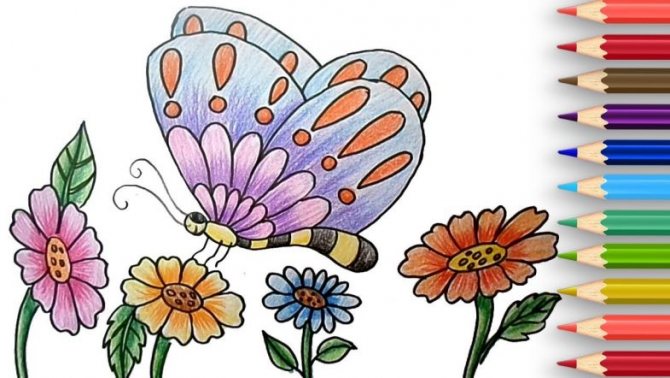
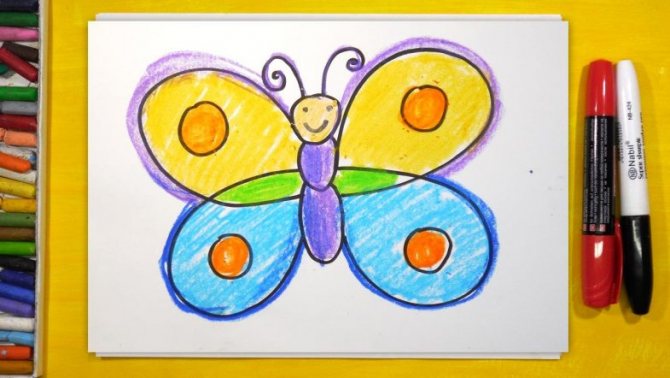
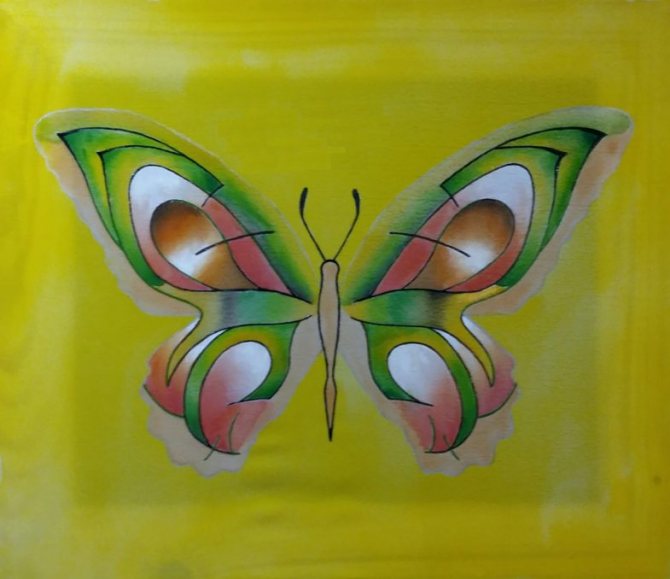
- Patterns. What is the best pattern? How to choose a pattern? This process can be made completely arbitrary, it is worth it to give free rein to your imagination. It can be circles, dots, wavy lines, stripes and other various figures.
- But there is a main rule - the patterns must be identical and symmetrical on both sides, that is, on the two wings.
- The torso, head and antennae should be painted in dark shades - it can be black or brown. You can leave a small white space, do not paint over, to get a glare.
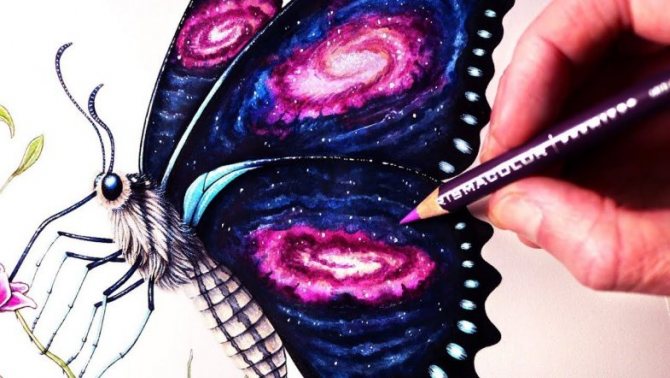
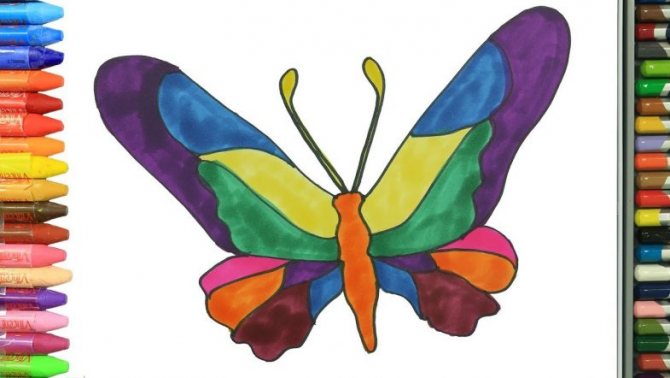
- For the wings you can use absolutely any color. To make the butterfly colorful, you should not be afraid of bright colors, you should experiment with non-standard colors.
- When painting the image, you should start with large spaces, and then proceed to detailing.
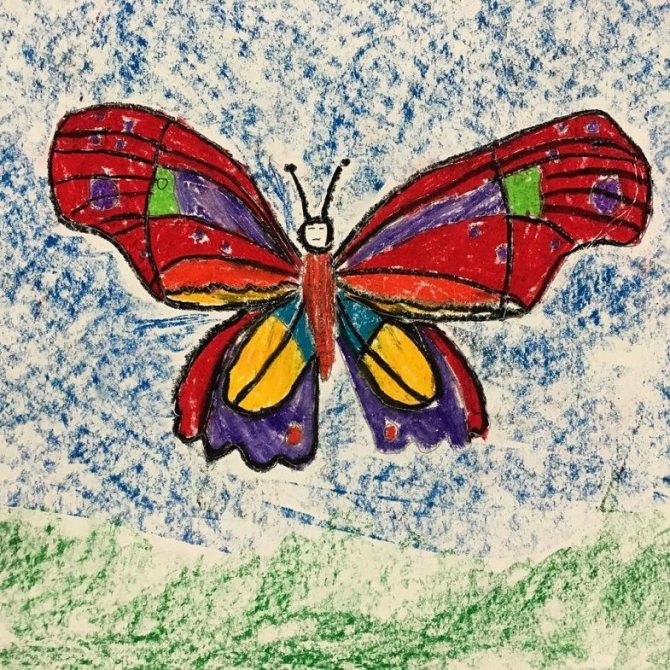
- If pencils are used to paint the butterfly, it will be easier for the child to make a colored outline first and then fill in the interior space with color.
- When painting with watercolor, you can use the technique - wet-moose. Use a large amount of water and just let the paint flow. You will get a very unusual and unique coloring. For watercolor it is better to use special watercolor paper.
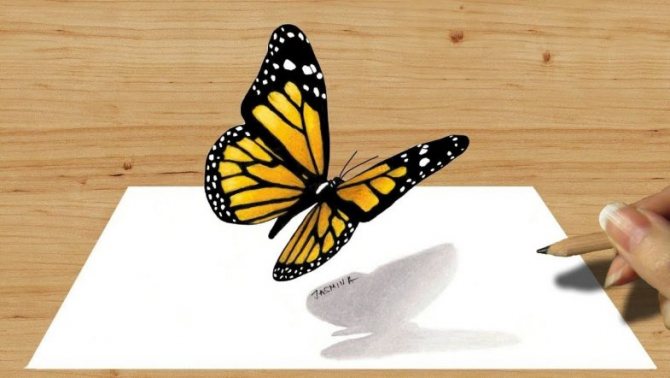
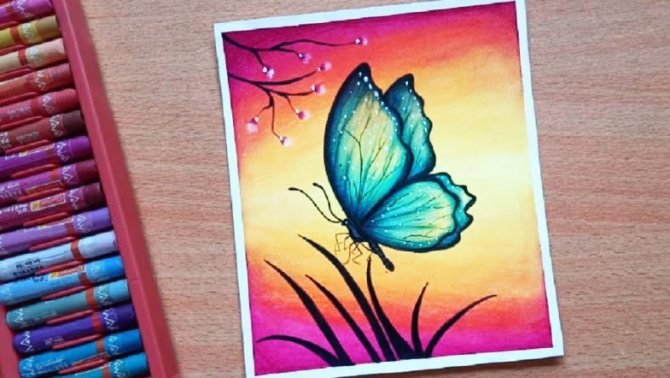
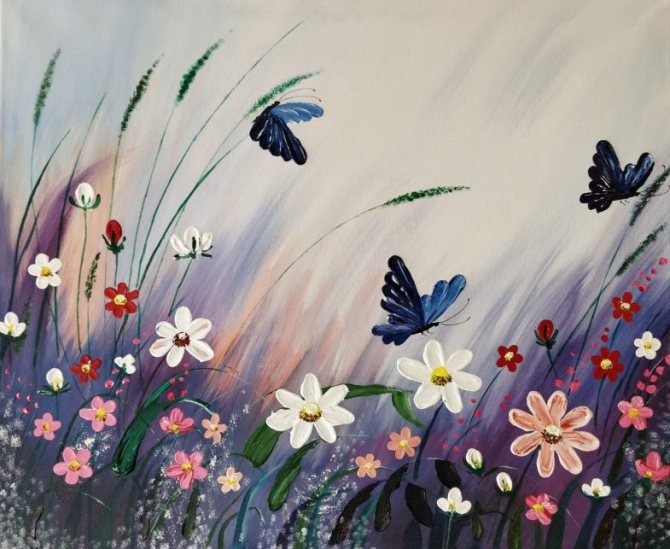
- The butterfly will look especially good against the sky, flowers and other nature. You can also finish drawing more butterflies, so the picture will turn out even more interesting.
This was a simple drawing technique that will help beginners and children. With the help of this article, the answer to the question "How to simply draw a butterfly" will definitely be found and you will get a wonderful picture.
Drawing such an amazing insect is a great way to develop a sense of symmetry and the eye. Imagination and a desire to experiment will help in creating a beautiful drawing of a butterfly!
The meaning of the tattoo "Butterfly" in popular culture: harmony, balance or frivolity?
The modern meaning of the tattoo "Butterfly" is interpreted quite broadly, as with many other tattoos. The primary meaning is the meaning that is put into the image by its bearer. Most often the butterfly tattoo expresses one of the following ideas:
- The drawing of an insect with outspread wings symbolizes the desire for harmony and self-improvement. This variant of the tattoo with a butterfly suits creative personalities seeking to self-improvement and development of their own personality.
- A small drawing, especially placed on the body in a place hidden from prying eyes (for example, under the chest, on the abdomen, on the lower back) symbolizes strong tender love, the desire for trust in relationships. Such tattoos with a butterfly girls do for their loved ones.
- Drawing an insect in flight - the desire for freedom, youth, a sense of limitless possibilities. If such a picture adorns the body of a young girl, it expresses the desire to demonstrate their own originality. If a butterfly tattoo does adult woman, it is more likely to want to emphasize the desire to stay young, not to lose the joy of life in all circumstances.
- Large bright tattoo sometimes reflects the readiness of the host to the deed for the sake of satisfying their own desires, the desire to obtain pleasure. Such drawings adorn the buttocks, abdomen and other unusual places on the body.
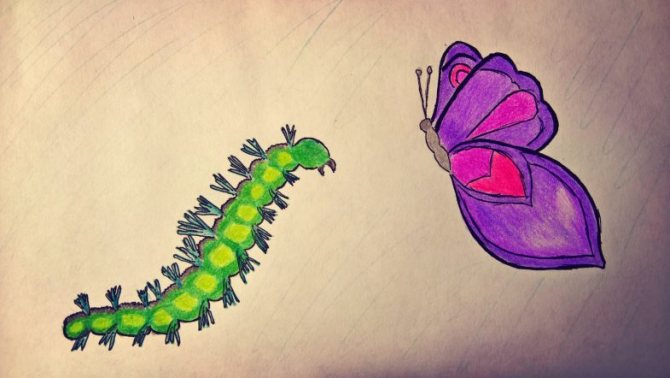
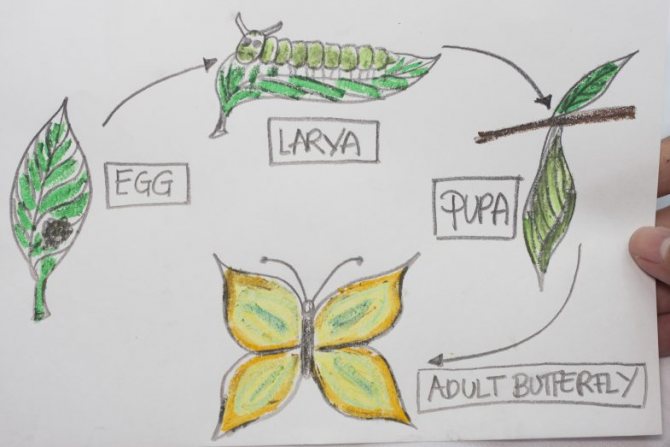
The tattoo can reflect the idea of a short-lived life, and an adult insect placed next to a chrysalis or caterpillar signifies a spiritual rebirth or transition to a new period of life. And the adult insect, placed next to a chrysalis or caterpillar, means a spiritual rebirth or transition to a new period in life.
Choosing a drawing, the main thing to remember that the tattoo of a butterfly is not just a picture. If you apply a tattoo without thinking about the meaning of the picture, are inevitable unpleasant situations associated with unwanted interpretations.
The main meaning of the butterfly tattoo for girls: elegance and beauty
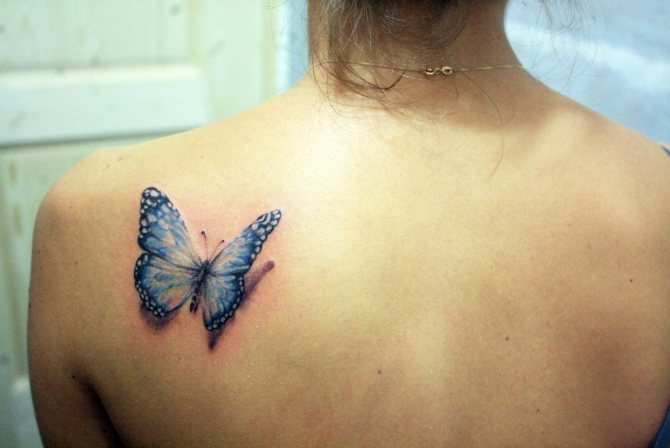
With all the variety of meanings, the butterfly tattoo in the first place is inherent in the main message: drawing attention to the beauty of its bearer. Almost always it is a female tattoo. Men inflict this image very rarely. Even if a man chooses this image, it will only be part of a more complex composition. But on women's bodies this beautiful insect looks organically by itself.
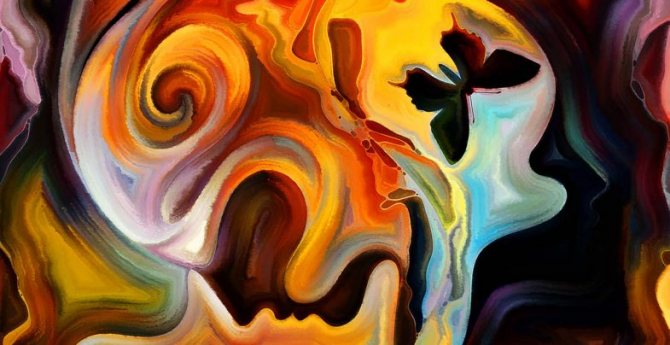
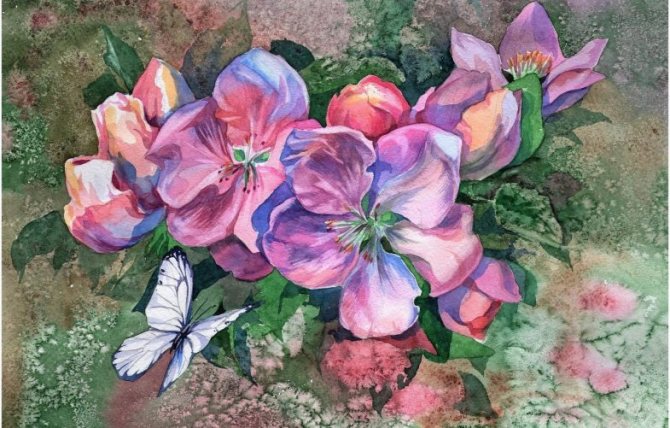
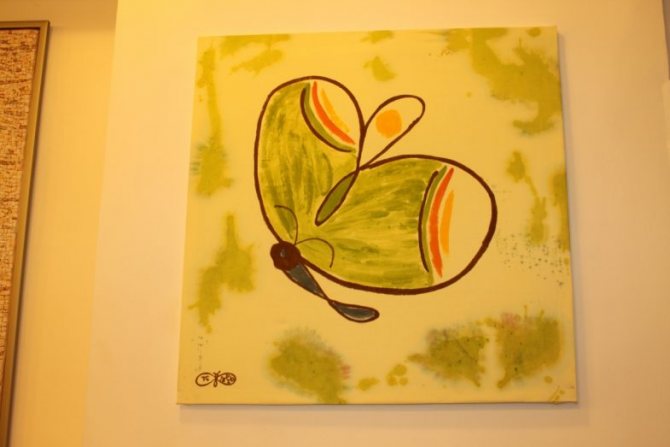
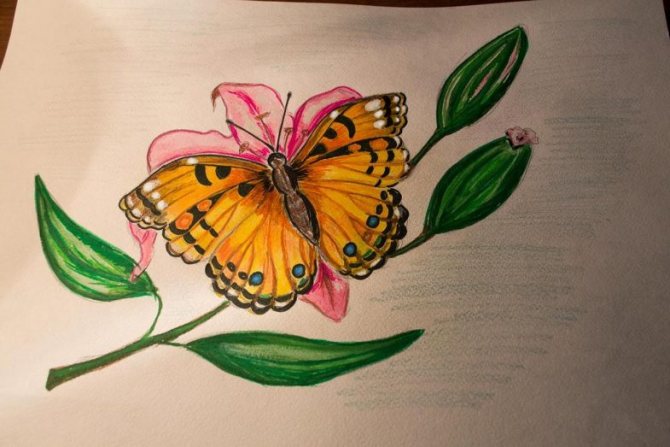
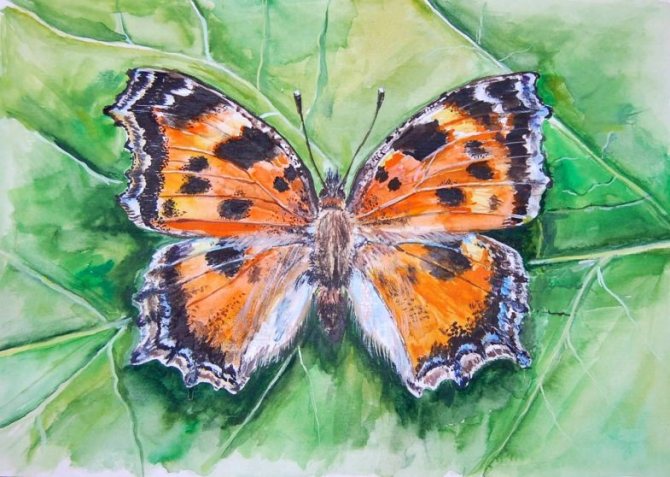
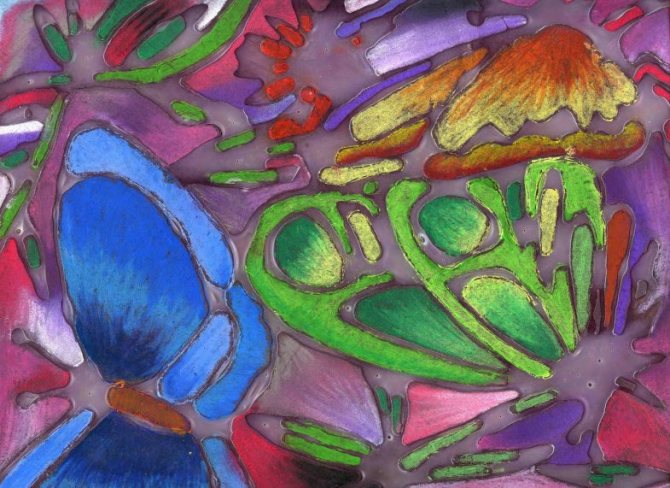
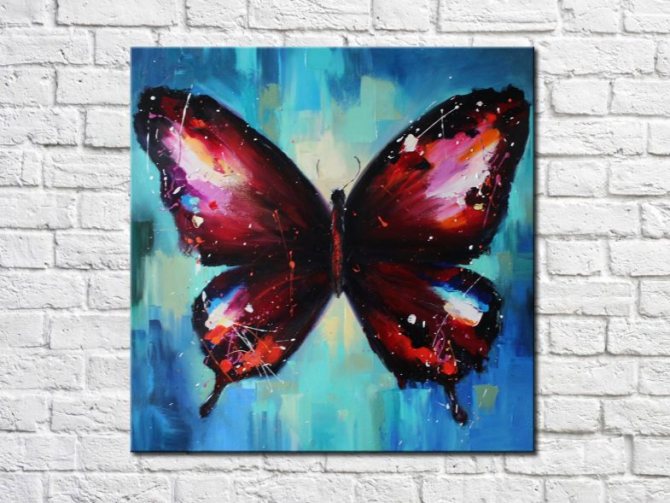
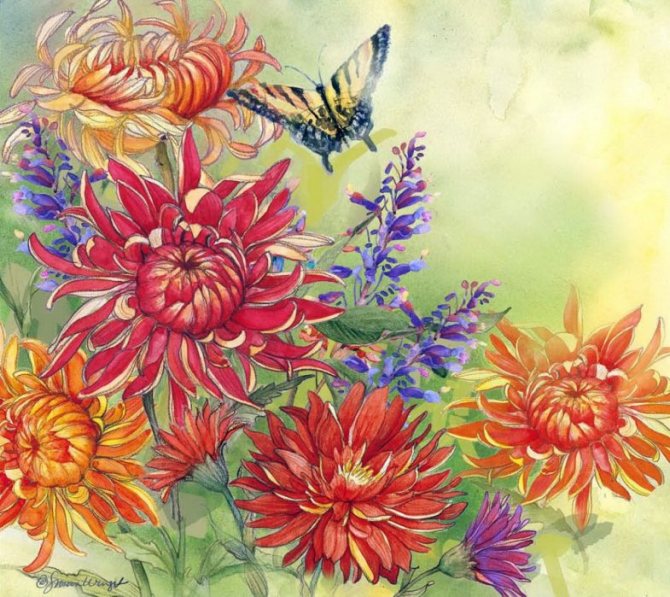
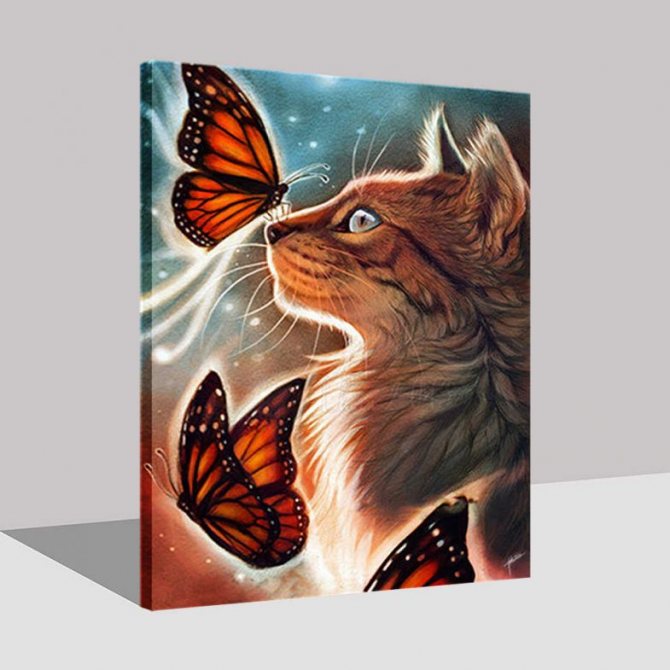
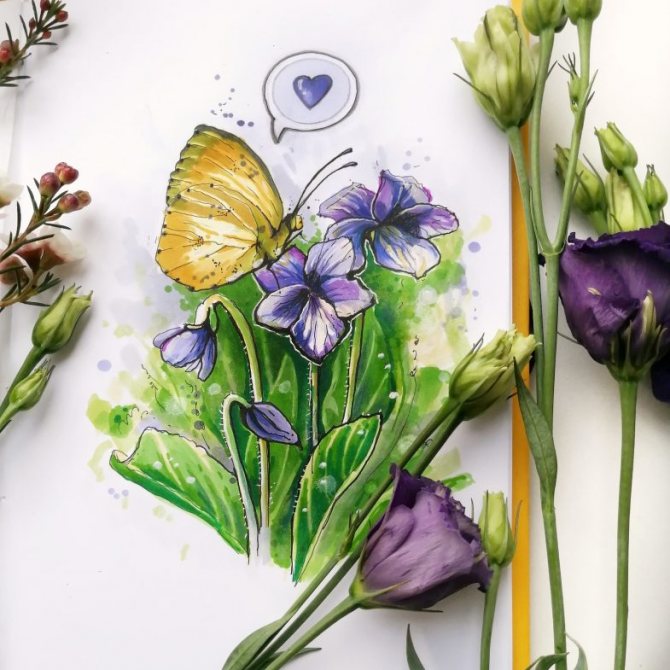
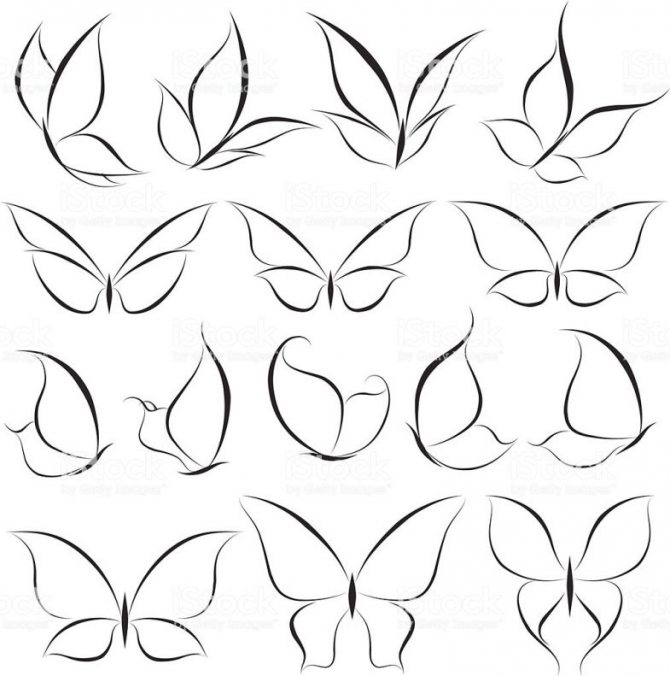
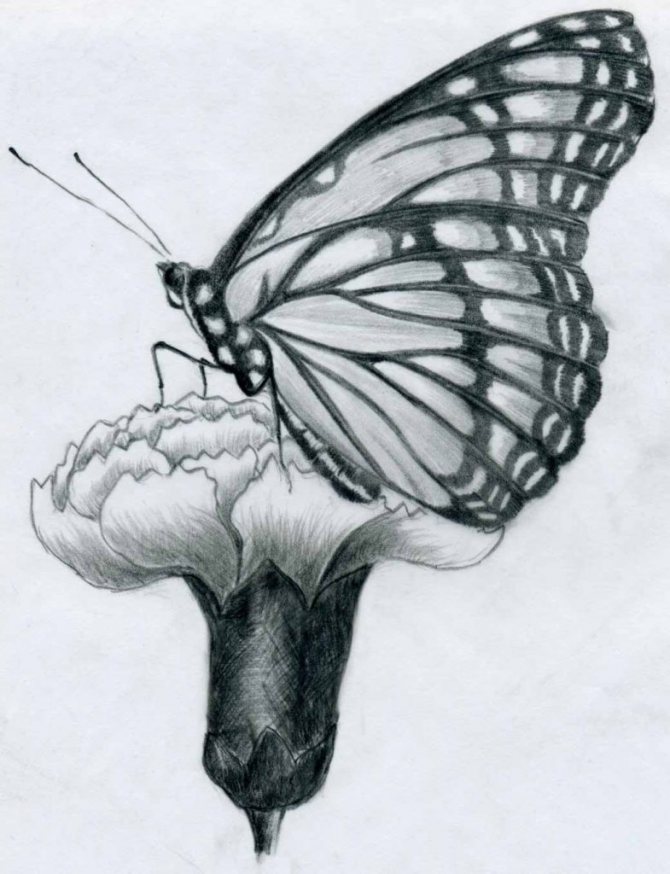
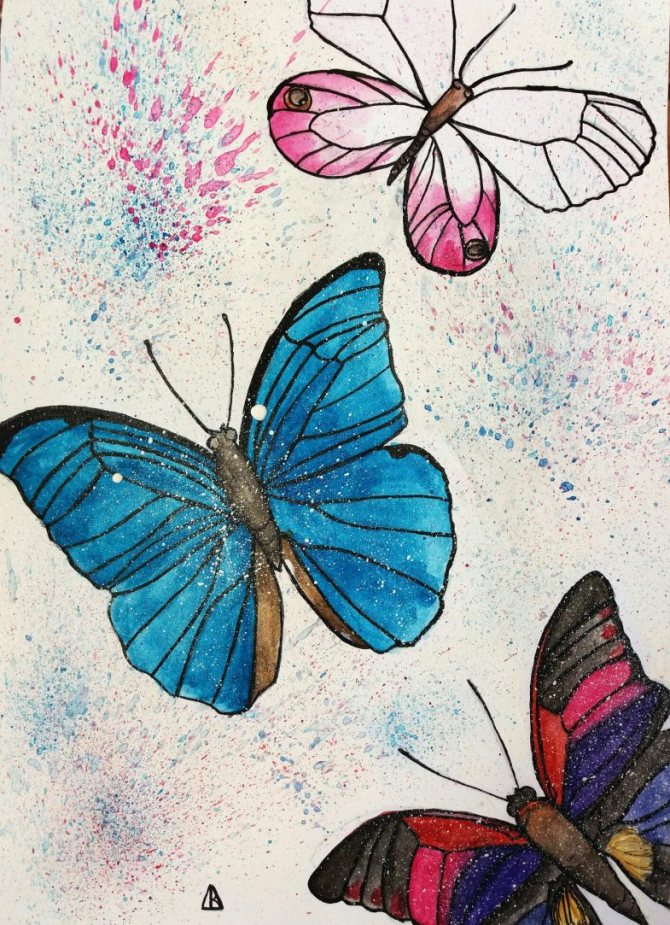
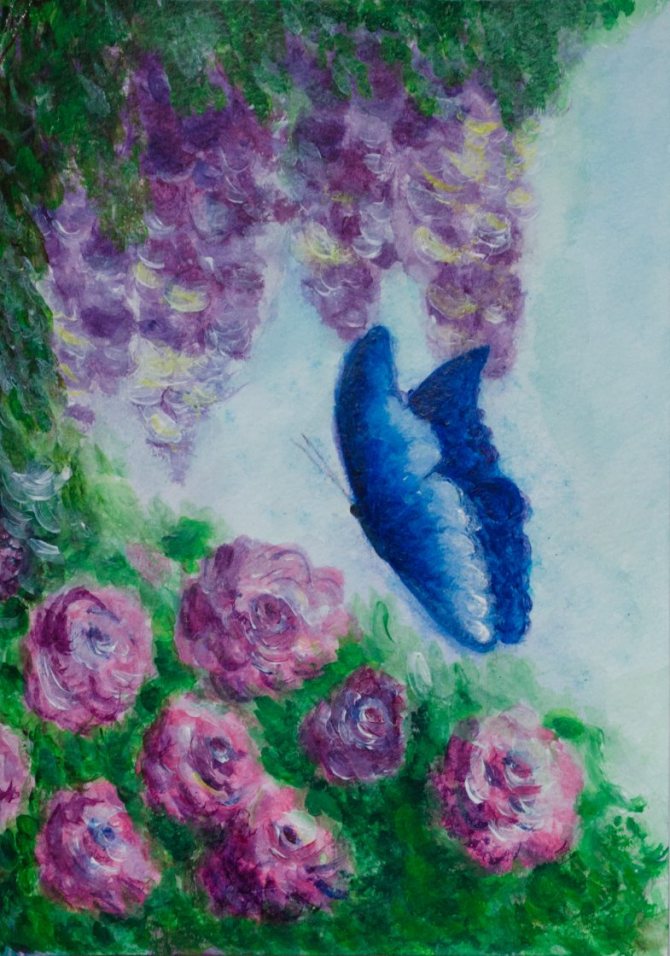
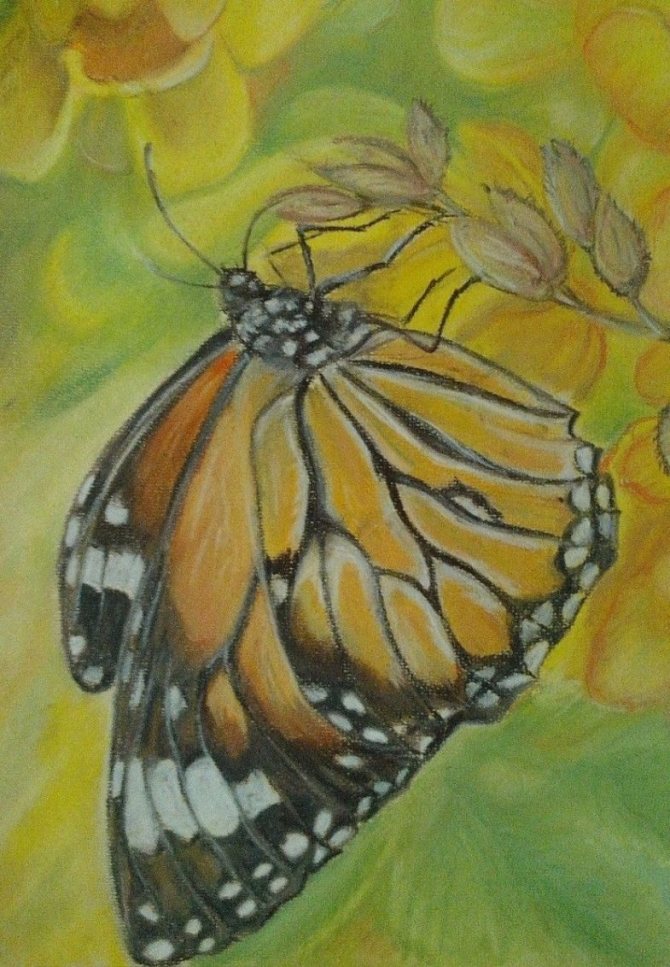
Pictures of drawings of a butterfly


0