Home " Tattoo
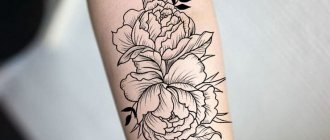
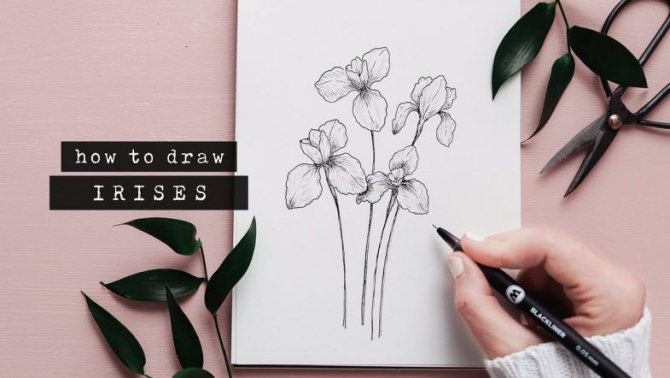
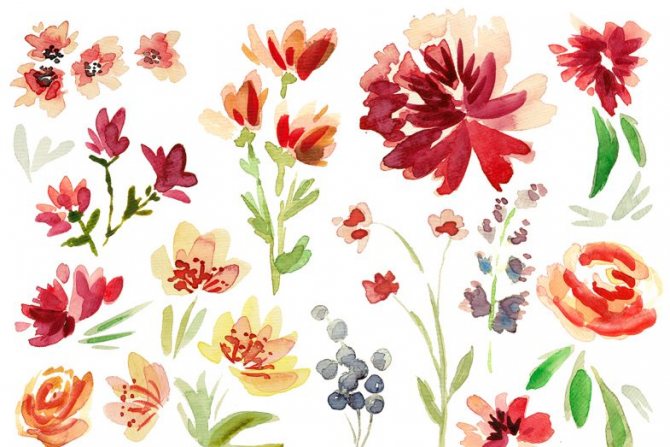
A tattoo has always been a way to emphasize certain traits of one's personality. Of course, it is also a sign of identification. But for girls, drawing on the body is one of the common ways to emphasize their fragility and femininity. And the tattoo of flowers on the hand for girls, the sketches of which here, fit for this in the best way. Of course, different women choose different flowers. But by this choice can be understood a lot about the character and dreams of the bearer of the tattoo.
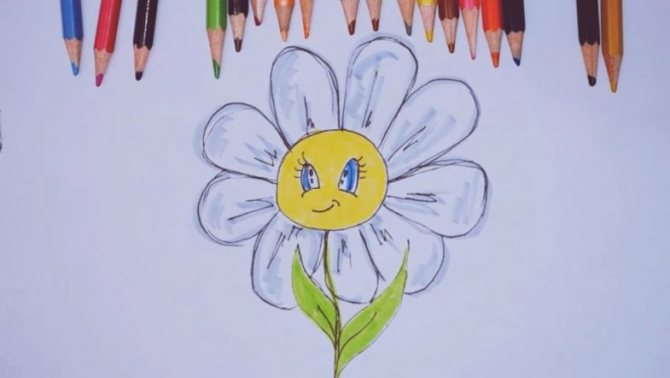
Chamomile for the youngest artists
Flowers are the beauty of living nature, which we want to convey, to leave in memory on a sheet of paper. Even young children depict the sun, their mother, and flowers in their first drawings.
The easiest flower for a child to draw is the daisy. The following way you can explain to a child how to draw this flower easily.
You will only need a sheet of paper, a pencil or a felt-tip pen, if desired.
- In the top half of the sheet in the middle, draw a circle. This will be the heart of the daisy.
- From her outline the four main petals, up, down and on either side of the circle. Try to make sure they are the same size.
- Between each two petals place two or three similar. The result should be a flower with 16 or 12 petals.
- Down from the bottom petals to draw a double slightly curved line. This is the stem of the daisy.
- At the bottom of the stalk on two opposite sides to draw two elongated pointed leaves.
A beautiful rose with felt-tip pens
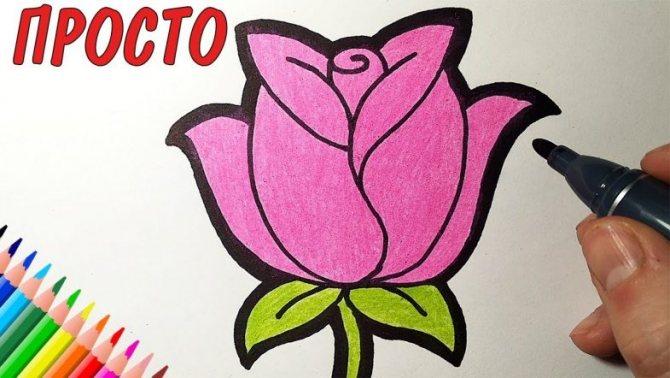
If you have a desire to draw a beautiful card for March 8 and May 9, the image of a rose is quite suitable for the occasion. But if you haven't yet learned how to draw this beautiful plant, you can learn how to draw a rose flower. The lesson that we will give is ideal for beginners, so stick to the instructions and then you will succeed. To organize the work, we recommend using a simple pencil, but, and we will draw with a marker.
Let's begin the creative process:
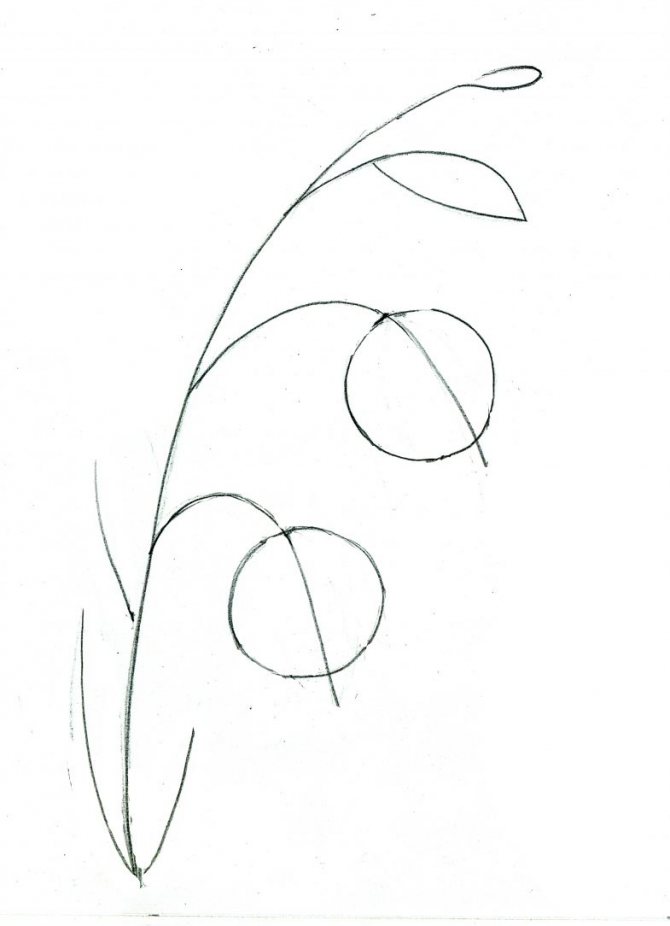
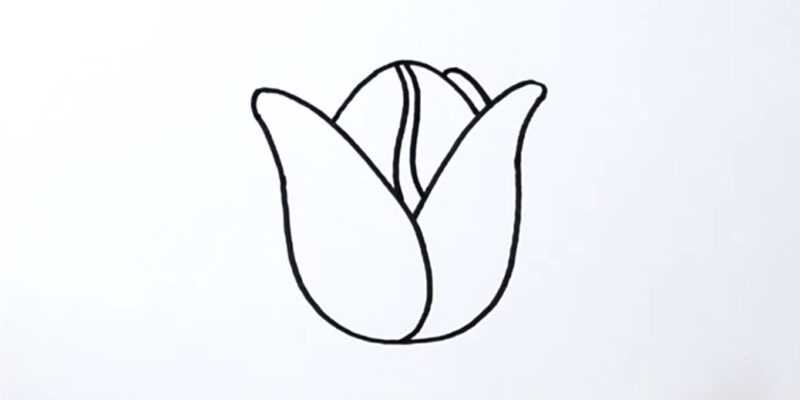
- In the middle of the sheet, draw a vertical arc-shaped line. At the top of it we finish drawing a little wishbone in the direction of the left. Going up a little higher, and between these sketches deduce the cochlea. The left side of the snail is connected by a vertical line to the main outline.
- From the top edge of the bud, step back a little to the right and draw an arc. Now, from the middle of the vertical wavy segment, draw the second part of this outline and connect them together.
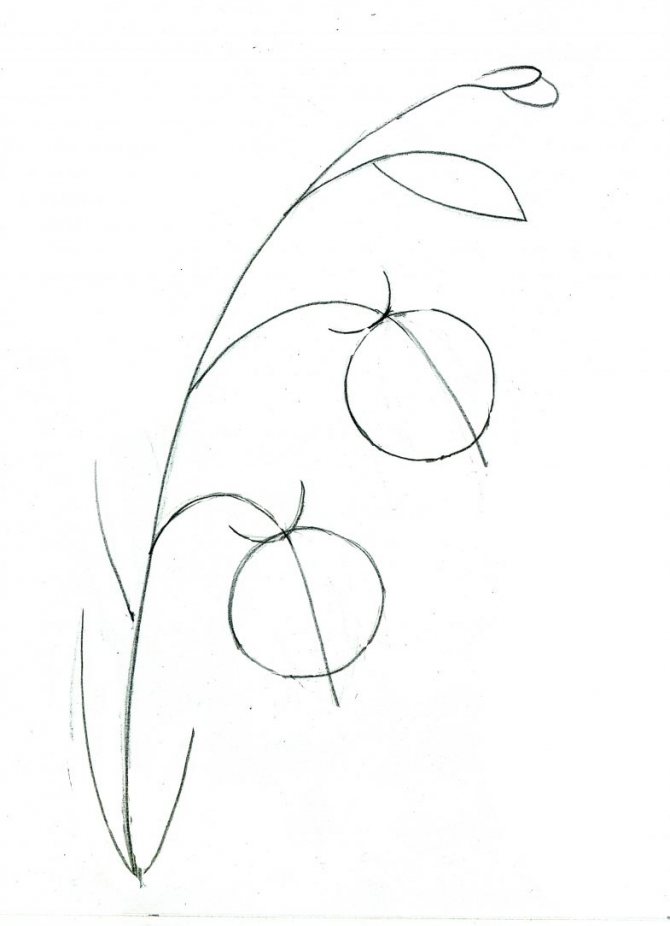
- Similarly, depict an identical shape on the left side of the figure. Lengthen the lines of the figure similar to a bell. Next, arcs connect the top of the sketch with the bottom.
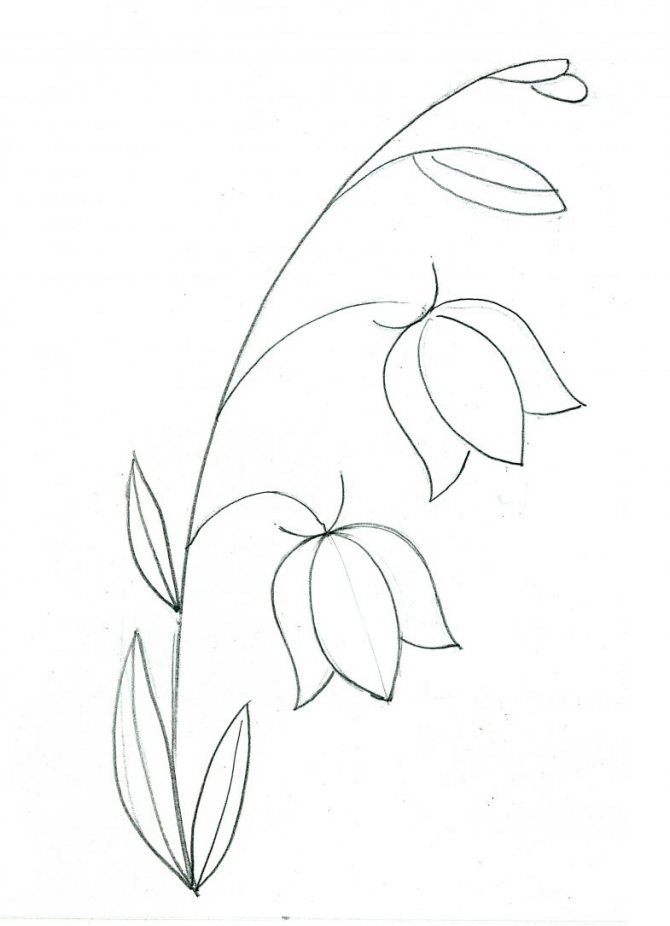
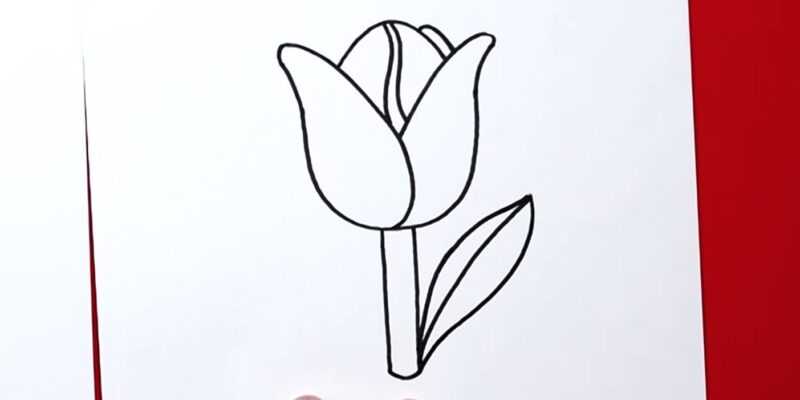
- On the sides, starting from the bottom of the silhouette, finish drawing one more petal. Under the plant derive two leaves, which are directed downwards. Divide them into two pieces and finish drawing the stem between the leaves.
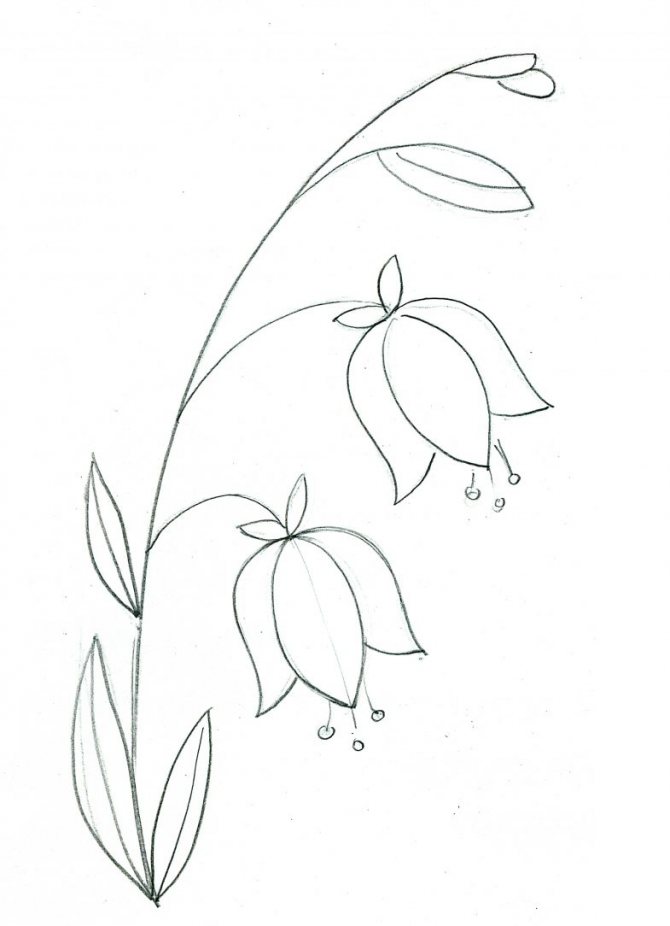
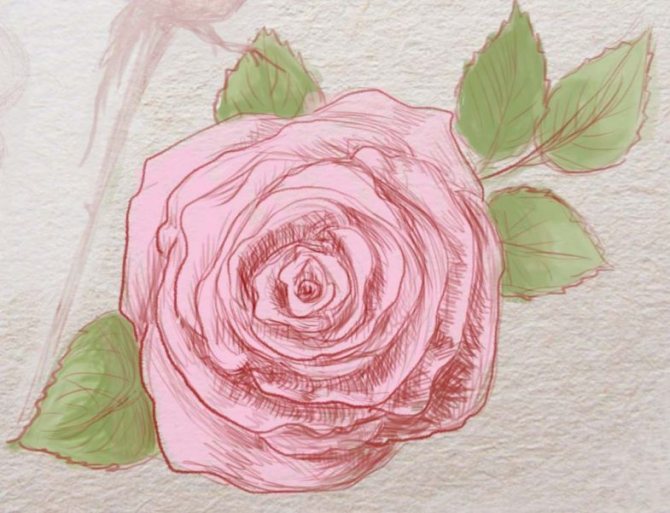
- Then, trace the outline of the plant with a thick line, even if you used a pencil. Paint the inside of the sketch with pink or red pencil. The leaves and stem in green.
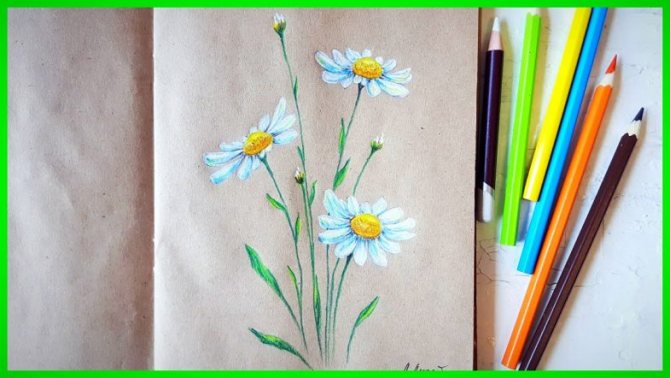
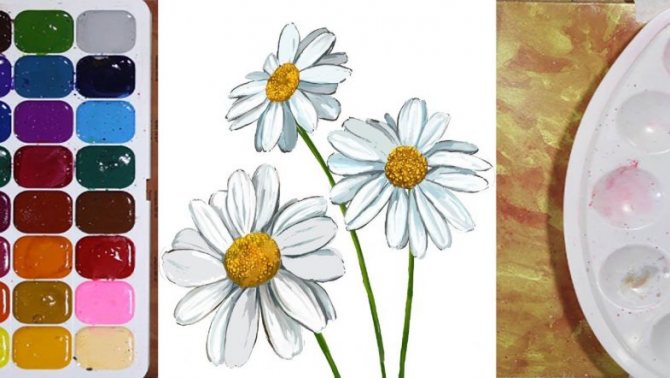
The second way to draw a daisy
You can draw a daisy and another way by making the drawing colored. It requires a simple, yellow, green, dark green, orange and blue pencils.
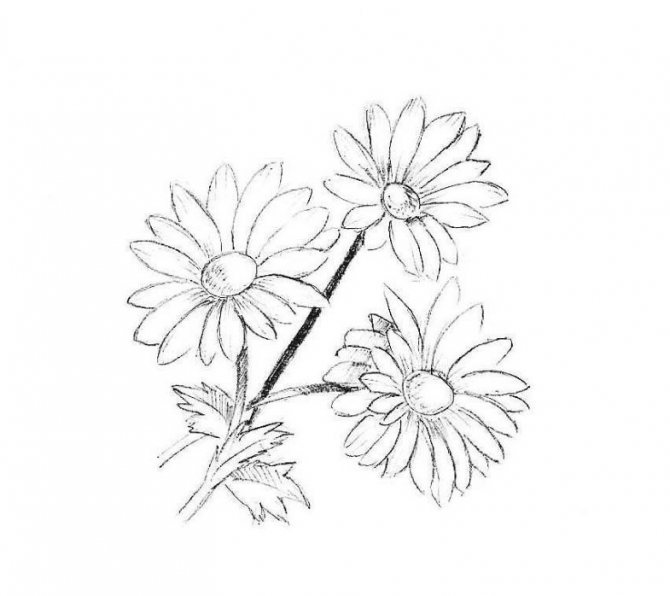
Step by step instructions for children:
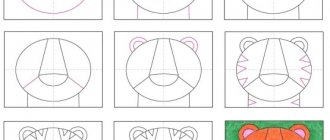
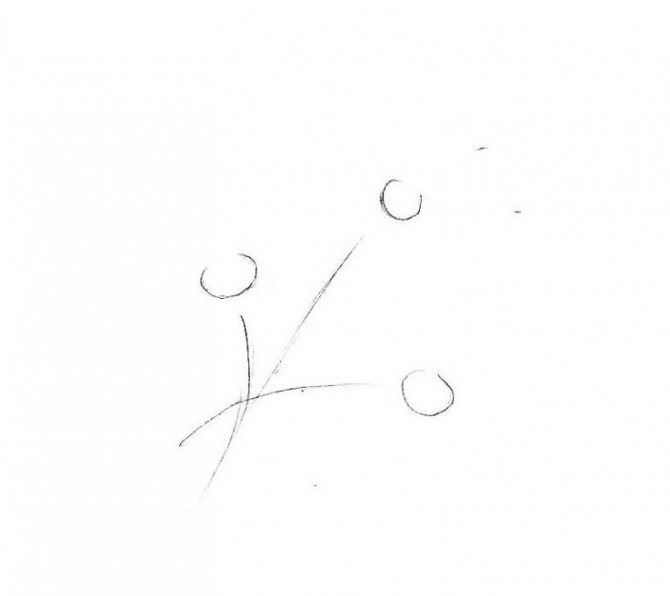
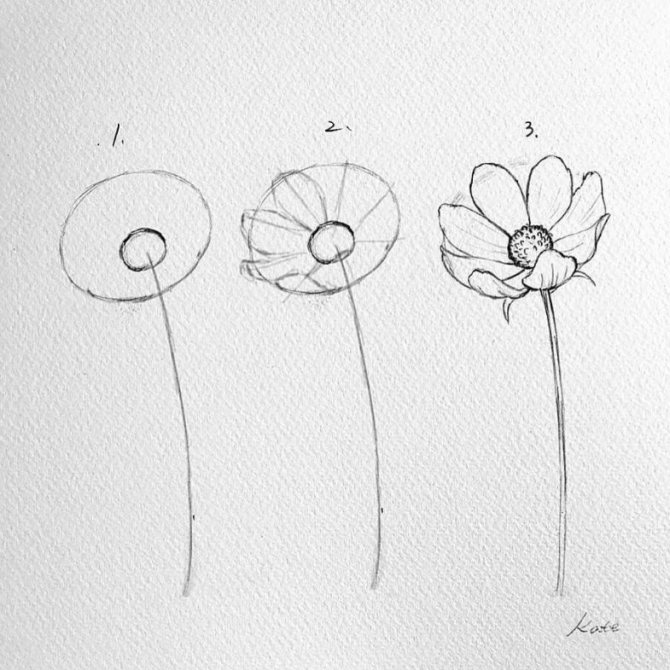
- As in the previous method, first mark the heart of the daisy with a small circle in the center.
- Draw a large circle around it. It shows at what distance the petals will end.
- Then the petals themselves are formed in the same shape around the core.
- Draw them not very tightly, leaving a small gap between the petals. There should be about 8 petals.
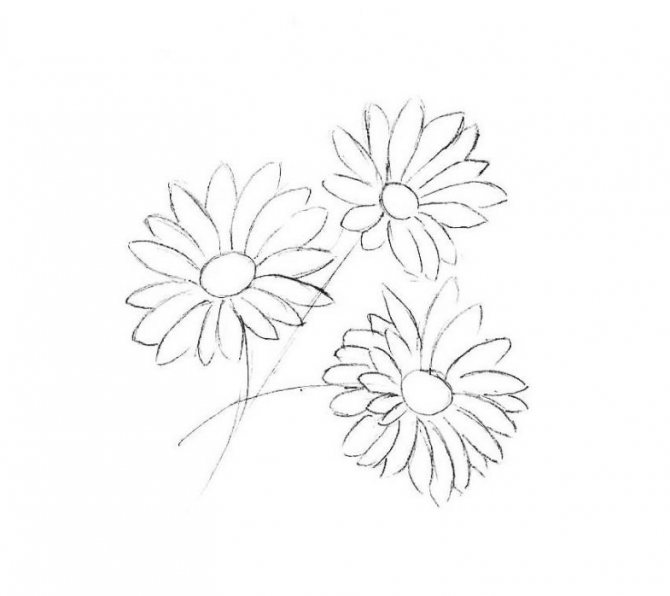
- After the first row of petals make a second, between the petals of the front row. This way the daisy will look more plump.
- Fill in the center of the flower with yellow pencil. Add orange in a semi-circle at the base of the core, giving volume.
- From the center of the petals a little shaded in blue pencil.
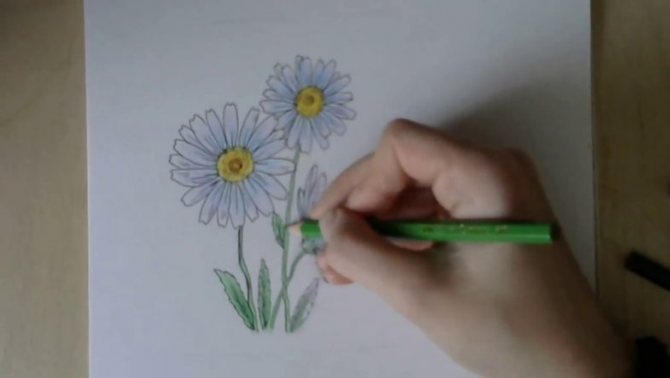
- Draw the stem with pointed leaves. Fill in green pencil. Make dark green streaks on the leaves.
Using such a simple drawing technique, you can draw several daisies next to each other on one sheet, gathering them into a delicate bouquet.
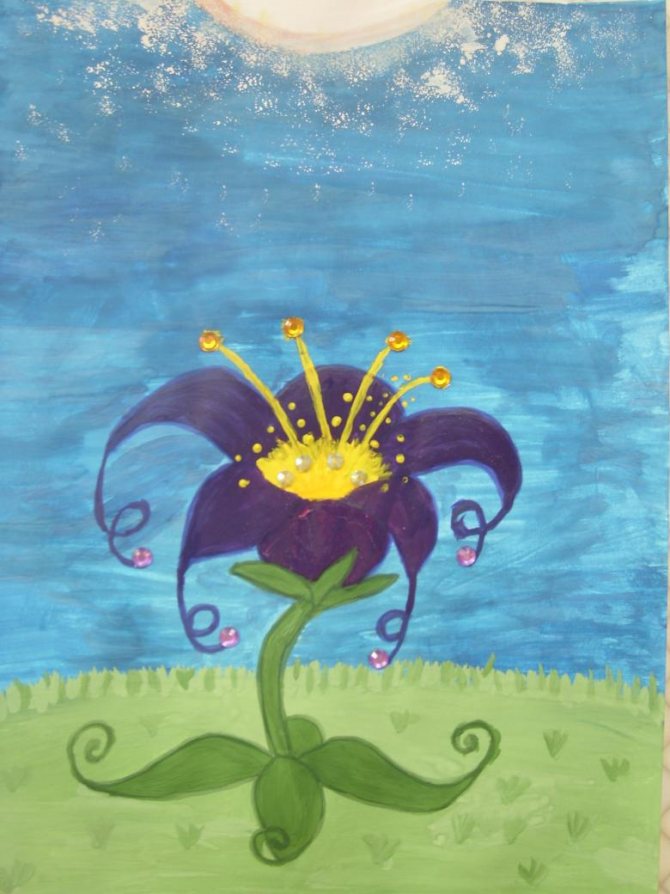
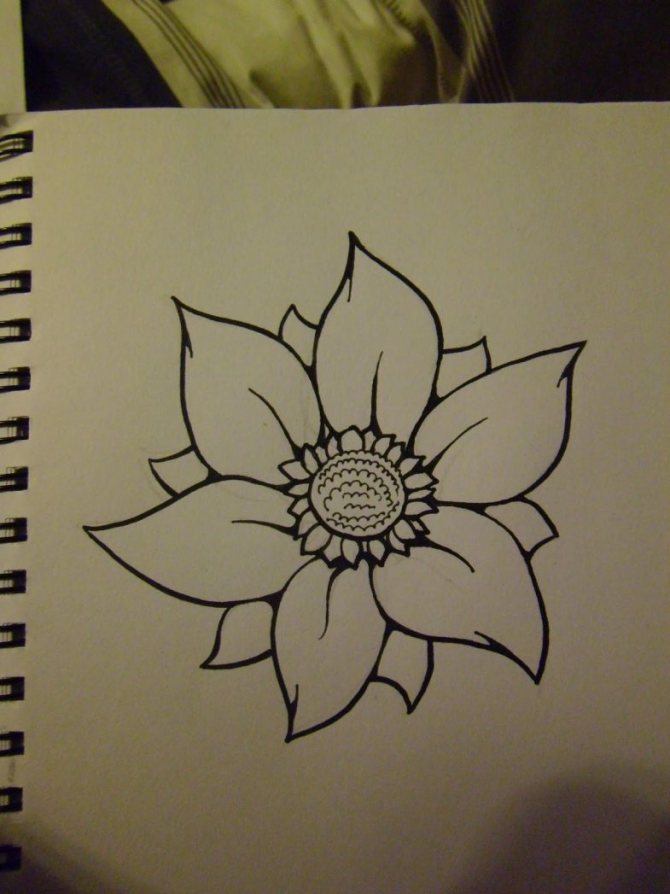
Scarlet flower from a fairy tale
Choosing a simple sketch for the little artist, an excellent choice would be to draw a beautiful flower from a well-known fairy tale. Drawing Scarlet Flower is not difficult if you reproduce all the steps step by step and follow the recommendations as much as possible, starting with simple lines:
- from the bottom of the leaf to the center it is necessary to draw a double line, this will be the stem of the future flower;
- The end of the stem, located in the center of the paper should draw a crown, it will be the center of the bud;
- To make the flower lush, three more large petals are added to the central crown;
- one more petal is added above the middle element of the crown, and two leaves are added along the docks from it;
- The central petal of the crown is circled in an unfinished semi-circle, and sticks and stamens are drawn upwards from it.
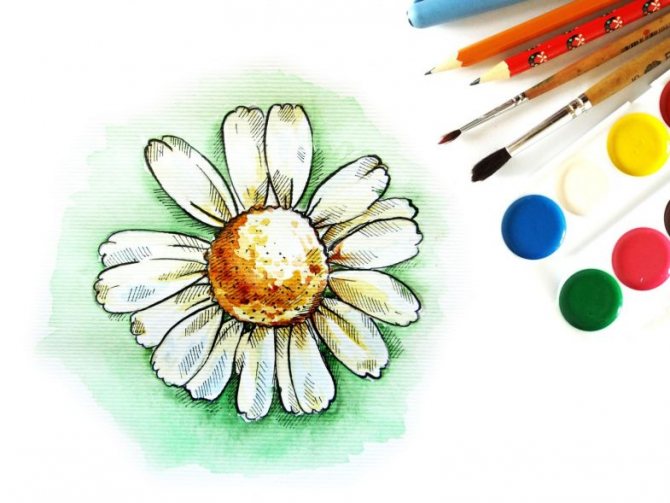
The lesson can be completed by coloring the resulting blank, which uses paints (watercolor and gouache), felt-tip pens or pencils. It is possible to interest the child by using bright colors, and to decorate the drawing itself with glitter, scattered on the not yet dried paints.
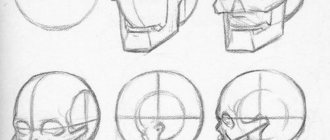
General principles in drawing flowers
Flowers in nature - a great many. Species, varieties, colors, shapes, it all creates unique in beauty flowers.

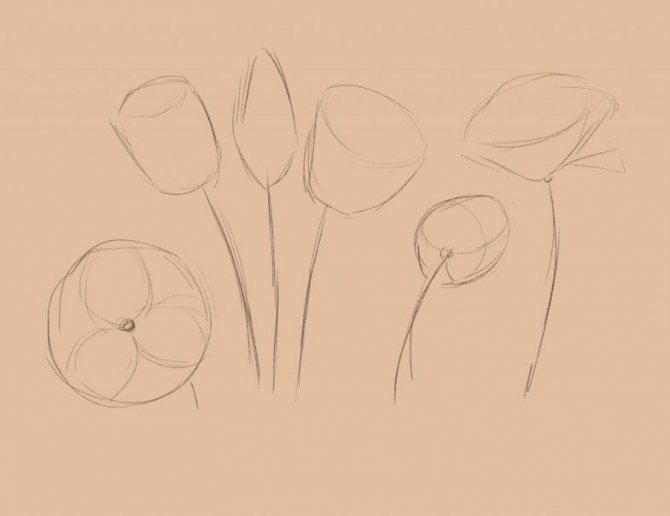
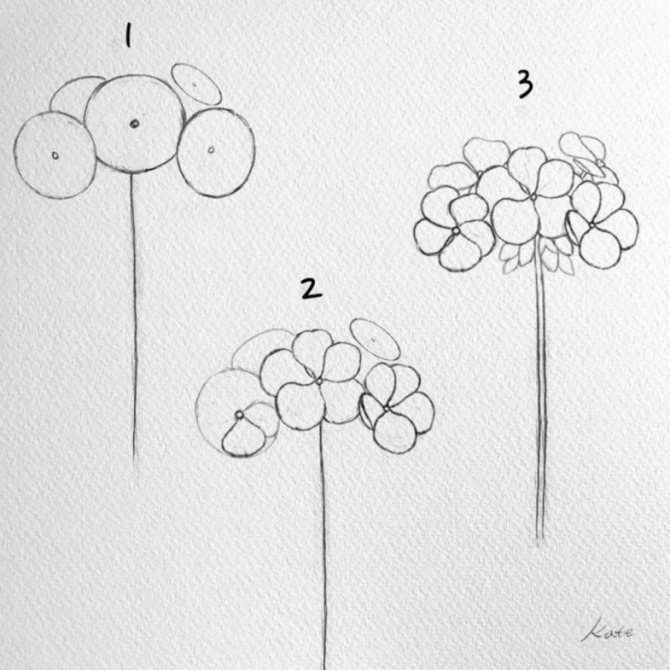
From the artist's point of view, the inflorescences can be attributed to certain geometric shapes. Thus, a circle unites a daisy, sunflower, chrysanthemum, daisy and many others.
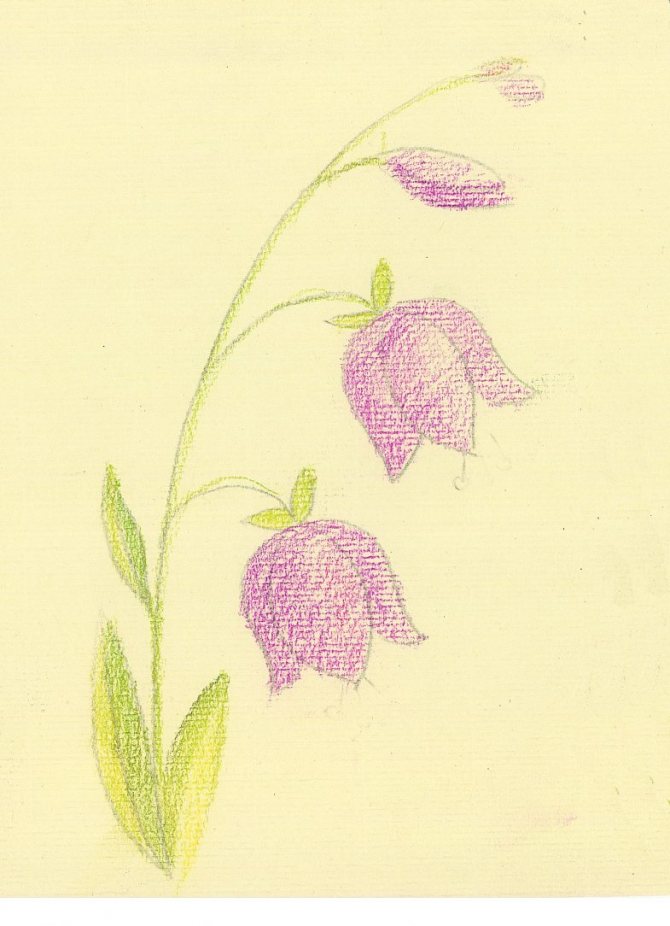
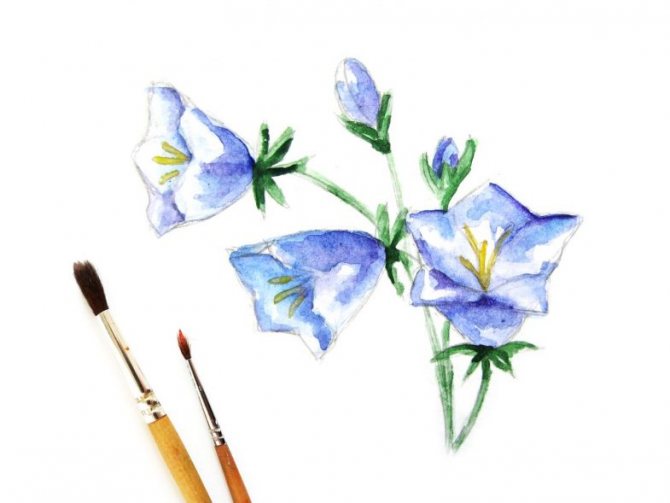
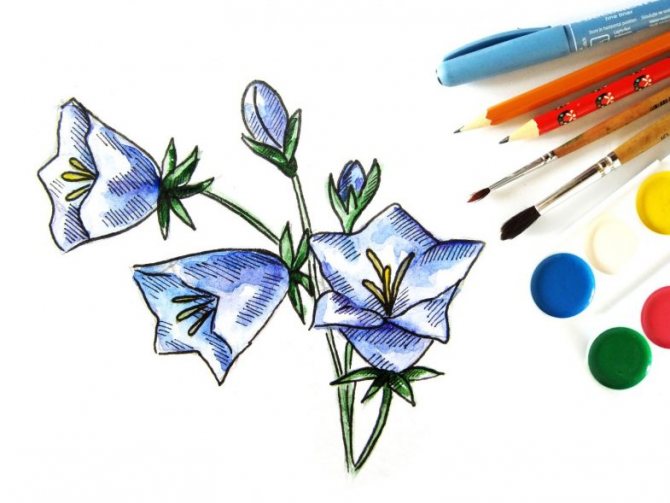
Have a funnel shape of lilies, freesias, calla lilies. Bowl-shaped tulips and roses are seen in the base. Bellflower by definition takes the shape of a bell.
Many master classes for beginners take these geometric shapes as the basis in drawing flowers.
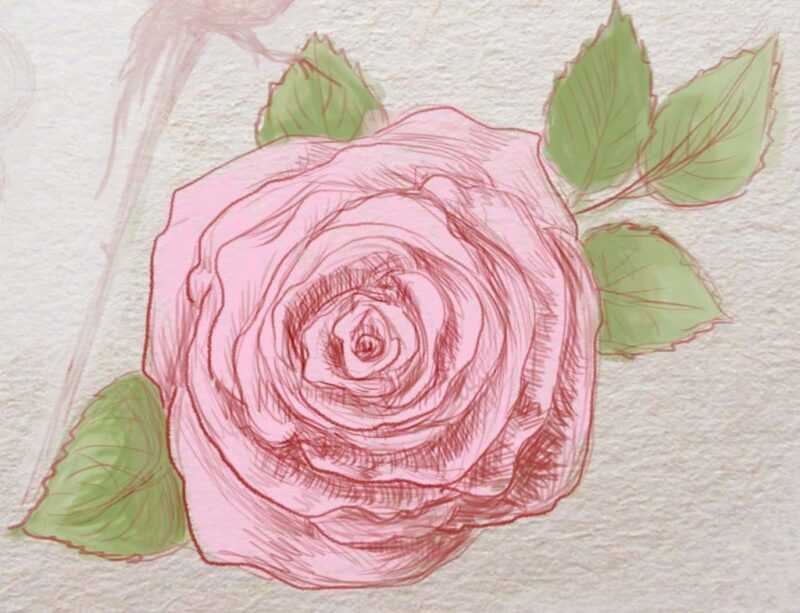
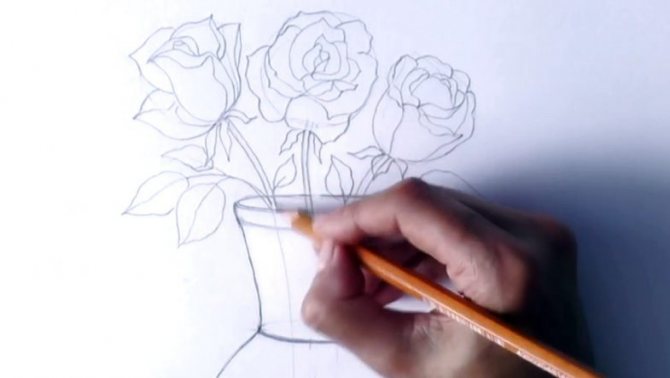
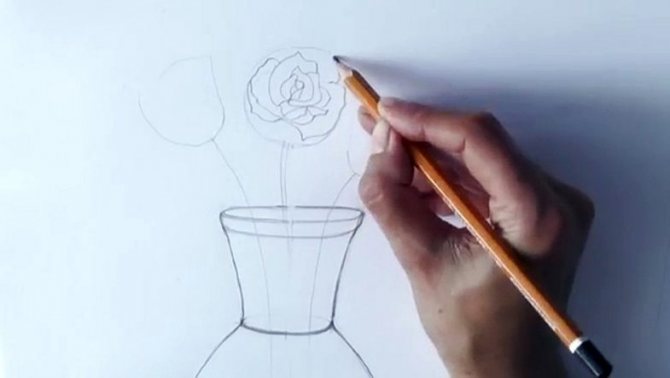
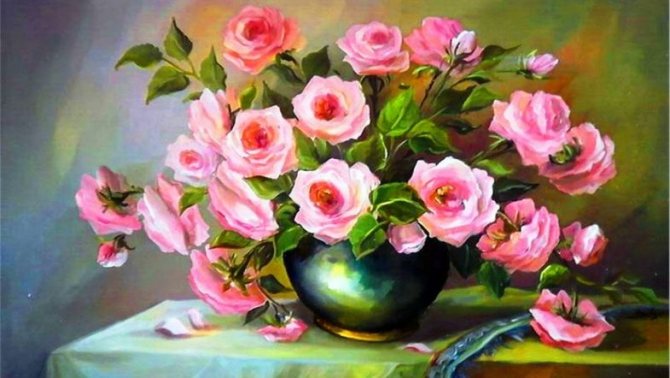
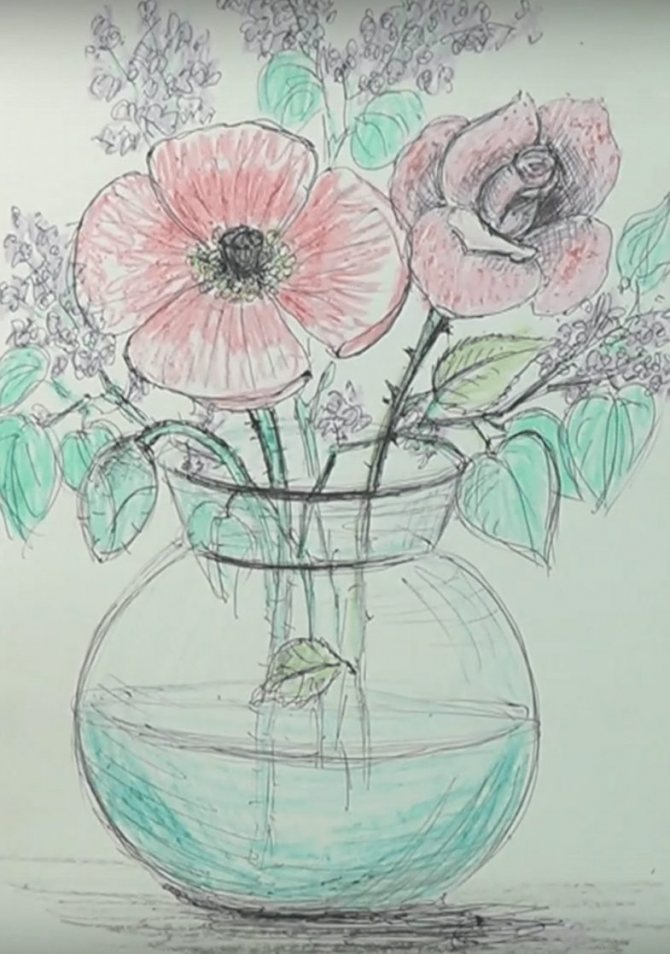
How to draw a rose
The rose is rightly considered the queen of flowers. Its rich shades of color always delight the eye. And how to draw a flower with a pencil and convey its splendor?
It's easy enough. The result will please the novice artist.
An uncomplicated way to draw a rose in pencil step by step:
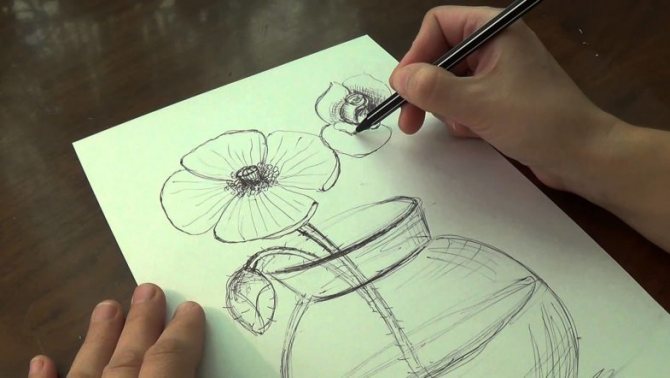
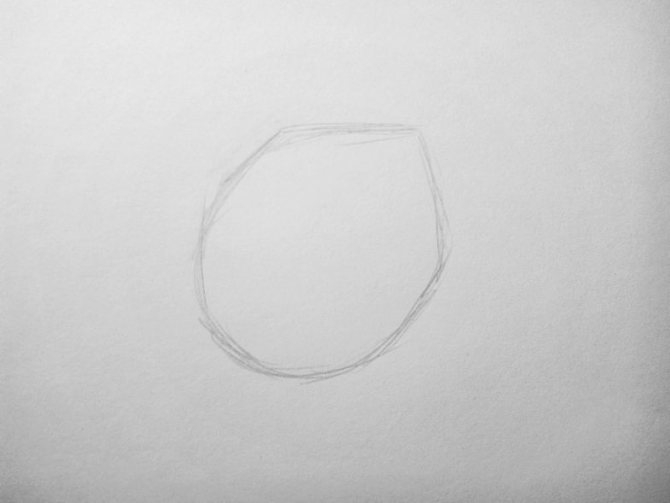
- Make a pencil sketch of the base of the future rose in the shape of a bowl, or, rather, a jug with a neck-oval at the top.
- From the left edge of the oval, draw a line to the center of the base of the jug. This is the first petal. Extend it with another curved line at the oval, creating a concave edge of the petal.
- On the right side to create a similar petal. Also bend the edge of the line.
- Between them to depict the wavy edge of the middle petal.
- Oval to give the curved outline. Inside to draw the rolled petals.
- Two parallel lines from the base of the flower depict the stem and two narrow leaves on it.
- Outline the bright outline of the flower, drawing all the details. Shade the areas of the flower that are in shadow. All bent petals must be light.
- Add shade to one side of the stem, giving it volume.
- Draw two rounded leaves on the stem, shading, highlighting veins.
There are many ways to beautifully draw a rose in color. But they are focused on more experienced artists.
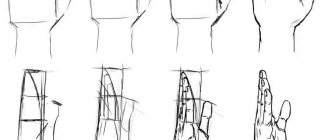
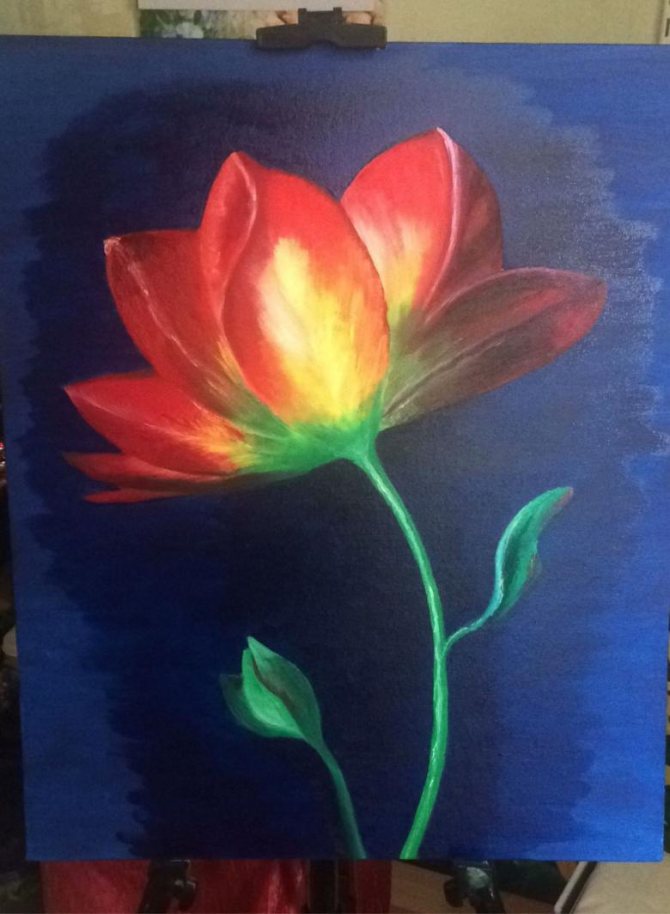
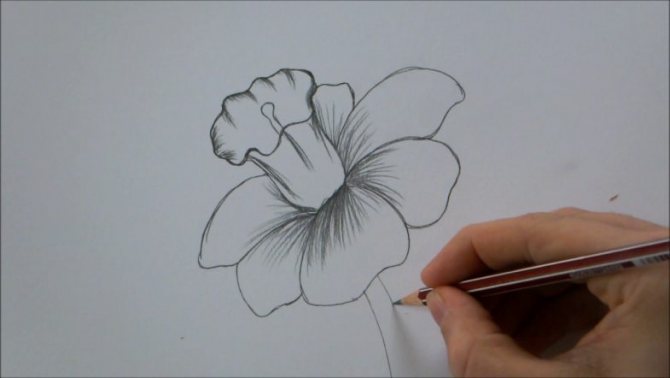
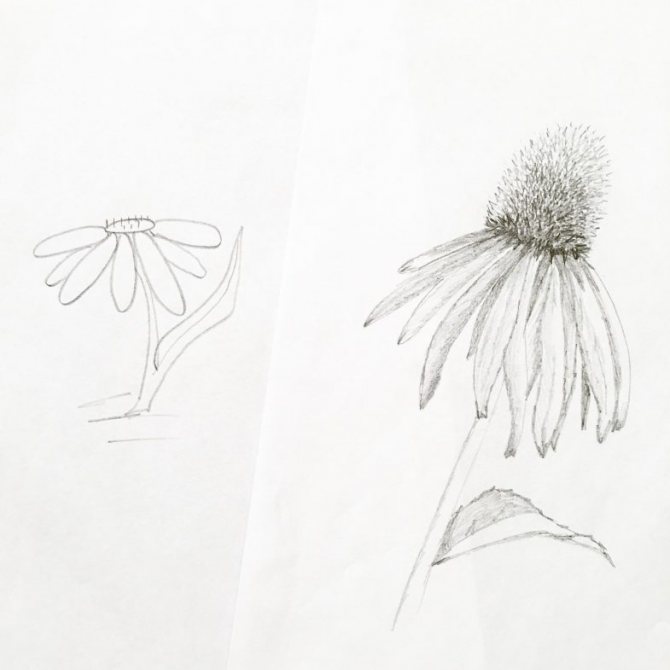
Add realism
To make the flower look as realistic as possible, you should also add those petals that hang down. These are a bit more difficult to draw because they have a more complex shape. You can take a real picture of the flower as the basis to be able to redraw the outlines.
If there is absolutely no understanding of how to give an object volume, you can view step-by-step instructions for beginners.
At the sketch stage, it will be enough just to add a few extra lines, highlighting them with a bolder drawing, so that the sketch has clear contours and boundaries.
The next step is to draw the stem. This is the easiest part of drawing a flower. You just need to draw 2 parallel lines resting at the base of the bud. Note, the stem will be hidden behind the hanging petals, so you do not need to draw the stem over these petals in the drawing.
The stem should be slightly curved, ideally have small irregularities, in some places be a little thicker, and in other places, on the contrary, a little thinner. You should also pay attention to the fact that some flowers may also grow petals or thorns on the stem, this should be taken into account.

If the stem can produce petals, you need to add a couple of small ones by drawing them a little apart on both sides. Not all flowers have spikes on the stem, and you can draw them very easily by creating small, thin outgrowths on the stem, pointing toward the base of the bud.
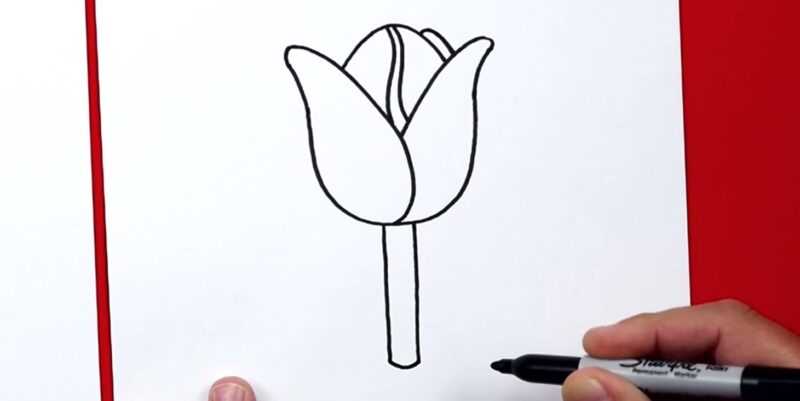


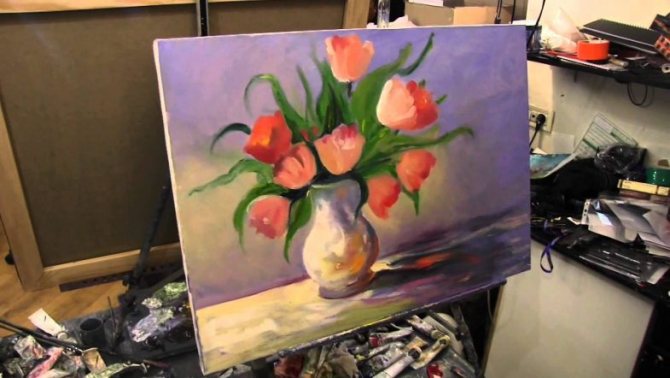
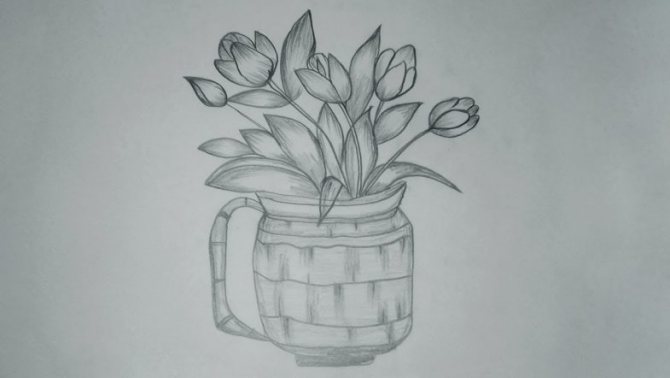
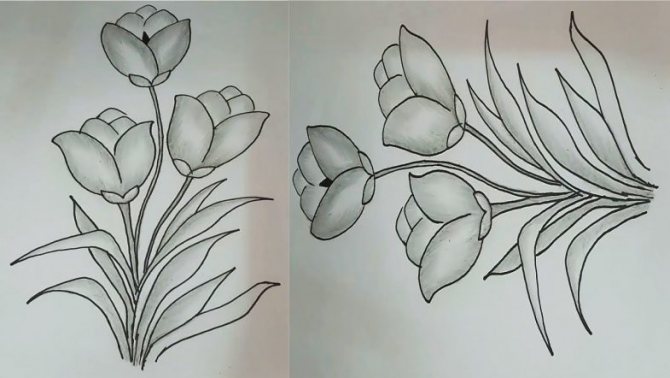
Tulip drawing technique
Among tulips there is a great variety of colors. It is worth trying to draw the flame flower in stages with colored pencils.
The technique of drawing is as follows:
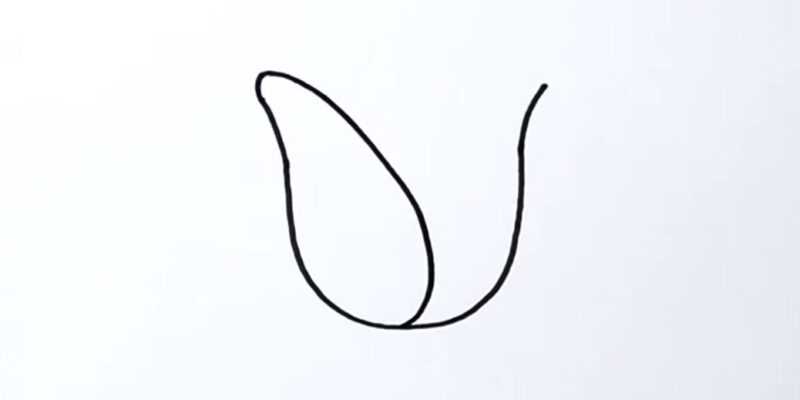
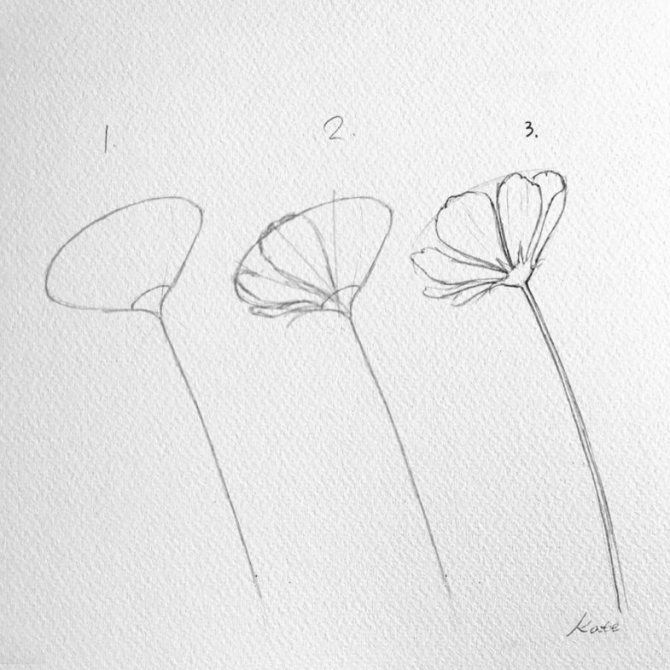
- With a simple pencil, mark the entire tulip bud with an oval.
- In the middle to place the central petal, drawing it with an oval with an elongated upper tip.
- Create two side petals on the right and left, slightly pulling the tops out to the sides.
- At the back of the central, make another petal.
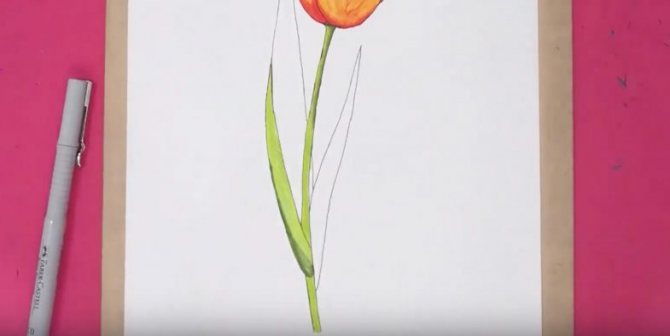
- Add a straight stalk and two long pointed leaves.
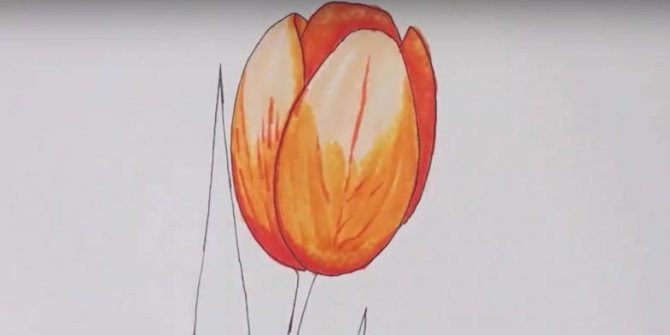
- Paint the entire bud with yellow pencil in a solid hatch.
- Use a red pencil to make veins on all the petals of the tulip. Decorate the edges of the petals, the middle as well as the shadow areas in red as well.
- The stem and leaves are shaded with green pencil, darkening certain areas by a strong pressure on the pencil. The boundaries of the darkened areas can be drawn in blue.
The lesson on how to simply draw a tulip is uncomplicated.
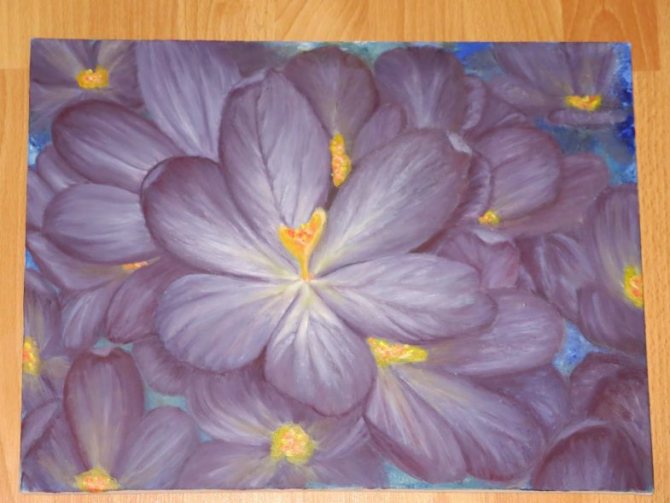
After mastering the color pencil technique, you can move on to drawing tulips in watercolor or gouache.

Drawing flowers, you can not only develop creative abilities, but also relieve the emotional load, enrich your inner world.
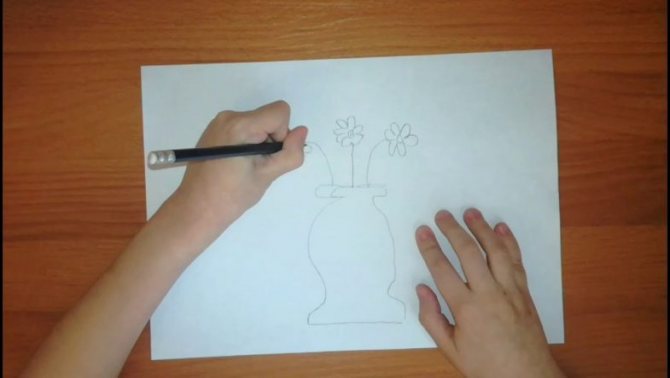
Stages of work:
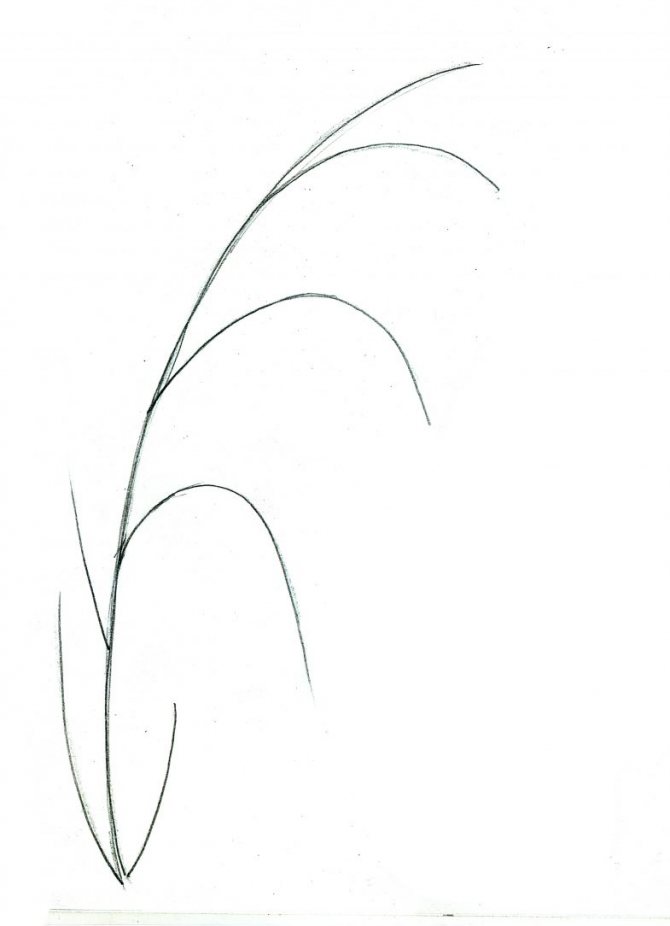
So you will need a blank sheet, a pencil, an eraser and a desire to create!
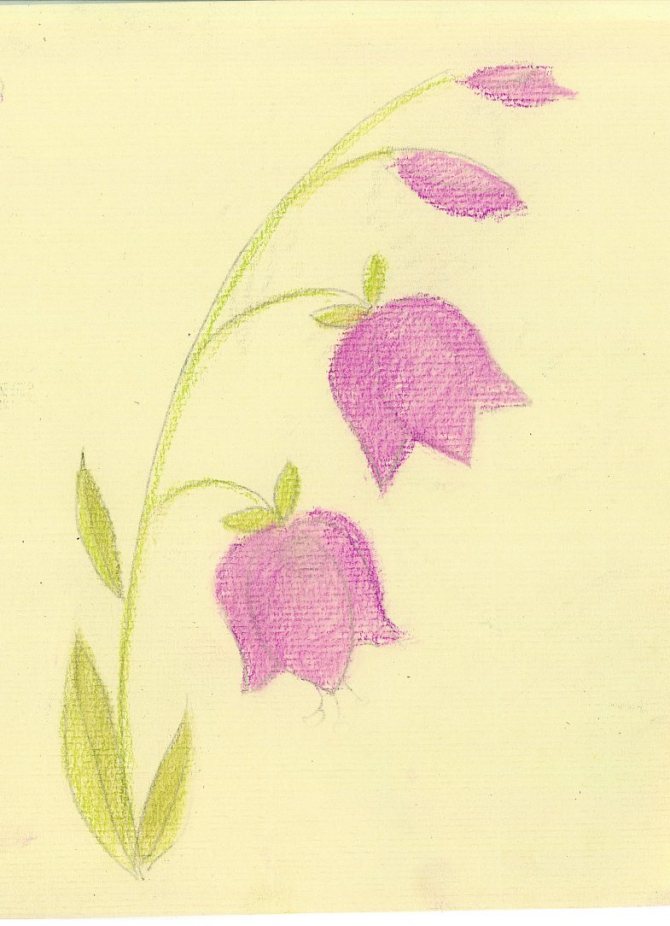
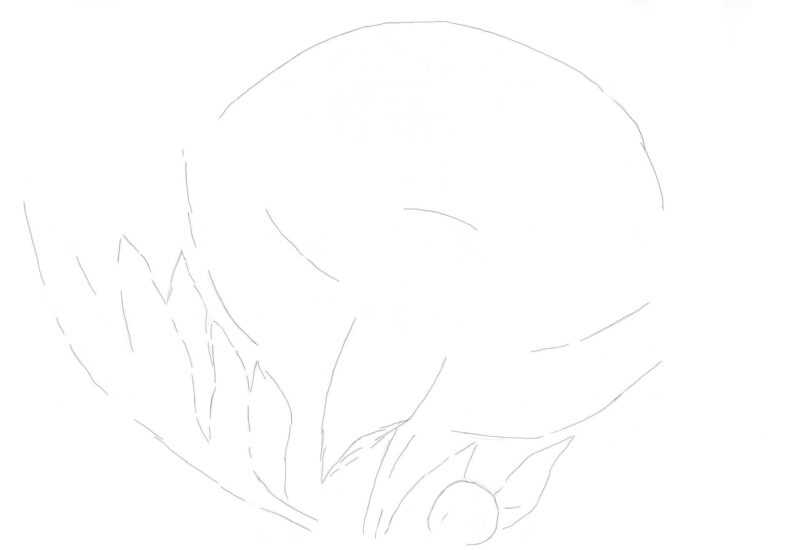
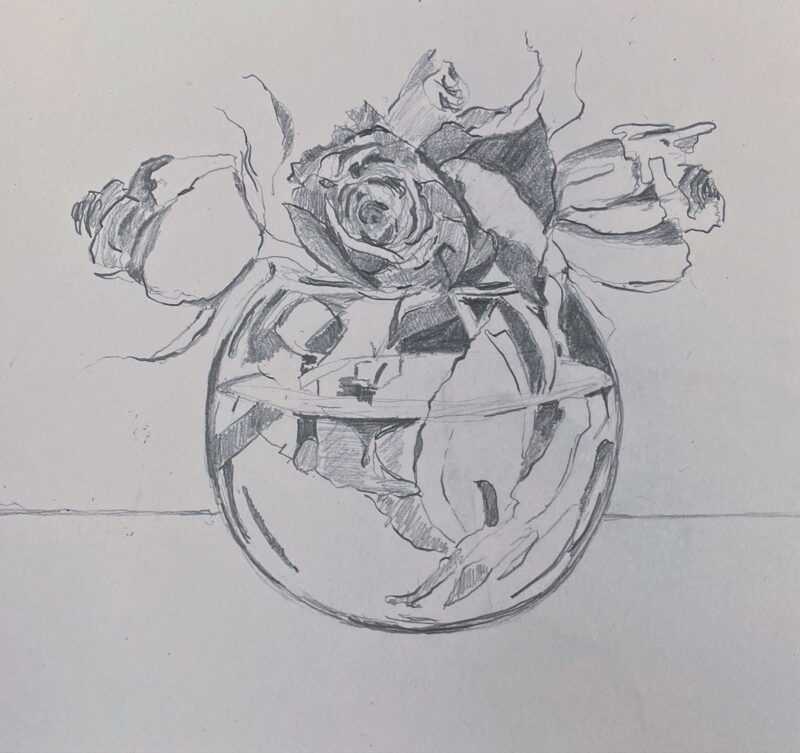
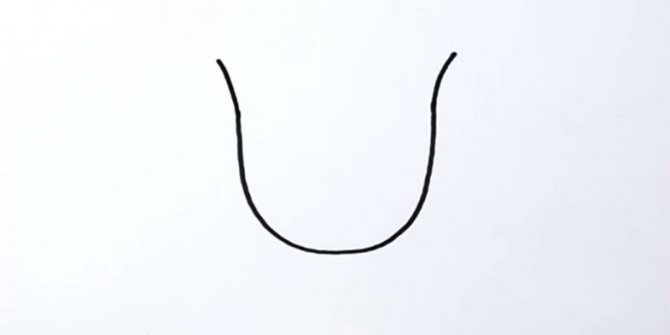
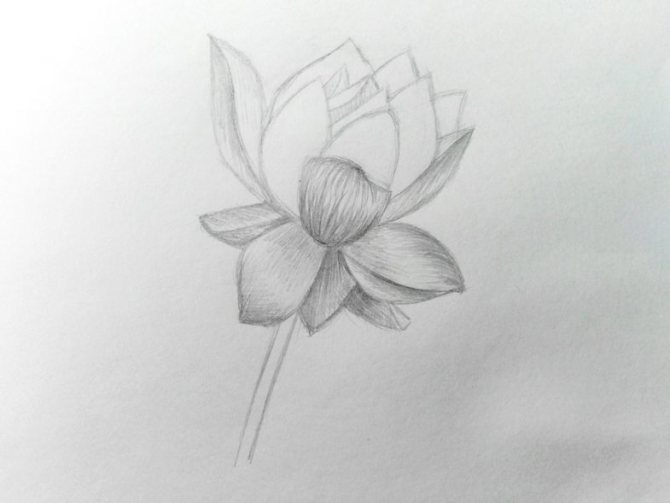
Picture 1. We start drawing with a sketch of the middle part of a flower. We are going to trace the edges with common lines. The lower part (base) will be much wider and more rounded than the upper pointed part:
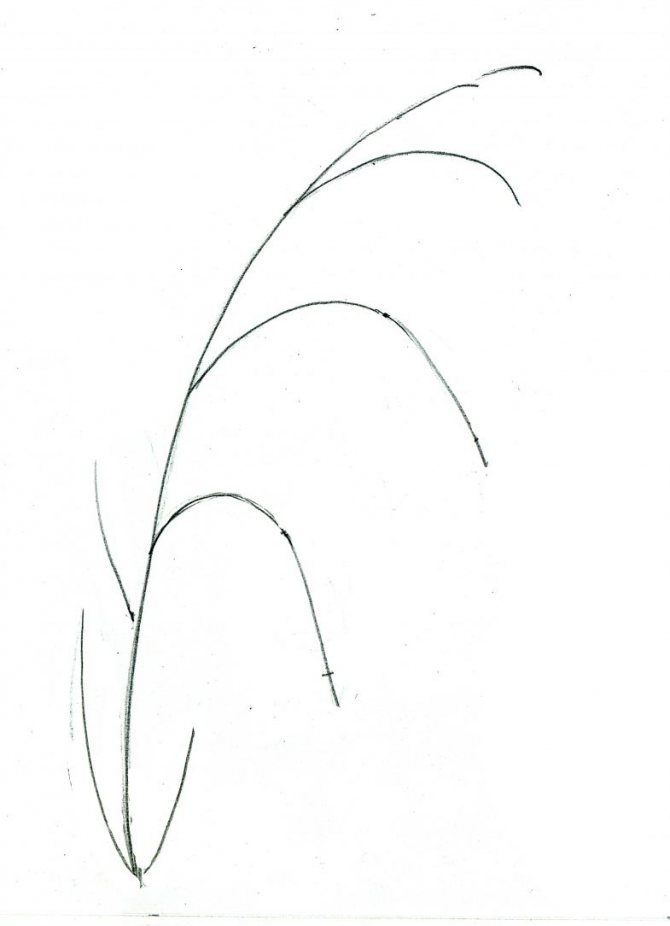
Photo 2.
On the sides we draw two petals. They will differ in size because of the inclination of the plant. The left petal is twice the size of the right one:
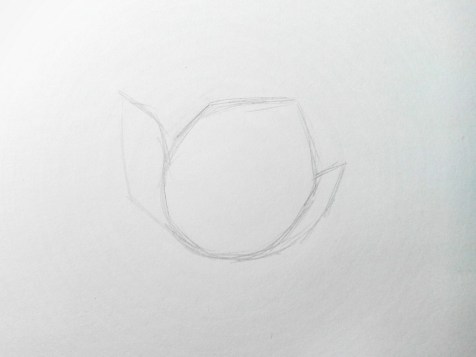
Photo 3.
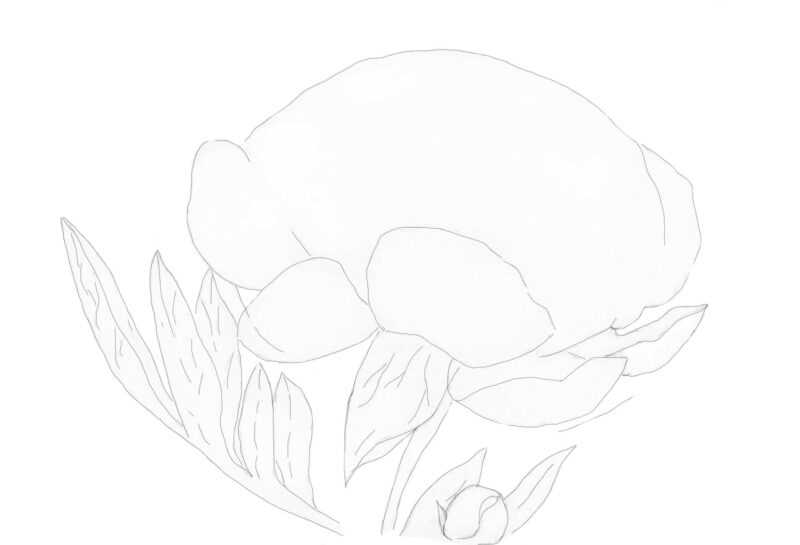
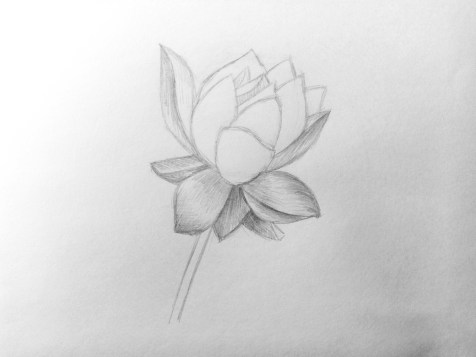
Now let's outline the petals, which are located in front of the bud. Their shapes are slightly sloppy, which is common with flowers:
Photo 4.
Next, add petals in the middle of the flower. Only the edges will be visible due to the fact that they are deep in the bud:
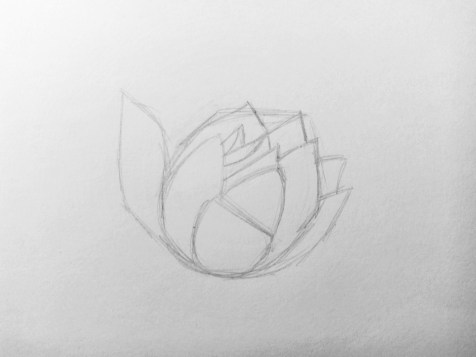
Photo 5.
Using the eraser we remove unnecessary lines and strengthen the contour of the main petals:
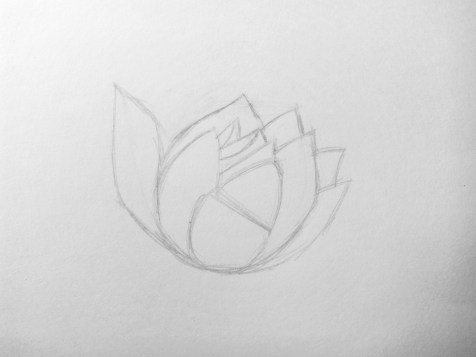
Photo 6.
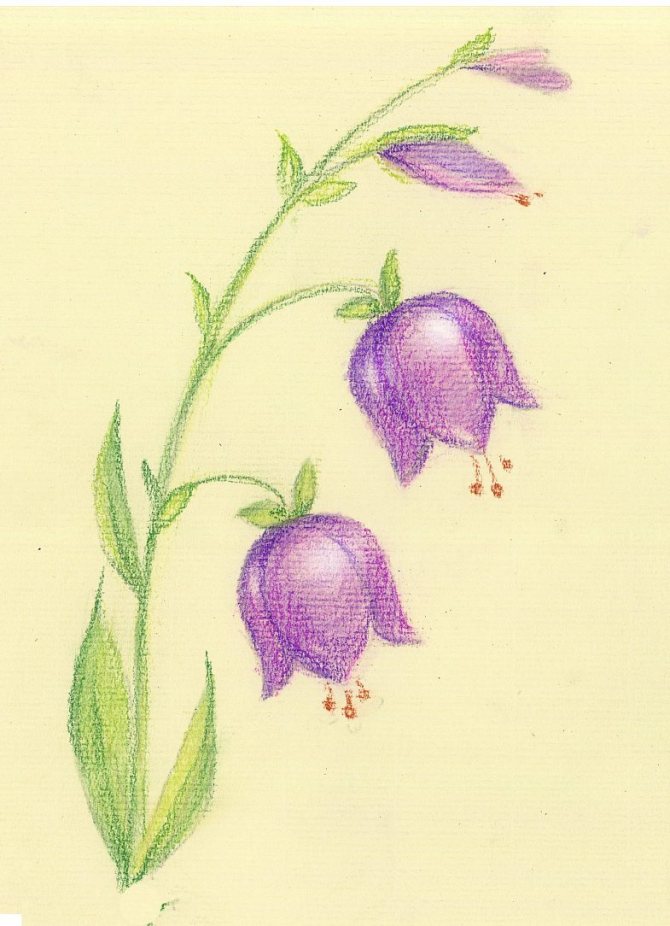
From the bud let's add a few petals, which are slightly drooping:
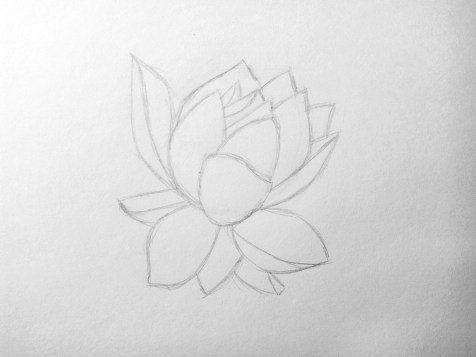
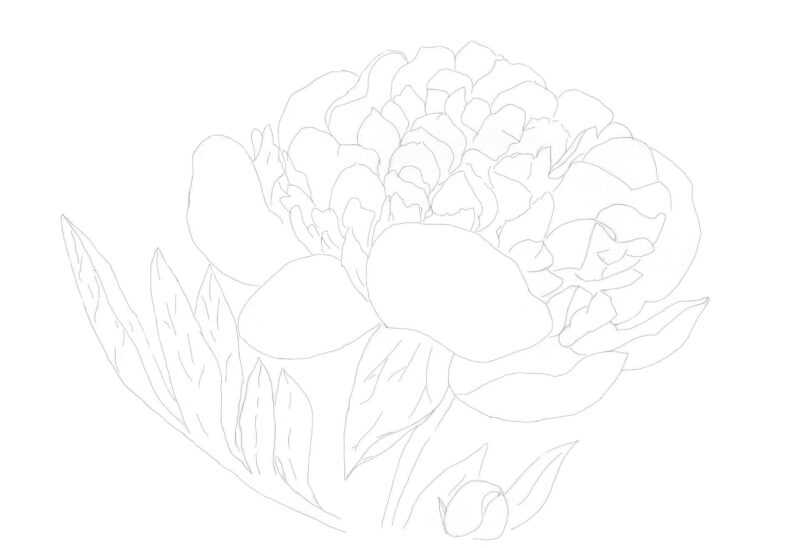
Photo 7.
Do not do the flower without a stem. Let's draw it, peeking out from under the petals:
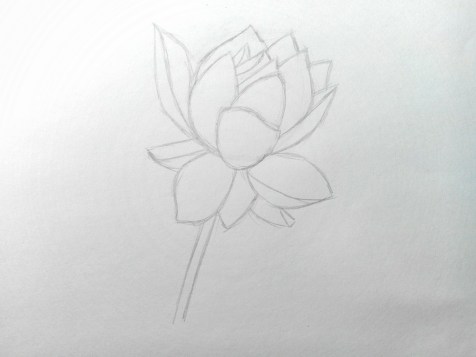
Picture 8.
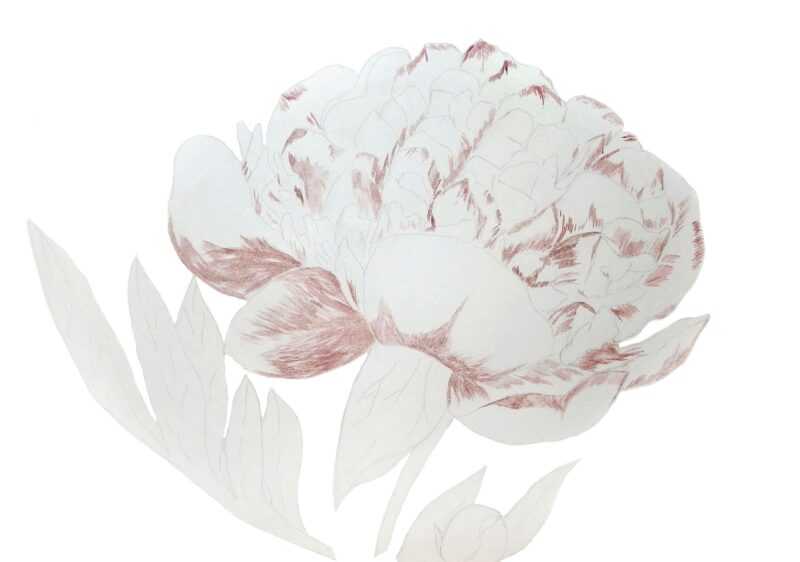
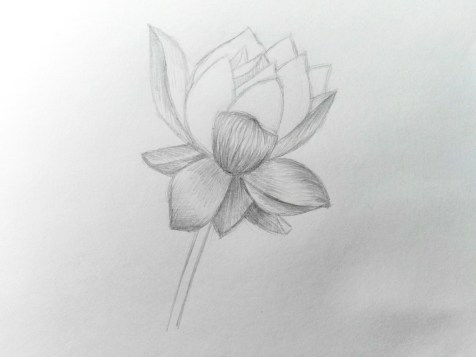
Let's start drawing the shadow. At first you should draw the darkest parts, which are usually at the intersection and at the base of the petals:
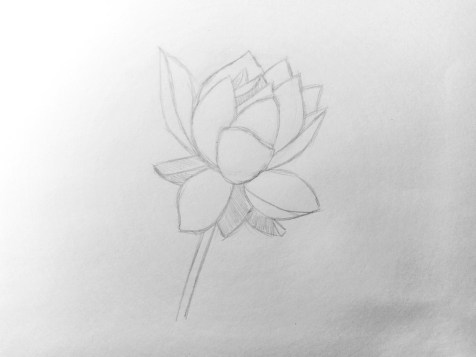
Photo 9.
Continue to put strokes on the bottom petals with a simple pencil, creating a shadow. It is also worth remembering that to make the shape of the leaves was more voluminous, you need to draw lines on their form:
Photo 10.
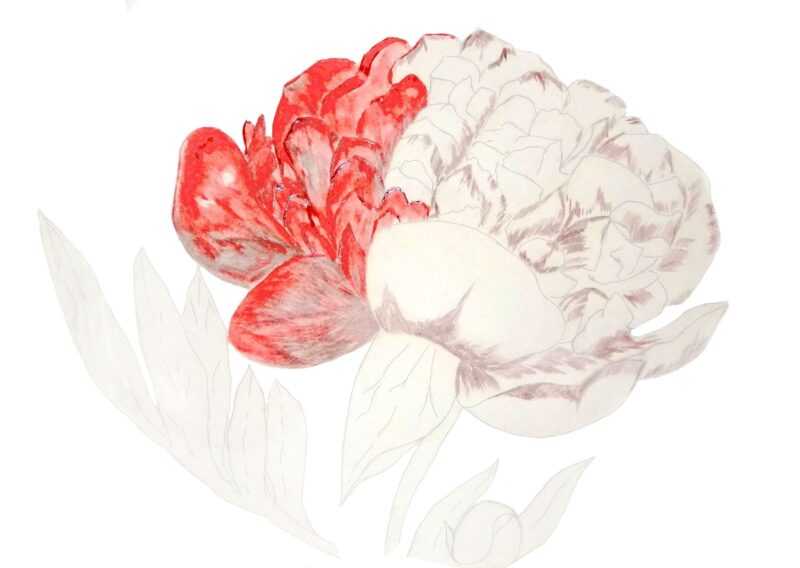
In the same way we draw the side petals of the flower. At the place of growth and at the edge we make the strokes denser, which gives a darker tone:
Picture 11.
Let's draw the shadow on the large petal that is in the foreground. Let's make its edges more precise:
Picture 12.
Let's continue the same operation with other nearby petals, without missing anything:
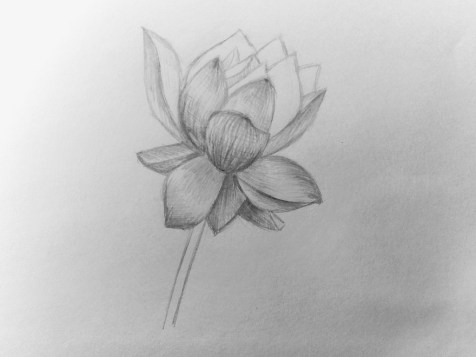
Photo 13.
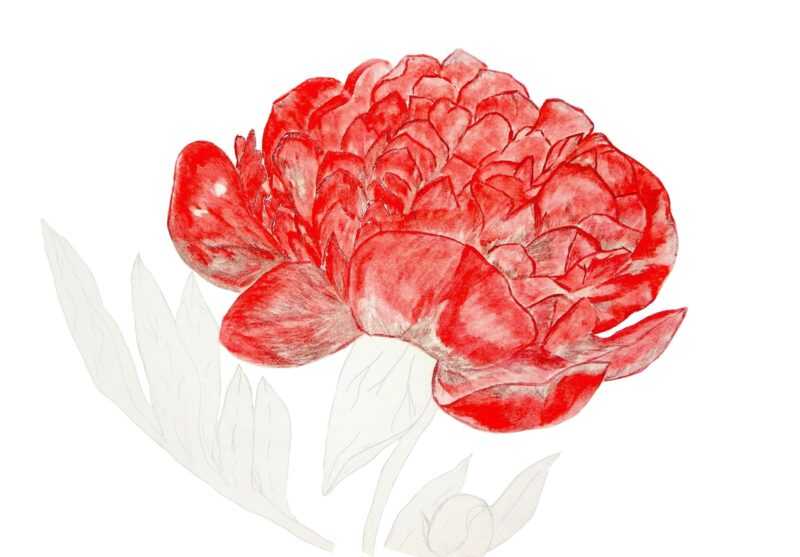
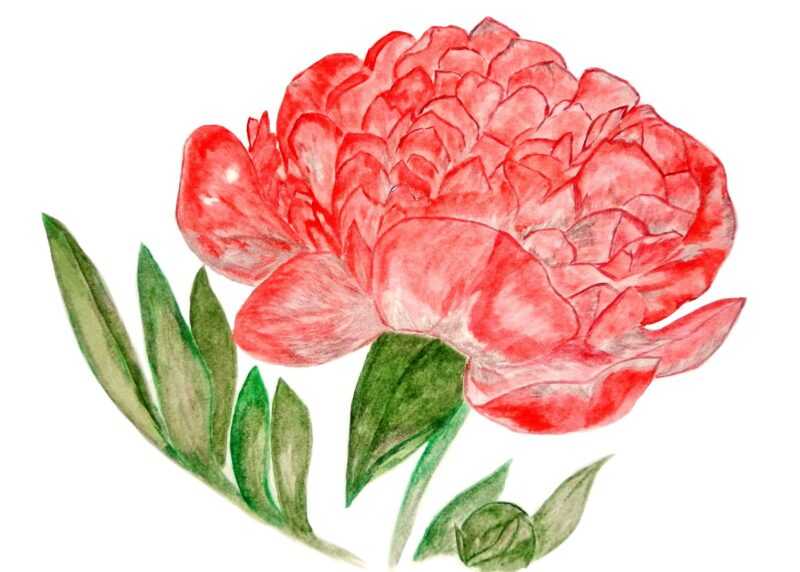
After working out the tone on a petal, move on to strengthening the contrast of the pattern. For this action, you can use a softer simple pencil. Let's make the tips on the edges of petals:
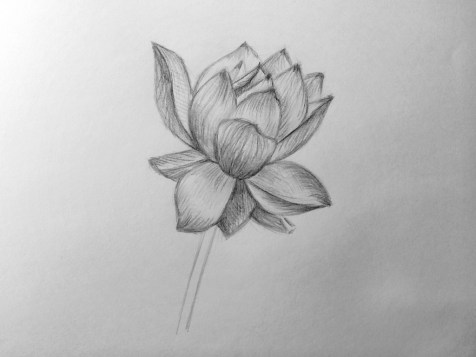
Photo 14.
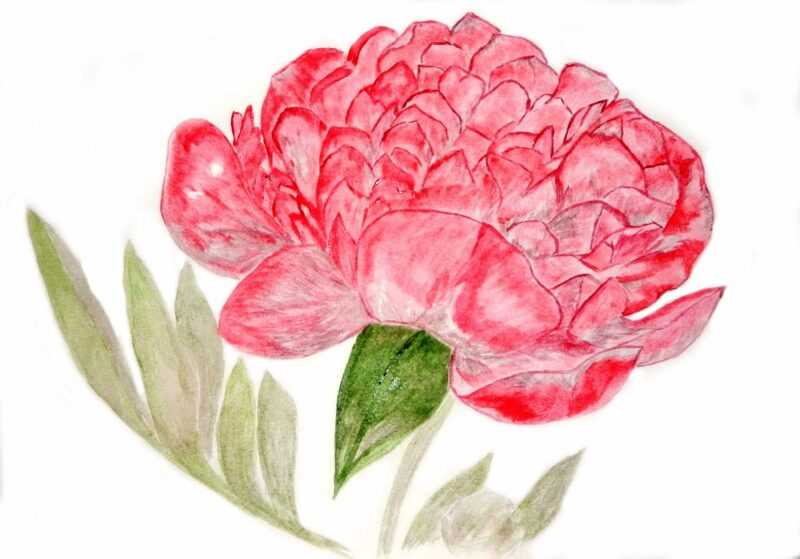
Sketch the stem of the flower and finalize the details. The drawing is done:
This is how simple and easy our lesson was, like a delicate flower... You can continue drawing flowers and plants
. The main thing to remember is that constant practice gives good results, and consequently - beautiful drawings
Pictures of drawings of flowers


0